
How do you verify electric bike part compatibility before purchase?


Use part numbers, voltage, connector pinout, mounting geometry, and controller or firmware checks to verify ebike parts compatibility before you buy. The guide also shows when to stop and ask for better documentation.
If you are checking ebike parts compatibility before purchase, start with the exact part number and model, not the photo. Parts that look close can still fail on voltage, pinout, protocol, or mount geometry, so a repeatable verification process saves money and helps avoid unsafe mismatches. That matters most for battery, controller, display, and throttle swaps.

Start With the Exact Part and Model
The first filter is simple: identify the original component as precisely as you can before you compare substitutes. Write down the part number, any revision code, and any connector label printed on the part or in the service manual. If the old part has a sticker or molded code, capture that too.
For buying decisions, the part number is stronger than the product photo or a broad name like “controller” or “display.” A model can share a family name across several years, but the wiring, mounting, or firmware can change within that family. That is why the same-looking replacement can be the wrong one.

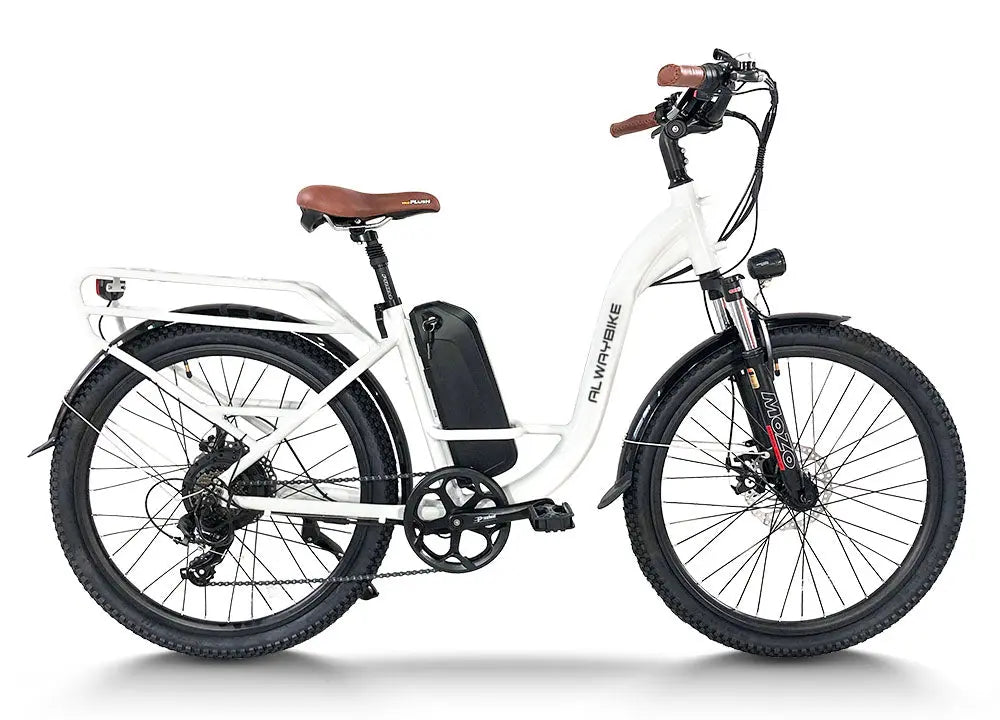
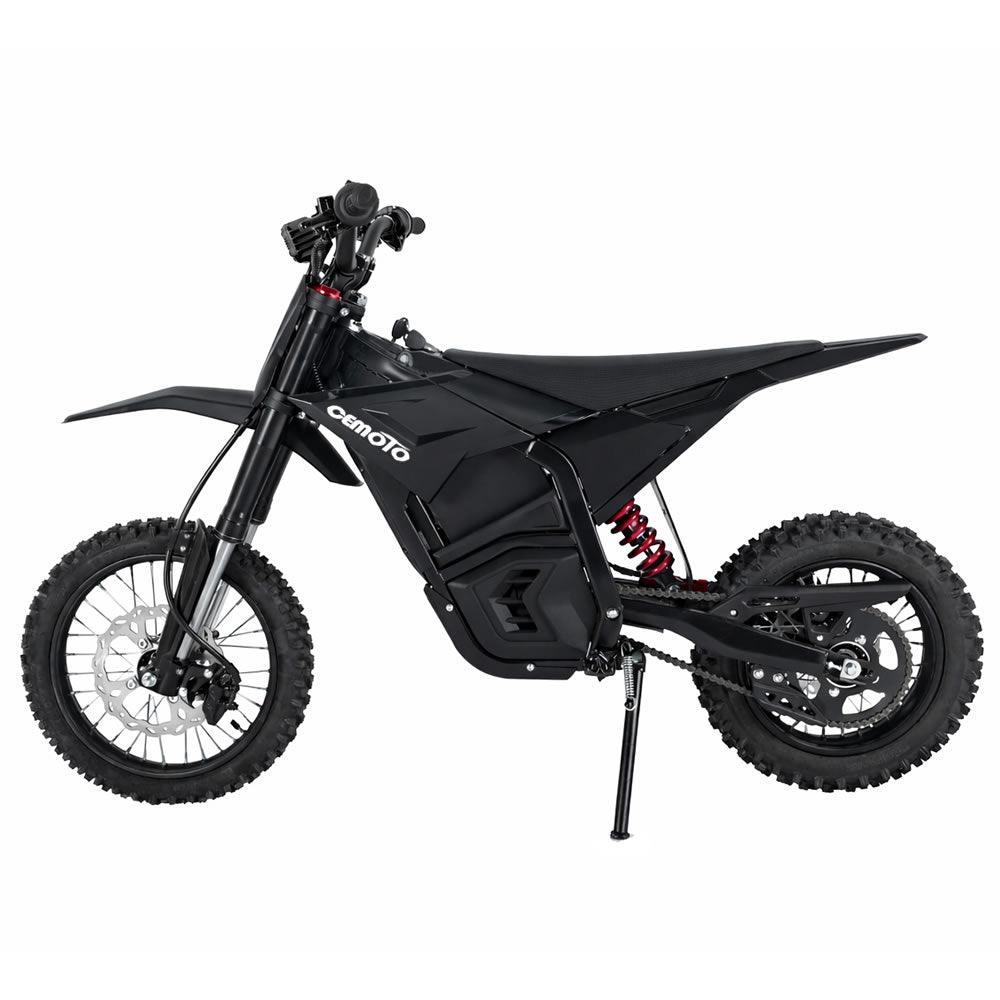
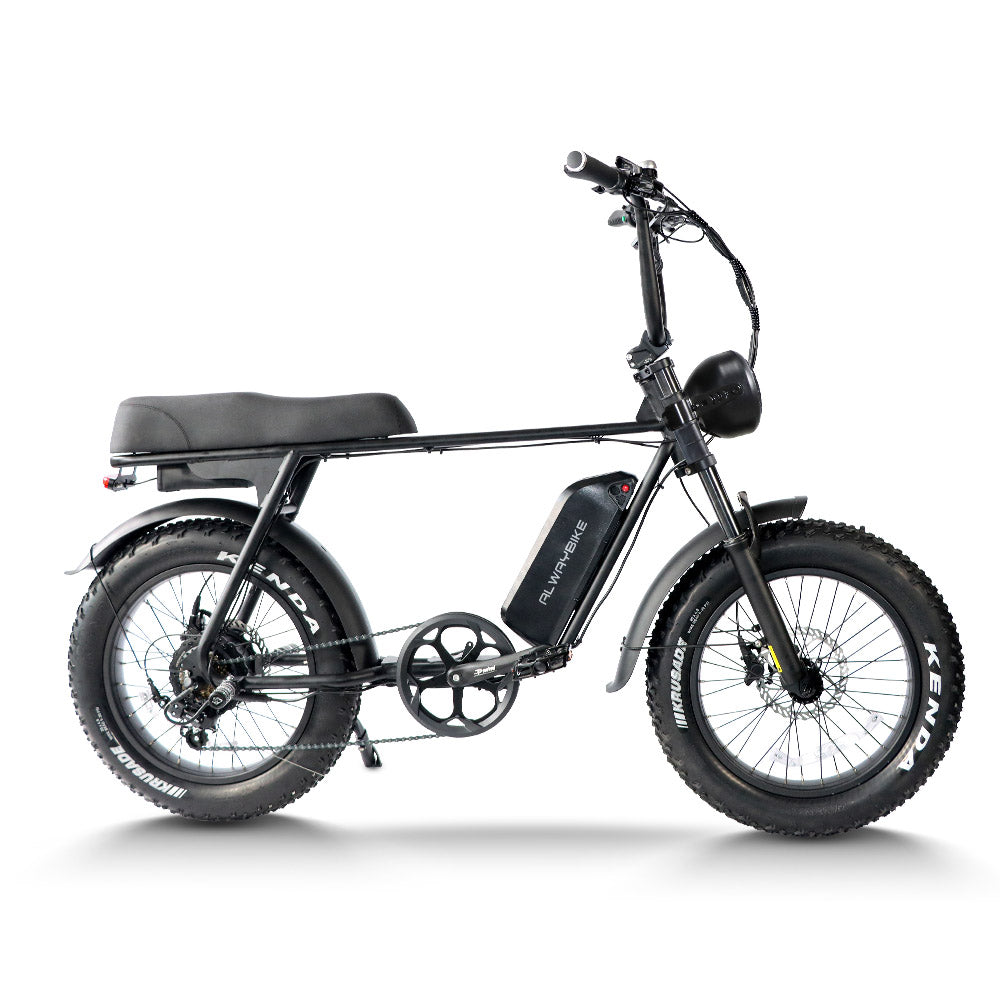
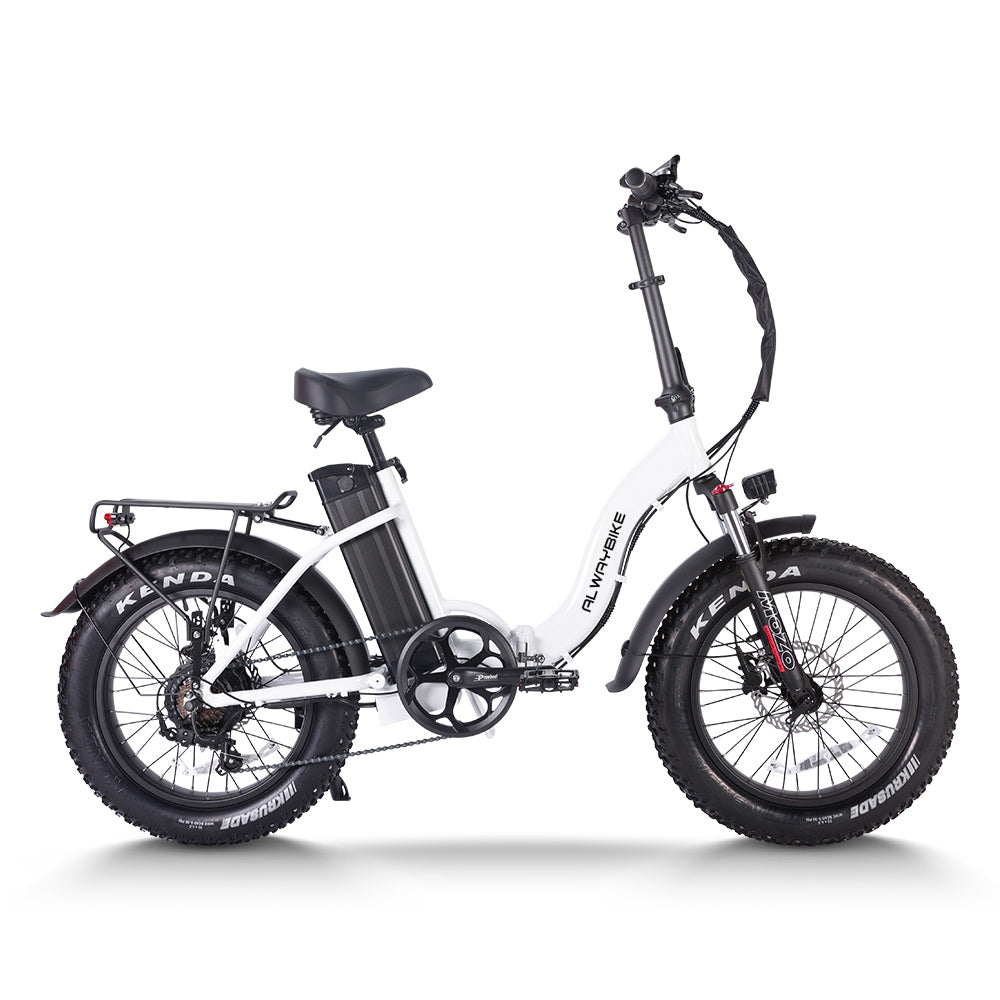
Match the full bike model and year next. Owner documents, serial plates, and parts diagrams are better references than frame branding alone. If the bike is an e-bike on one side and an electric dirt bike on the other, keep the platform separate in your notes, because cross-platform swaps are usually where assumptions go wrong.
If you cannot match the old part number or revision code, treat the replacement as unverified. A broader compatible part sourcing workflow can help with the next step, but the purchase decision still starts with the exact identifier.
Find the Part Number First
Start by copying the exact part number from the old component, the box, the manual, or the seller listing for the original bike. If the label includes revision marks, polarity marks, or connector names, keep those too. Those details can separate a true replacement from a near match that only looks right.
This is especially useful for ebike parts compatibility because sellers often use broad language like “fits many models.” That wording may help you find candidates, but it does not prove fit. Use the number as your search filter, then compare the rest of the specs.
Match the Bike Model and Year
Confirm the full model name and year so you do not mix generations that share a similar frame or branding. OEMs sometimes change the controller, display, or motor harness inside the same model line. If you are missing the year, use the serial plate or owner paperwork instead of guessing from the frame decal.
That extra step matters because model similarity is not proof of interchangeability. A part can be close enough to tempt a buyer, then fail only after the return window starts closing.
Separate E-Bike and Dirt Bike Fit Rules
Do not assume the same-looking component works across an e-bike and an electric dirt bike. The platform can change the voltage class, mounting style, controller family, or harness layout. When a listing spans both categories, treat that as a check-needed situation, not a green light.
In practice, the replacement has to match the system family and physically fit the platform. If either side is unclear, the safer move is to keep looking before checkout.
Check Electrical Match Points
Electrical compatibility is where many pre-purchase mistakes happen. The visible plug may look right while the battery, controller, display, or throttle still refuses to work together. The safest check order is voltage first, then connector details, then signaling or protocol.
For battery and controller compatibility, match the replacement battery voltage to the original system range, such as 36V, 48V, or 52V, so you do not trigger cutoff behavior or controller damage EM3ev. If the voltage class does not match, stop there.
The next check is whether the connector really carries the same pinout and polarity. Visually similar waterproof connectors like Higo and Julet can look interchangeable while still using different internal pinouts or wiring orders Letrigo. In other words, connector shape is necessary, but it is not enough.
If the voltage matches but the pinout does not, the part is not a safe direct swap. If the connector matches and the voltage matches, keep checking the communication family before you buy. Standardized plugs such as Anderson Powerpoles and JST-SM are common in repair-friendly setups, but connector type alone still does not prove full compatibility Grin Technologies.
The third check is communication. Some displays and controllers use protocol families such as UART or CAN bus, so a display may fit the plug but still fail to communicate if the controller expects a different signaling language Letrigo. That is why display, throttle, and harness swaps often need more than a quick visual match.
If you are mixing battery and controller brands on an ebike, do not treat brand compatibility as implied. Treat it as undocumented until the battery voltage, connector map, and controller requirements are confirmed in writing. The UL 2849 system-level safety standard is a reminder that the electrical system works as a whole, not as isolated parts.
Battery and controller fit is a system decision, not a single-spec decision. If voltage is wrong, the system can fail outright. If voltage is right but the pinout or protocol is wrong, the part may still not work. If both are right but the harness or firmware family is off, you can still end up with a dead install.
Battery and Controller Compatibility
Check the battery voltage class, then compare it to the controller’s supported range. If the listing does not state the range clearly, look for the original battery label, controller manual, or wiring diagram. For battery-controller swaps, “close enough” is not a safe standard.
Also check whether the battery connector, discharge rating, and any protection requirement are listed clearly enough to compare. Brand mixing is a documentation problem first and a purchase problem second. If the pairing is not explicitly supported, treat it as unverified.
Connectors, Pins, and Polarity
Count the pins, compare keying, and check wire order. Do not rely on shell shape alone. A plug that snaps together cleanly can still send power or signal down the wrong path if the pinout is different.
Polarity matters too. Wire colors can help, but they are not enough on their own because color conventions are not universal. If the pinout is not clear from documentation or clear photos, pause before checkout.
Display, Throttle, and Harness Signals
For digital accessories, verify the signaling family as well as the connector. That matters when the display, throttle, and harness communicate with a specific controller type. A part can be mechanically close and still not wake the bike.
The quickest self-check is to compare the new accessory against the existing setup one item at a time: connector, protocol, then controller family. If the seller cannot confirm the signaling family, do not assume the plug is enough.
Firmware and Controller Limits
Some replacements depend on controller settings, lock codes, or firmware behavior. A part may power on and still not behave correctly if the controller expects a different family or a setup step the listing never mentions. That is common with displays and tuned controllers.
Use the manual or seller spec sheet to confirm whether programming or pairing is required before ordering. If that detail is missing, treat the replacement as incomplete information rather than a safe match.
Confirm Physical Fitment
Electrical fit is only half the job. Mounting points, bolt spacing, axle width, and housing shape can block a replacement even when the connector looks right. For wheel parts, check spoke count, rim size, axle standard, and hub interface. For battery cases, displays, throttles, and motor housings, confirm that the new part clears the frame and does not rub or bind.
| Comparison Point | What To Check | What It Means For Purchase |
|---|---|---|
| Mounting points | Hole spacing, bracket shape, fastener type | Mismatch usually means the part will not install without modification |
| Axle or shaft interface | Axle width, shaft diameter, hub or motor interface | A visual match can still fail if the interface standard is different |
| Wheel-related dimensions | Spoke count, rim size, clearance around the hub | Needed when replacing wheel, hub, or motor-side parts |
| Housing clearance | Battery case, display, throttle, or motor housing space | Prevents rubbing, binding, or frame interference |
| Spacer or adapter need | Presence of required spacers or special brackets | A part may fit only with specific hardware, not as a direct swap |
This table is a fitment filter, not a guarantee. If one row is still unknown, you do not have a confirmed fit yet. Measure the original part and compare it against the candidate before you order.
For readers replacing controls or accessories, display mounting points and the throttle clearance check matter just as much as the electrical side. Those internal links are best used as navigation when you already know the general part category and want to compare a likely match.
A good fitment rule is simple: if the geometry needs force, spacers you do not have, or frame clearance you cannot measure, the part is not a clean replacement yet. That is especially true for electric dirt bike parts, where mount shape and clearance can be as limiting as voltage.
Use a Pre-Buy Compatibility Checklist
Use this as your no-guess shopping filter before you add the part to cart:
- [ ] The exact part number matches the original part or a documented substitute.
- [ ] The bike model, year, and platform match the replacement listing.
- [ ] The voltage class matches the original system.
- [ ] The connector type, pin count, and pinout are confirmed.
- [ ] The mounting pattern, axle standard, or housing clearance matches.
- [ ] The display, throttle, harness, or controller family is confirmed if the part depends on signaling.
- [ ] Any needed firmware, pairing, or programming step is documented.
- [ ] The return policy still makes sense if the part arrives and is not a match.
If any box is blank, treat it as a stop point, not a “probably fine.” That is the fastest way to reduce return hassle and avoid unsafe electrical guesses. Modular systems are easier to verify when the parts are documented well, which is part of the case for right-to-repair friendly designs.
A practical shopping path is: confirm the part number, compare the system specs, verify the mount, then read the policy before you pay. If the listing or manual does not answer one of those steps, ask for the missing detail instead of assuming.
What to Do When Compatibility Is Unclear
When the specs do not line up cleanly, slow the purchase down and ask for proof in the form of photos, measurements, or a wiring diagram. Close-up images of labels, connector ends, and mounting faces can resolve a lot of doubt before money changes hands. If you are comparing alternatives, keep them on the same checklist so the differences stay obvious.
Compare one unknown at a time. For example, request the hole spacing, shaft diameter, or connector pinout instead of asking whether the part “fits.” That gives you something checkable and keeps the conversation specific.
If the unknown affects voltage, polarity, mount stability, braking, or battery safety, stop the order until the seller or OEM confirms the missing detail in writing. For tighter troubleshooting paths, the DIY e-bike troubleshooting workflow is a useful follow-up when the issue is already on the bike and you need a safe diagnosis path.
For uncertain electric dirt bike swaps, the safest move is still documentation first, purchase second. If a part only looks right, but the measurements or protocol are missing, it is still an unknown.
Final Takeaway
The safest way to verify ebike parts compatibility before purchase is to check the exact part number, voltage, connector pinout, protocol, and mounting geometry in that order. If one of those is unresolved, stop and collect the missing detail before checkout. We also recommend comparing the return policy before you buy, especially when you are mixing brands or replacing battery, controller, or display parts. If anything is still unclear, contact the seller or OEM and get the answer in writing.
FAQs
How Do You Check If Electric Bike Parts Are Compatible?
Start with the exact part number, then compare voltage, connector pinout, mount geometry, and any controller or protocol requirement. If all five line up, the part is much more likely to work. If one of those items is missing, the safest next step is to request a label photo, wiring diagram, or dimension sheet before buying.
Can You Mix Battery and Controller Brands on an E-Bike?
Only if the documentation clearly supports the pairing. Brand match alone is not enough. You need voltage compatibility, confirmed connector pinout, and a controller that accepts the battery’s electrical behavior. If any of those are unclear, treat the setup as unverified rather than assuming it will run safely.
Are Electric Dirt Bike Batteries Interchangeable Across Models?
Sometimes, but only when voltage, case size, connector, and controller requirements all match. Model similarity does not prove interchangeability. The fastest way to rule a battery in or out is to compare the voltage label first, then the mount and connector, then the controller or harness requirements.
What Should You Verify Before Buying Modular E-Bike Replacement Parts?
Check the part number, voltage, connector, mount, and controller or firmware family before checkout. Then review the return policy. Modular parts are easier to source than proprietary ones, but they still need a documented fit. If the seller cannot confirm one of those items, keep shopping or ask for a written confirmation.
Why Do Visually Similar Parts Still Fail to Work?
Because the outside can match while the inside does not. Pin order, polarity, protocol, firmware, or mount tolerance can all break compatibility even when the part looks close. The clearest warning sign is a connector that fits but lacks a confirmed pinout or communication family. That is usually where failed installs start.
