


E-Bike Hub Motor Replacement: A Step-by-Step DIY Guide


When your e-bike hub motor fails after the warranty expires, you don't have to scrap the entire bike. With careful compatibility checks, the right tools, and a methodical approach, most DIY-capable riders can successfully replace a hub motor and restore their ride. This guide walks through the process while highlighting critical safety steps and common pitfalls to avoid costly mistakes or safety issues.

Replacing an e-bike hub motor involves both mechanical and electrical work. Lithium-ion batteries can pose fire risks if damaged, misused, or defective, so any hub-motor replacement should start with power isolation and battery safety precautions. Always begin by confirming the issue is truly the motor rather than the battery, controller, or wiring.
Why Hub Motor Replacement Makes Sense in 2026
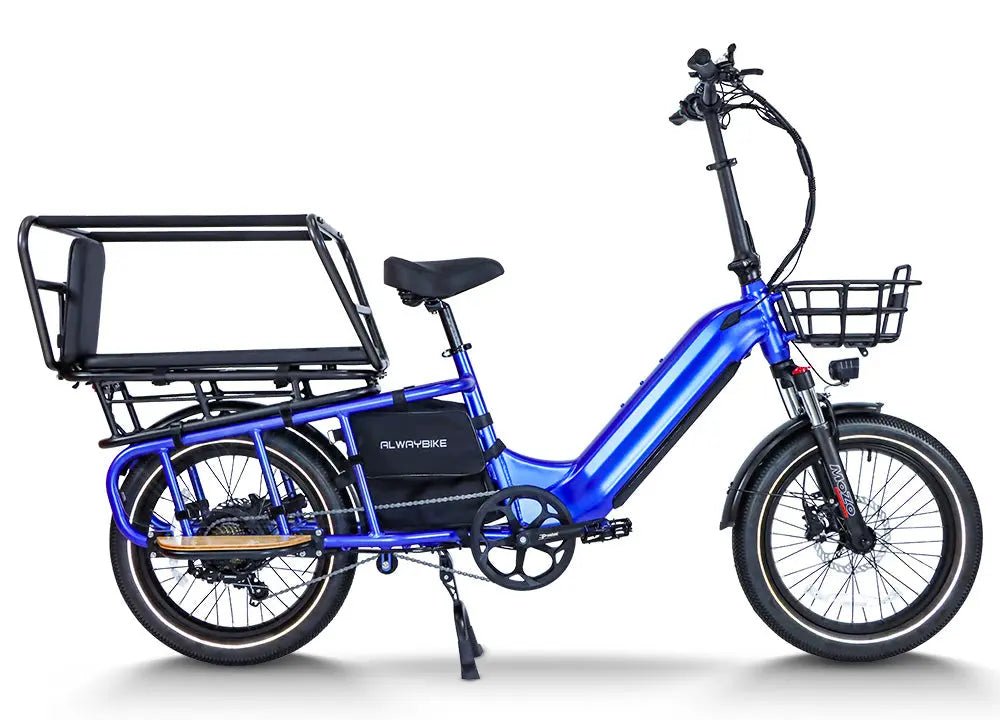
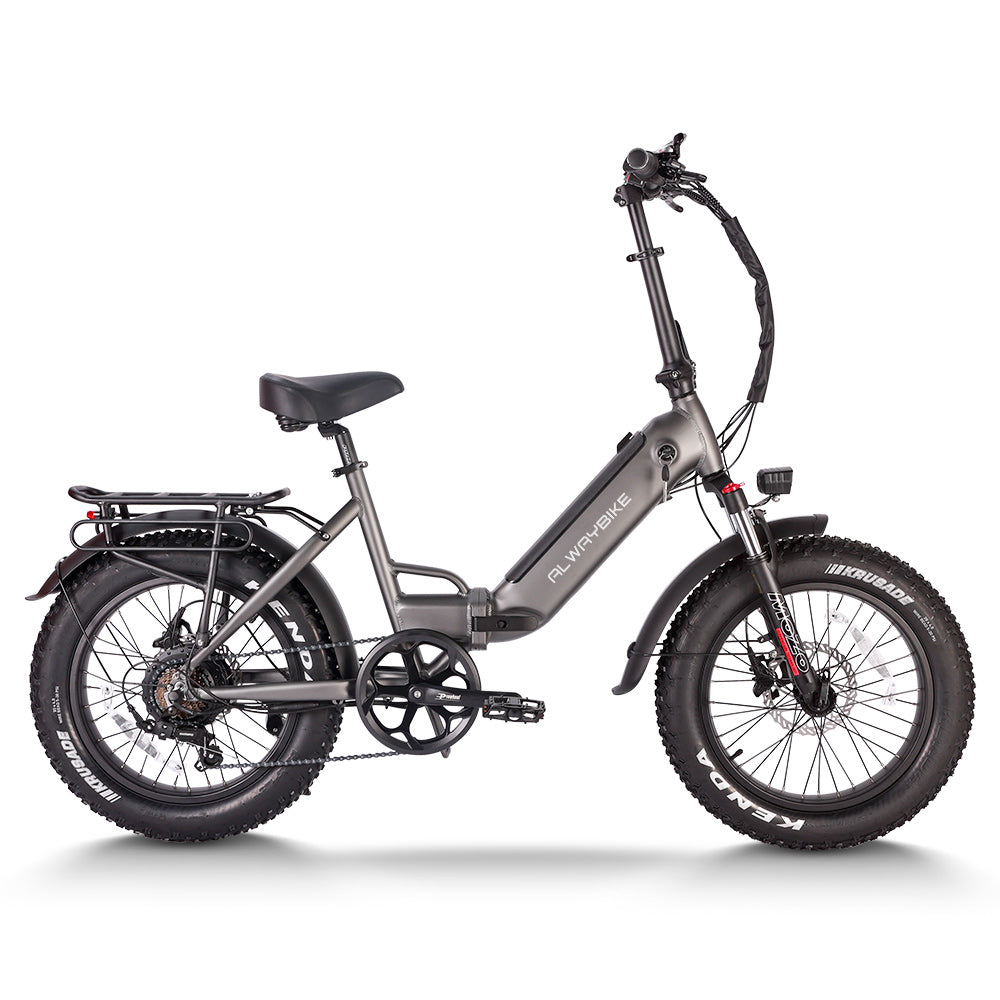
Modular e-bike designs have become more common, making component-level repairs practical. Instead of buying a new bike, a compatible replacement hub motor kit for your existing frame can save significant money while extending the life of your investment. This approach aligns with growing emphasis on right-to-repair principles and sustainability.
However, success depends heavily on matching specifications. A mismatch in voltage, wheel size, or dropout width can lead to poor performance, safety risks, or damage to your frame.
Diagnose Before You Buy: Is It Really the Motor?
Many symptoms that seem like motor failure actually stem from other components. Before purchasing a replacement, perform basic troubleshooting.

Check if the battery shows any swelling, damage, or unusual heat. If the battery shows swelling, damage, or heat issues, stop the repair and address the battery first rather than continuing the motor swap. Before replacing the motor, confirm the battery and wiring are safe and intact, since electrical damage can create both performance problems and safety risks.
Test the throttle, controller, and display for proper function. Spin the wheel by hand to check for grinding or excessive resistance. Only proceed with motor replacement if these checks point to the hub itself.
Compatibility Checklist: What to Verify First
Compatibility is the most common reason DIY motor swaps fail. Measure these specifications before ordering any parts.
- Wheel size: Confirm your rim diameter (typically 26", 27.5", or 29").
- Dropout spacing: Measure the distance between the frame's rear dropouts. Measure your dropout spacing and axle fit before buying a replacement hub motor, since the wheel hub and axle must match the frame opening.
- Axle type and length: Note whether it uses a threaded axle, thru-axle, or specific diameter.
- Brake compatibility: Ensure the new wheel supports your brake type (disc or rim).
- Voltage and controller match: Match the replacement motor with the controller, battery voltage, and wiring harness before installation.
Check that the new hub motor matches your frame’s dropout width and axle style before you start disassembly.
Here is a helpful visualization of common compatibility parameters:
Replacement Hub Motor Compatibility: Heuristic Match Levels
Illustrative compatibility check for common replacement hub-motor parameters. Higher scores indicate easier fit or lower risk; these are heuristic boundaries, not official statistics.
View chart data
| Category | Match level (0-5) |
|---|---|
| Dropout 135 mm | 5.0 |
| Dropout 142 mm | 4.0 |
| Dropout 148 mm | 3.0 |
| Voltage 36 V | 4.0 |
| Voltage 48 V | 5.0 |
| Voltage 52 V | 4.0 |
| Wheel 26 in | 5.0 |
| Wheel 27.5 in | 5.0 |
| Wheel 29 in | 4.0 |
Heuristic/illustrative scoring built from compatibility guidance and common values noted in the prompt: rear dropouts typically 135 mm on older bikes and 142/148 mm on newer bikes; common e-bike voltages are 36 V, 48 V, and 52 V; common wheel sizes are 26, 27.5, and 29 inches. The scores reflect general ease of matching for a replacement hub motor, not measured performance or official fit statistics.
Use this chart as a quick compatibility screen: higher bars mean the parameter is closer to a common replacement-hub-motor match, not that the setup is guaranteed to fit. Treat it as a boundary check alongside axle type, controller voltage, and brake/frame clearance.
Tools and Materials You'll Need
Gather these items before starting:
- Socket set and wrenches (including specific sizes for your axle)
- Torque wrench (critical for proper tightening)
- Tire levers and pump
- Wire cutters, strippers, and connectors
- Zip ties and electrical tape
- Torque arm if required by your setup
- Replacement motor kit with matching specifications
For hub motors, install a torque arm or other axle-retention hardware if your motor and frame setup call for it, because hub-motor torque can try to rotate the axle in the dropouts.
Safety First: Essential Precautions
This project involves high-voltage electrical components and mechanical stresses. Disconnect the battery completely and verify no power remains in the system. Wear safety glasses and gloves. Work in a well-ventilated area away from flammable materials.
If you lack experience with electrical systems or feel uncomfortable with any step, consult a professional bike mechanic. This article only discusses comfort/setup advice; it does not constitute medical advice, diagnosis, or treatment; if persistent discomfort occurs or existing eye conditions are present, qualified professionals should be consulted. (Note: While this guide focuses on mechanical repair, always prioritize personal safety.)
Step-by-Step Hub Motor Replacement Process
1. Prepare the Bike and Remove the Wheel
Place the bike on a stable stand or upside down on a clean surface. Remove the battery. Loosen the brake caliper or cable. Disconnect any motor cables, noting their positions and using labels if needed.
Carefully remove the rear wheel by loosening the axle nuts or thru-axle. Support the bike to prevent it from falling.
2. Disassemble the Old Hub
If replacing just the motor (keeping the rim and spokes), carefully disassemble the hub assembly. This step can be complex and may require spoke tension adjustments later. Many riders opt for a complete wheel replacement with a pre-built hub motor wheel for simplicity.
3. Install the New Hub Motor
Insert the new motor into the wheel (if not pre-assembled) or install the complete wheel assembly. Reinstall torque washers, torque arms, and axle hardware exactly as required by your motor kit or frame setup.
Because the wheel hub can integrate drive and brake-related elements, a hub-motor replacement affects both mechanical and electrical fit.
4. Reconnect Electrically
Match connectors carefully. A hub-motor retrofit usually requires coordinating the motor, controller, throttle, and battery wiring as one system. Double-check polarity and ensure all connections are secure and insulated.
5. Reinstall the Wheel and Test
Reinstall the wheel, ensuring proper alignment in the dropouts. Tighten axle hardware to manufacturer specifications using a torque wrench. Reconnect the battery and perform a low-power test in a safe area before riding normally.
Common Mistakes to Avoid
- Skipping the torque arm when needed, which can damage dropouts.
- Using mismatched voltage components, leading to poor performance or failure.
- Improper cable routing that causes pinching or disconnection while riding.
- Over-tightening or under-tightening axle nuts.
- Ignoring brake alignment after wheel installation.
Reinstall torque washers, torque arms, and axle hardware exactly as required by your motor kit or frame setup.
Choosing the Right Replacement Motor
Consider your riding style when selecting a motor. Geared hub motors offer better efficiency and hill-climbing ability but may wear faster. Direct drive motors are quieter and more durable but heavier and less efficient at low speeds.
Prioritize motors from reputable suppliers that offer good warranty support and readily available parts. Look for kits that include a compatible controller if your existing one may not match.
When to Skip DIY and Seek Professional Help
Not every situation suits a home repair. If your bike has integrated smart systems, complex suspension, or you cannot confidently verify electrical compatibility, professional service is safer. Significant frame damage around the dropouts also warrants expert evaluation.
For battery-related concerns, reference official safety resources rather than attempting repairs yourself.
Maintaining Your New Hub Motor Setup
After installation, regularly check connections, spoke tension, and axle security. Keep the motor clean and avoid deep water crossings that could compromise seals. Monitor performance for unusual noises or power delivery changes.
Consider exploring related topics like proper battery care with our guide on e-bike battery replacement connectors and compatibility.
For more insights on serviceability trends, read our overview of 2026 e-bike serviceability and right-to-repair standards.
Final Thoughts
A successful e-bike hub motor replacement can extend your bike's life significantly while saving money compared to buying new. Results depend heavily on thorough preparation, accurate measurements, and methodical execution. When done correctly, the repair can feel more comfortable and reliable in your specific riding conditions, though outcomes vary based on component quality and installation precision.
Always prioritize safety and consult professionals for complex electrical work or if you encounter unexpected issues. With the right approach, DIY repairs help keep more e-bikes on the road and reduce waste.
Safety Disclaimer: This guide provides general information for educational purposes. Lithium-ion batteries can pose serious fire risks. This article discusses setup and repair practices only and is not a substitute for professional mechanical or electrical service. If you have any doubts about your ability to safely complete this repair, take your e-bike to a qualified technician. Consult official safety resources for battery handling guidelines.
