

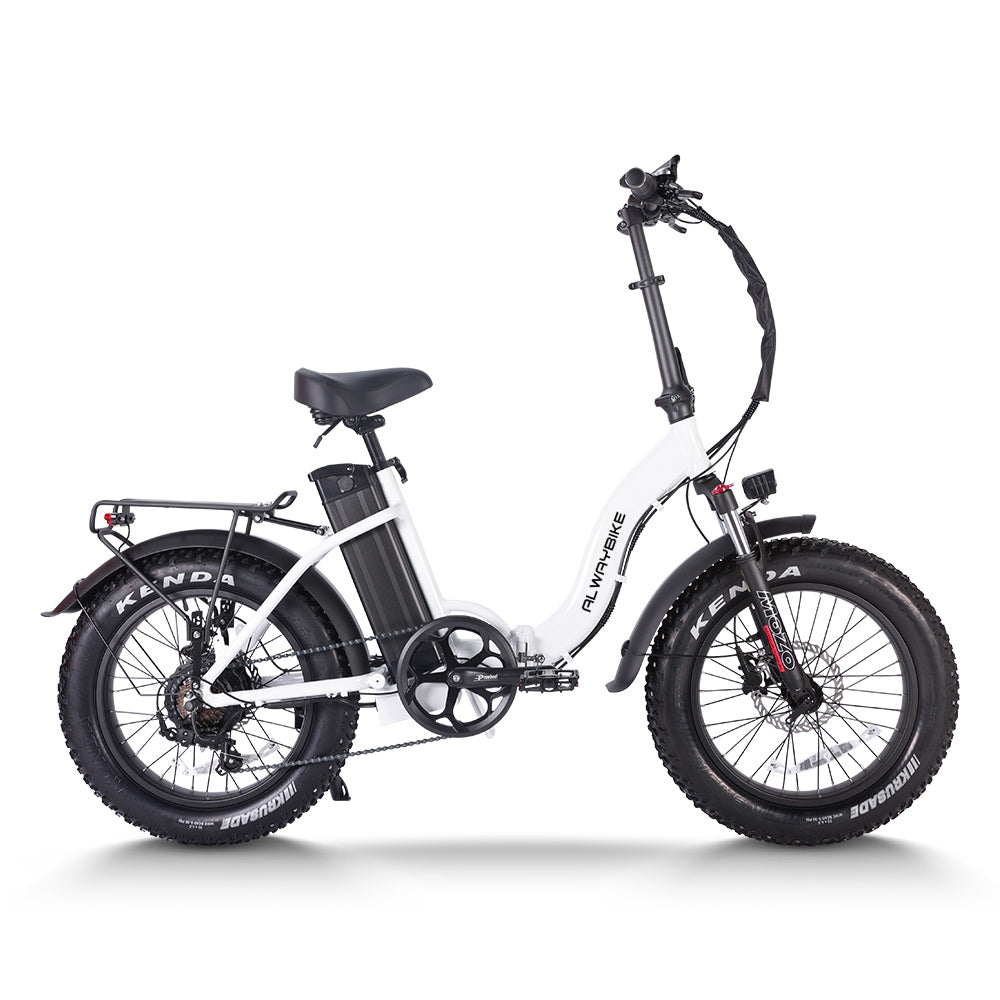

E-Bike Range for Work Commutes: Build a Reliable Reserve


A practical work-commute range plan: measure each leg, account for real conditions, protect a route-specific reserve, and validate charging before relying on it.
For dependable electric bike range for commuting, do not start with a universal mileage figure. Start with the full route, regular detours, rider and cargo load, hills, weather, temperature, assist level, and charging access. Then compare that scenario with a documented or observed range basis and protect a reserve you will not routinely use.

The decision is simple: mark the commute pass only when the conservative scenario covers the required legs and reserve. Mark it revise when you need to change the route, assist, charging plan, battery, or bike fit. Mark it verify when the evidence is too thin to rely on for work.
Calculate Your Minimum Reliable Commute Range
Your minimum reliable range is the distance your commute plan must cover after regular detours and a protected reserve are included. Use the no-charge plan unless workplace charging is genuinely confirmed.
- Measure every planned leg. Record home to work, work to home, and regular detours such as school drop-offs, errands, parking changes, or route diversions. A remembered one-way distance is not enough. Include the usual rider-and-cargo load when you measure or record the route.
- Record the charging assumption. Write either “no dependable workplace charging” or “confirmed workplace charging.” Treat an occasional outlet, a policy-dependent outlet, or an unverified arrangement as unavailable for the baseline plan.
- Choose the range basis. Use documented battery information, such as capacity in watt-hours (Wh), together with the bike’s stated range conditions, or use comparable trip data from the same bike. Battery capacity is an input, not a mileage promise. Record the expected assist level and other conditions beside it.
- Add the protected reserve and decide. Without charging, compare the complete outbound and return journey, regular detours, and reserve with the conservative range basis. With confirmed charging, compare the morning leg and evening leg with the charging window and reserve for each leg. Mark the result pass, revise, or verify.
This worksheet gives you a route-specific e-bike range for a daily work commute instead of a marketing maximum. Measure the normal home-to-work and return route before entering a range estimate, and update it when your normal cargo or detours change.

Account for Hills, Load, Temperature, and Assist
Range depends on the scenario. A route with sustained climbs, frequent stops, rough sections, exposed wind, cold temperatures, or frequent high assist may not match a mild-weather, lightly loaded estimate.
Create one condition record for the commute you actually plan to repeat:
- Route: Note sustained hills, repeated starts and stops, rough pavement, wind exposure, and traffic-related route changes.
- Load: Count the rider, clothing, work gear, groceries, child seats, and other cargo in the total load. Check the bike’s model-specific limits when they apply. Do not assume that a higher payload rating provides a matching range increase.
- Weather and temperature: Record the conditions for the most demanding season or weather pattern you expect to ride in. A cold-weather commute may need its own scenario rather than a casual adjustment to a mild-weather estimate.
- Assist and riding behavior: Record the usual assist level, speed pattern, stops, and start-up behavior. Higher assist generally uses more battery energy, but no fixed correction factor is supported here.
Battery capacity in Wh describes stored energy. Motor efficiency, terrain, carried weight, wind, temperature, assist, and riding behavior affect how quickly that energy is used. If any of those assumptions changes materially, recalculate or retest instead of applying a universal mileage reduction.
Choose a Reserve You Will Not Spend
There is no supported universal reserve percentage or mileage buffer for every commute. Set a protected reserve based on the consequences of arriving short, route variability, charging reliability, and your fallback options.
Make the reserve more conservative when a delay, detour, hill, cold day, changing load, or missed charging opportunity would disrupt work or leave you without a practical alternative. Express it in the same measure your bike and trip log support, such as a consistently interpreted battery state or remaining-range display. If the display changes its estimate as conditions change, treat that figure as a planning aid, not a guarantee.
Keep the reserve unavailable for routine riding. During validation and ordinary work trips, compare the conservative usable estimate with the planned journey plus that protected margin. If normal trips repeatedly consume the reserve, it is not doing its job. Revise the route, assist setting, charging plan, battery capacity, or bike fit before calling the commute dependable.
Decide Between Full-Trip Battery Capacity and Workplace Charging
Workplace charging changes the required battery plan only when access is available on the needed days, the charging window fits the workday, and the charger is compatible with the specific battery. An outlet alone is not a dependable charging plan.
| Charging status | Legs the bike must cover | Next action |
|---|---|---|
| No dependable charging | Outbound leg, return leg, regular detours, and protected reserve | Size the plan for the complete round trip. If it fails, test a lower-demand route or workable assist change before changing equipment. |
| Confirmed compatible workplace charging | Morning leg, charging window, evening leg, and the reserve assigned to each leg | Document access, timing, and compatibility, then validate both legs as one workday plan. |
| Charging is hoped for, occasional, or unconfirmed | Treat it as no charging for the baseline | Do not approve the commute on the assumption that the outlet will be available. Confirm the arrangement or use the full-trip plan. |
If the first plan fails, use the least disruptive fix that solves the measured problem: reduce route demand, change assist where workable, confirm dependable workplace charging, then consider a larger-capacity battery or another commuter e-bike when the bike documentation supports the fit. Do not infer commute range from battery size alone.
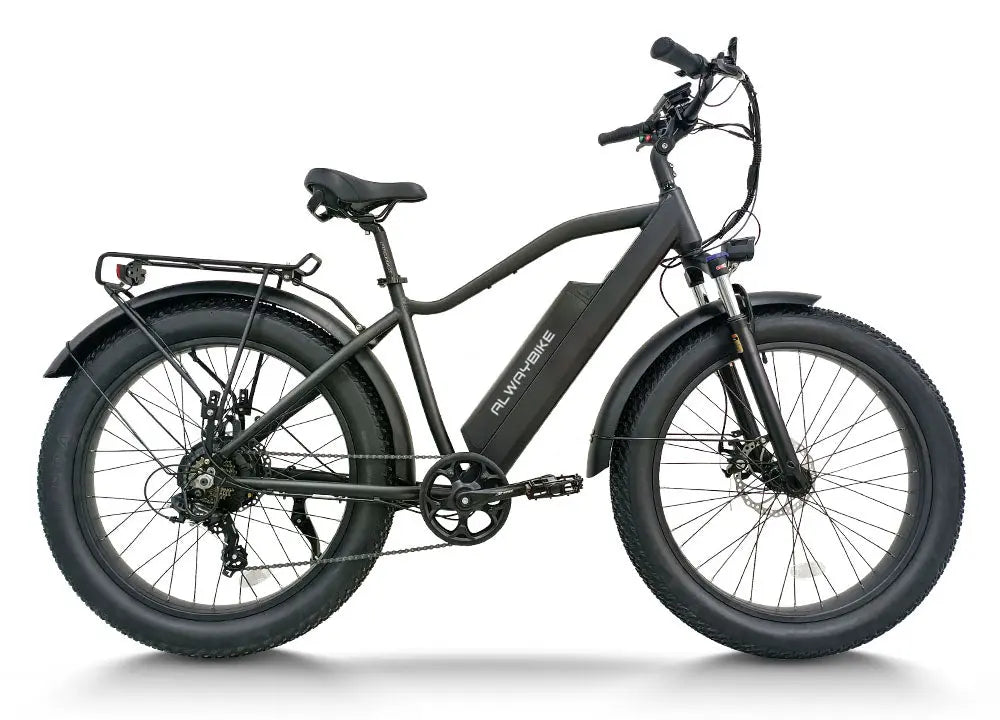
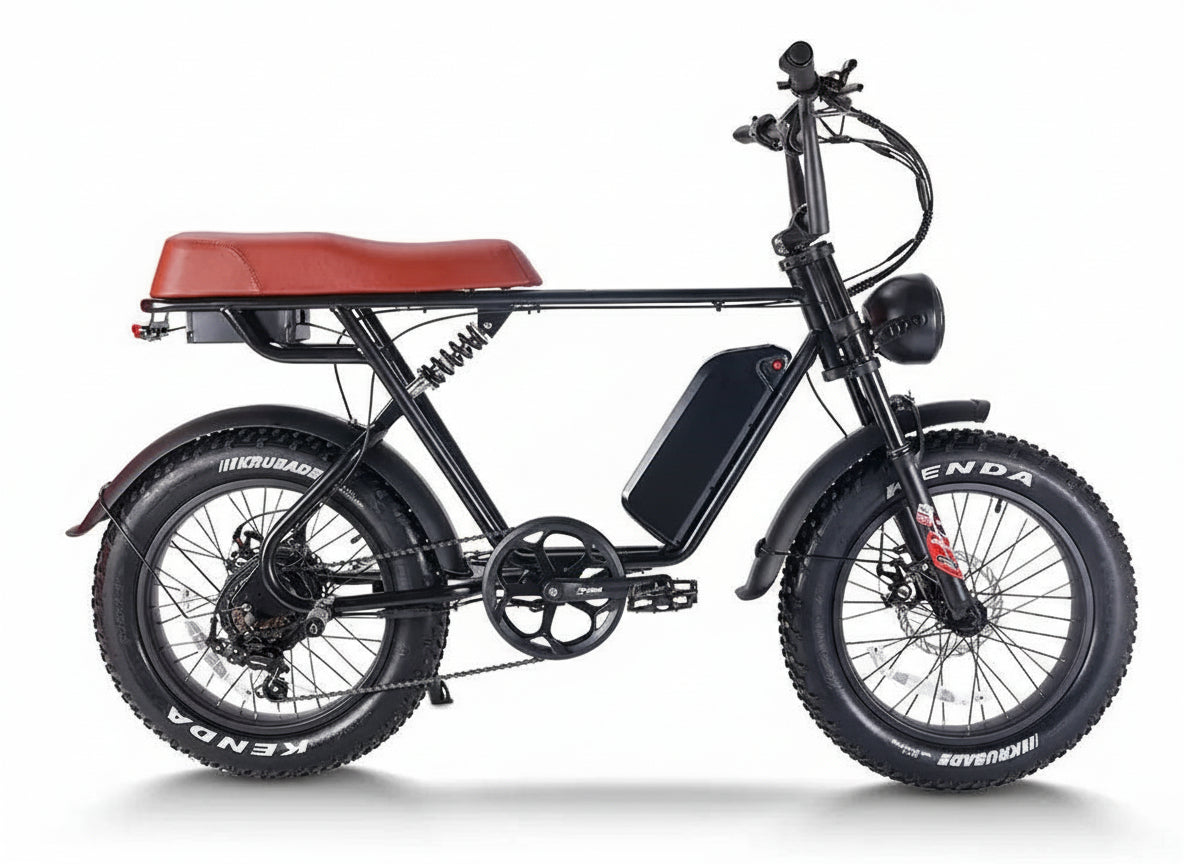
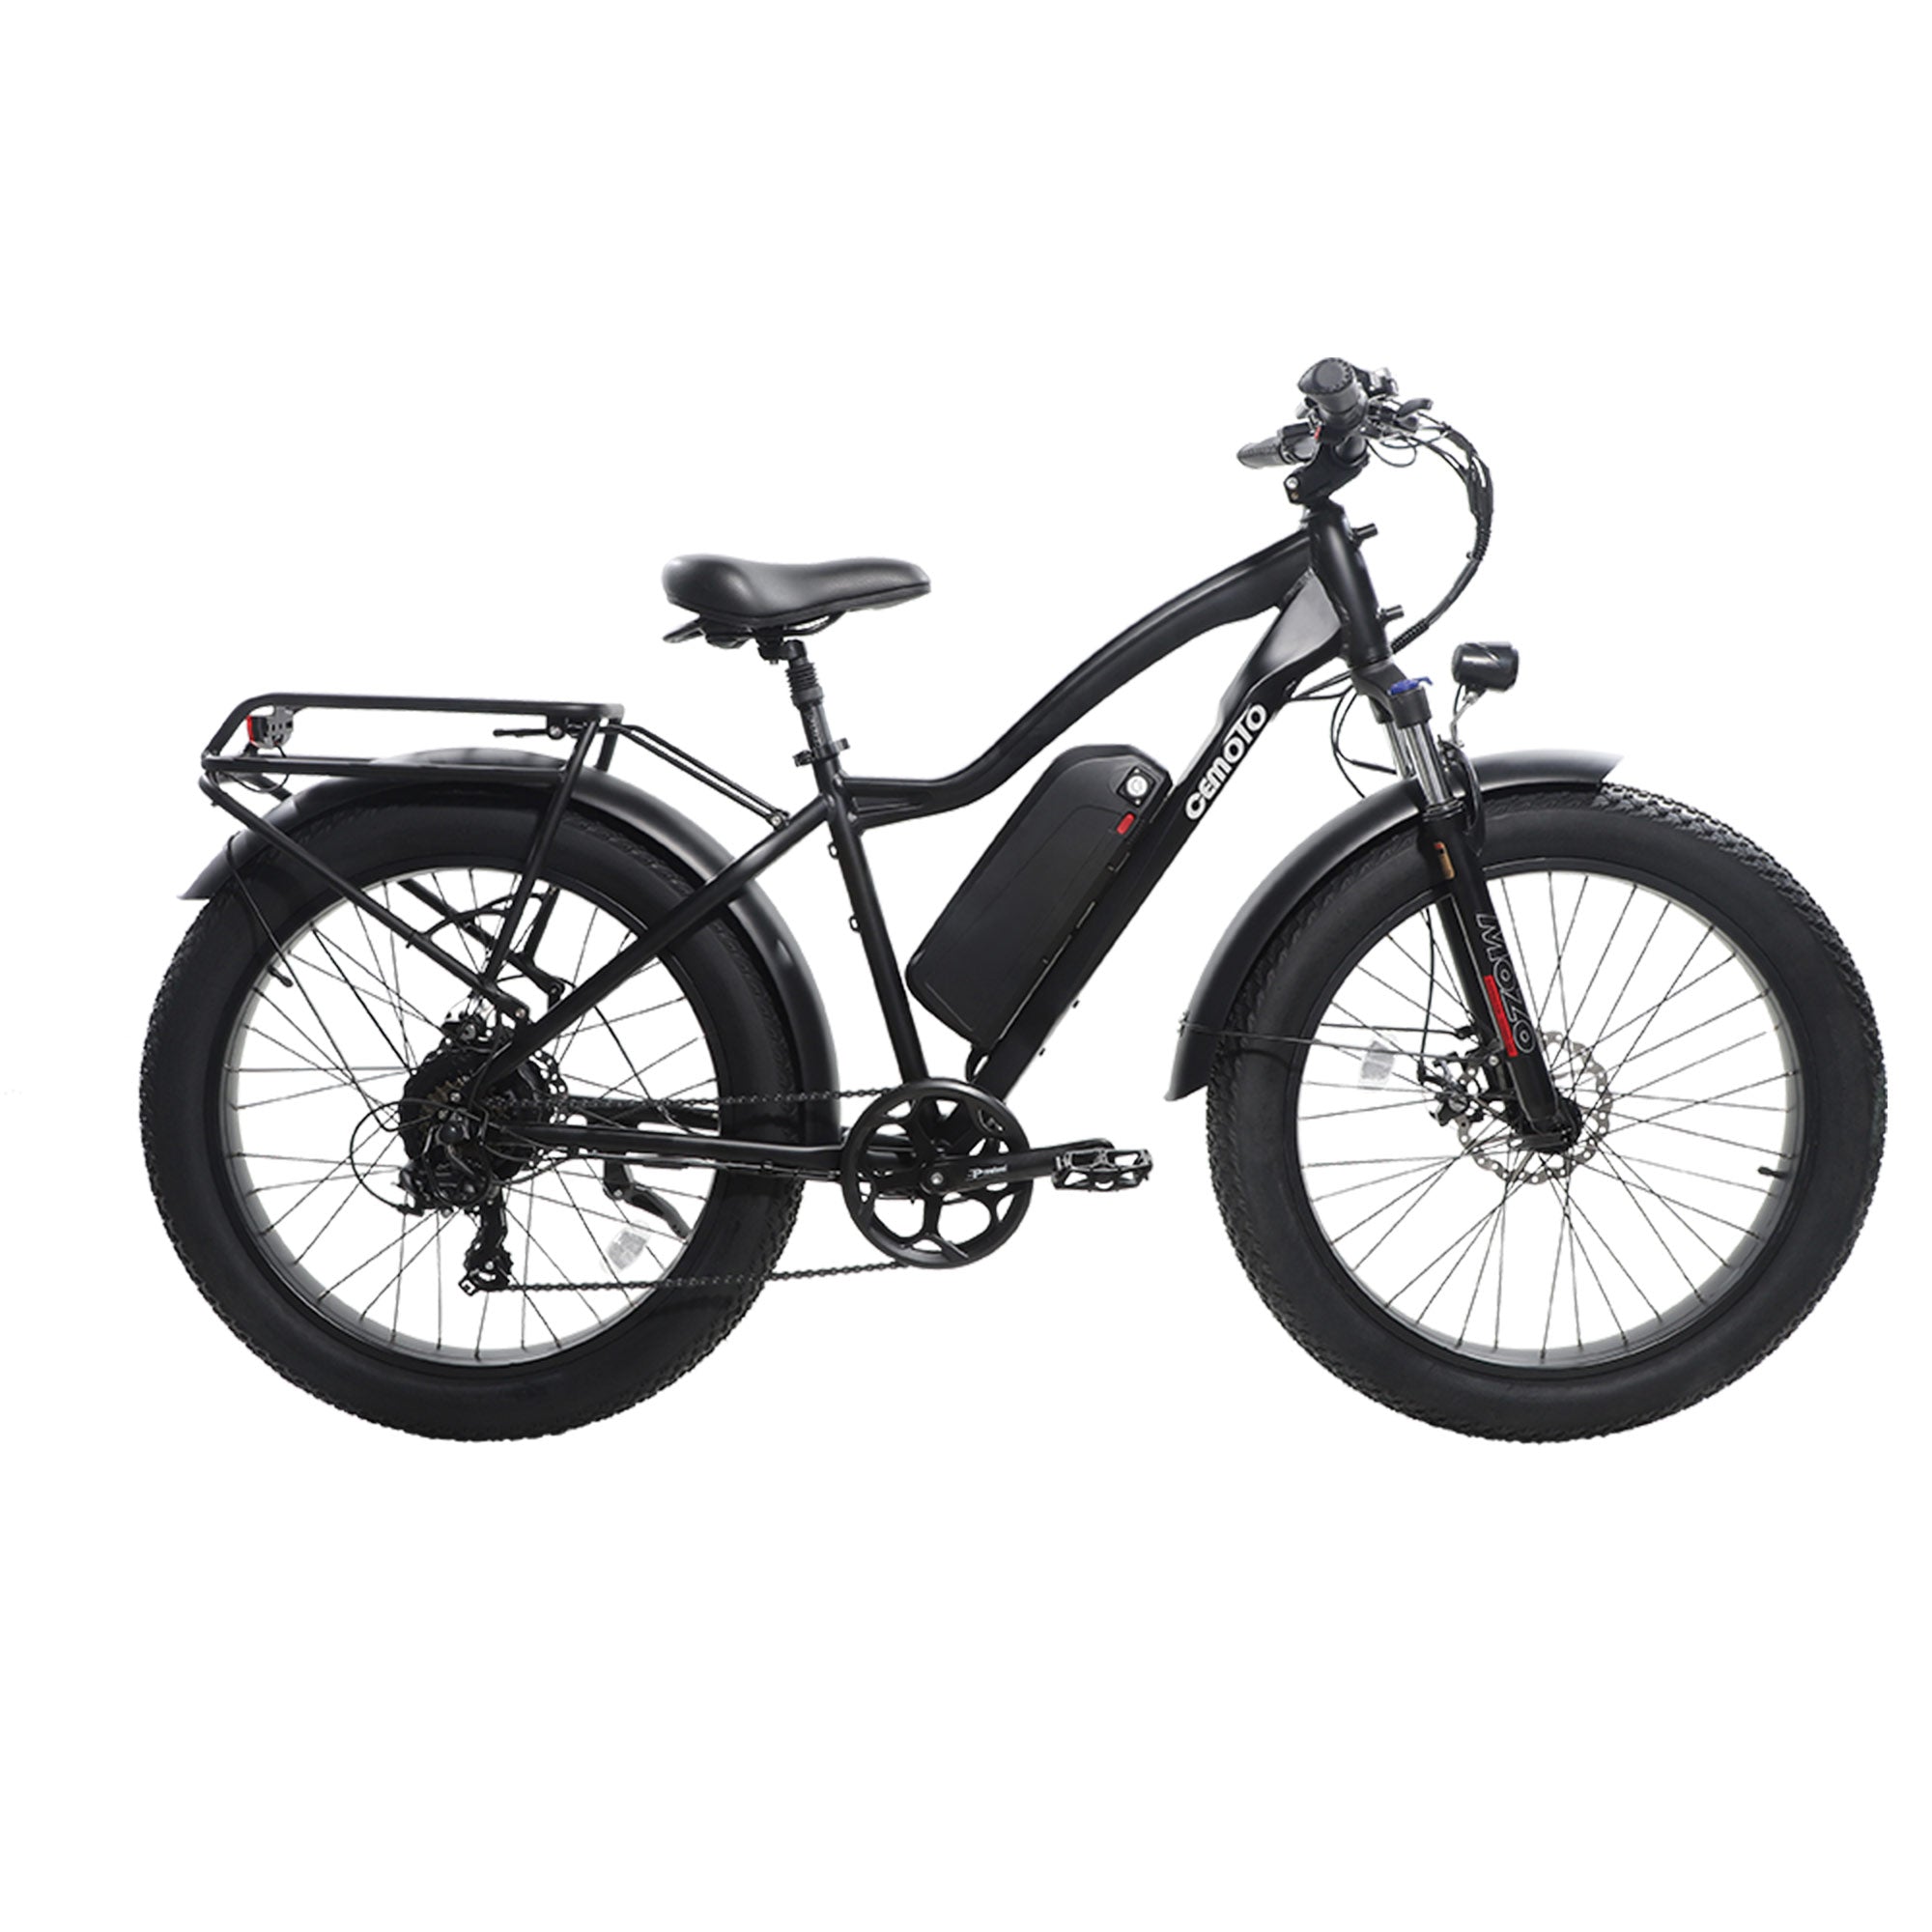
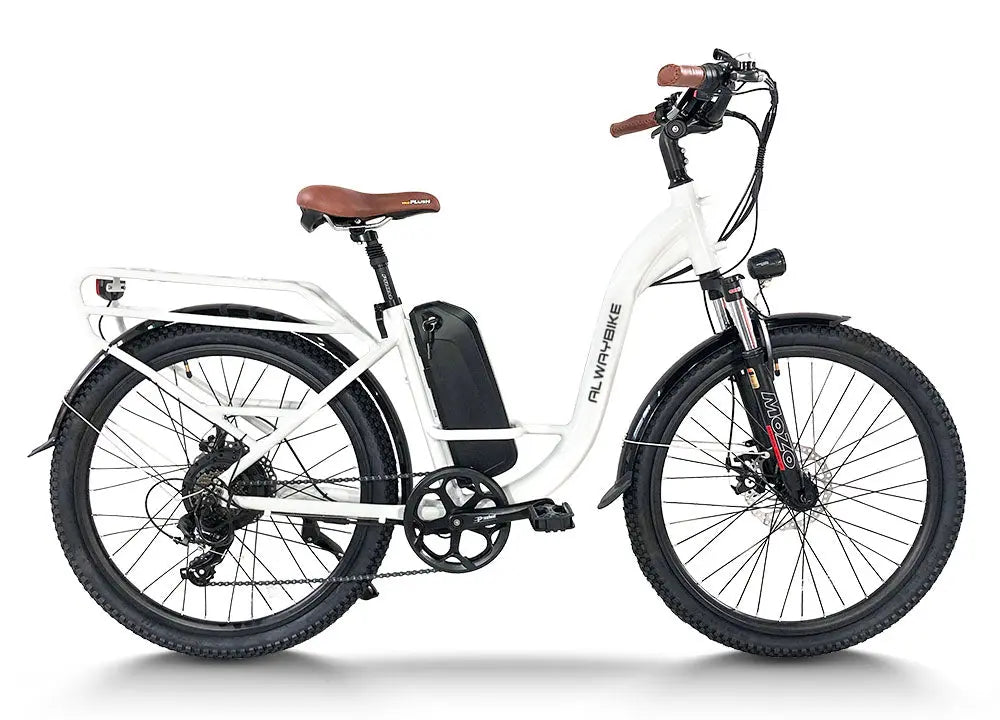
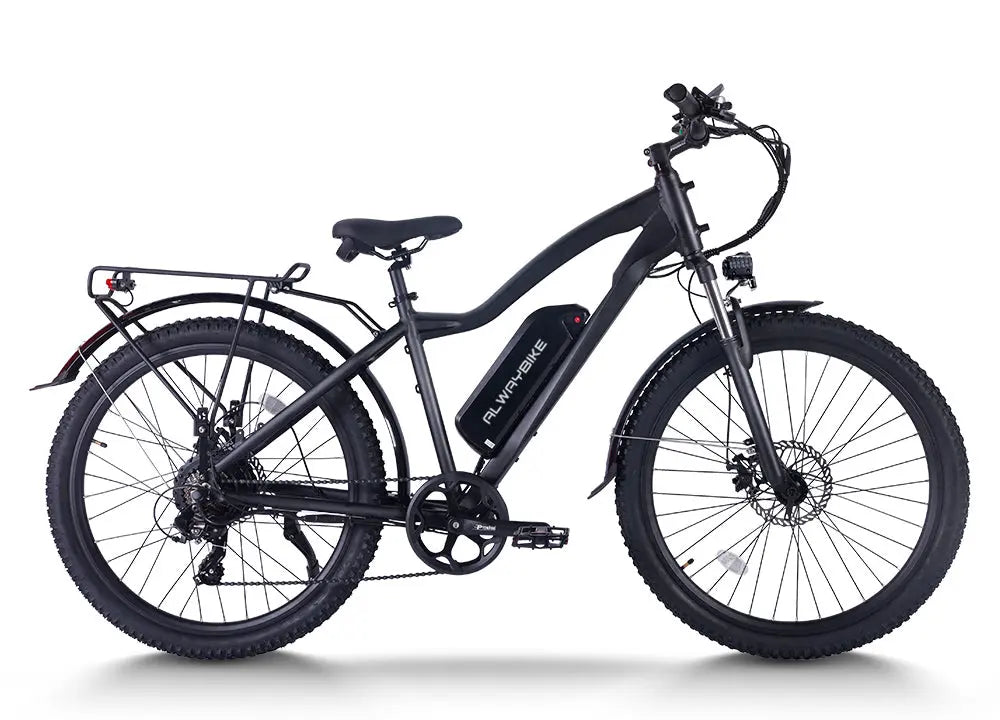
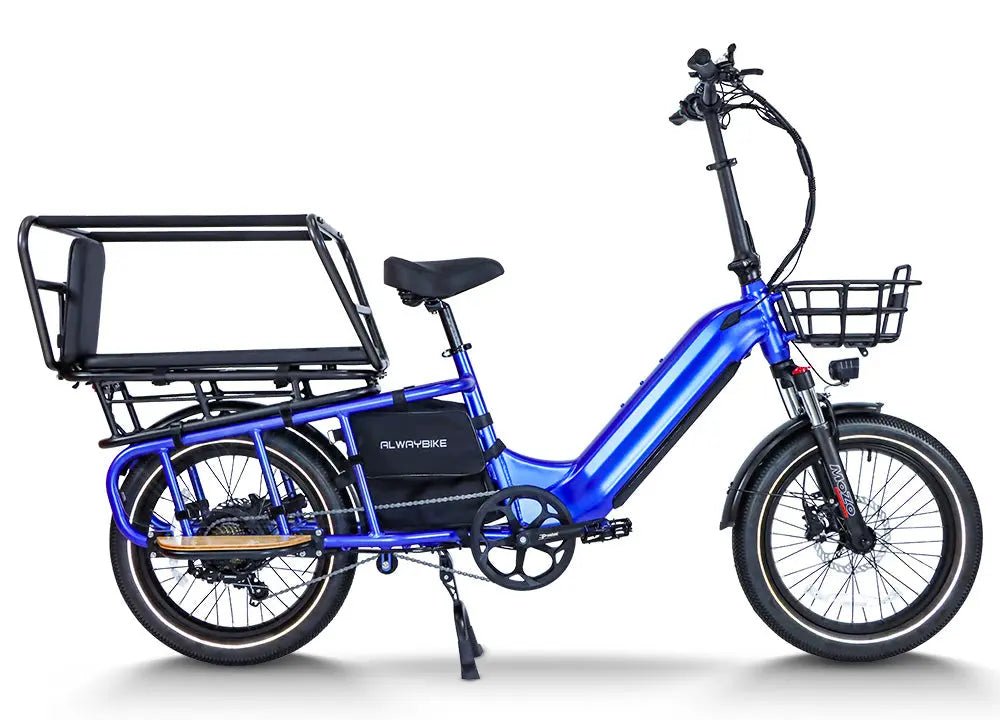
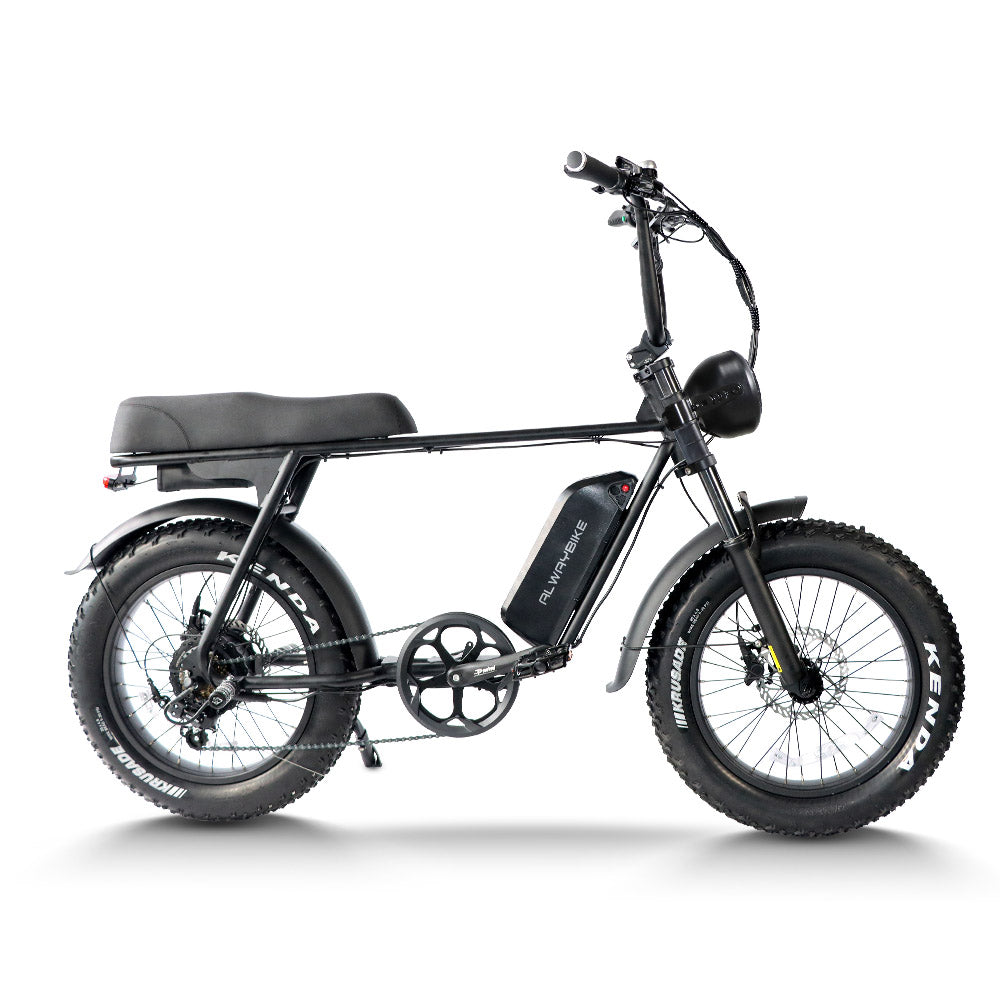
Once you know which scenario you need, you can review commuter e-bike options without treating a collection page as proof of range or compatibility. A listed product range still needs to be checked against your route, load, assist, weather, and reserve assumptions.
Verify the Plan on Real Commute Trips
A representative trip log is more useful than a generic range claim, but one favorable ride is not a guarantee. Test the actual route with the normal load, expected assist, and conditions that matter to your workweek.
Use a compact log like this for comparable trips:
| Date and route scenario | Conditions and inputs | Result |
|---|---|---|
| Date; normal route or detour; one-way or round trip | Load; temperature and weather; hills and stops; assist level | Starting and ending battery information; charging event; reserve protected or consumed |
| Date; demanding route scenario | Changed condition, such as cold, higher load, or more assist | Pass, revise, or retest; note the one variable to change next |
Protect the planned reserve during each validation ride. Log comparable trips before changing several variables at once. If a test misses, change one factor, such as the route or assist setting, and retest so you can identify what improved reliability.
Validate the demanding, repeatable scenario that matters to the workweek, not just the easiest ride. If a representative test reaches the destination without the planned reserve, do not make that commute routine. Change the plan and retest first. A successful test supports a planning decision; it does not guarantee future performance when conditions change.
Turn the Validated Plan Into a Workweek Charging Routine
A reliable workweek depends on repeating the validated scenario and checking the assumptions that can change each day. Keep the routine in your notes or calendar:
- Confirm the starting charge. Begin the week with the charge state supported by your validation record. Follow the maker’s charging and storage instructions for the specific bike and battery.
- Check the day’s assumptions. Before riding, confirm the route, load, temperature and weather, assist assumption, protected reserve, and actual charging access. If one condition is materially different, use a tested alternative or recheck the plan.
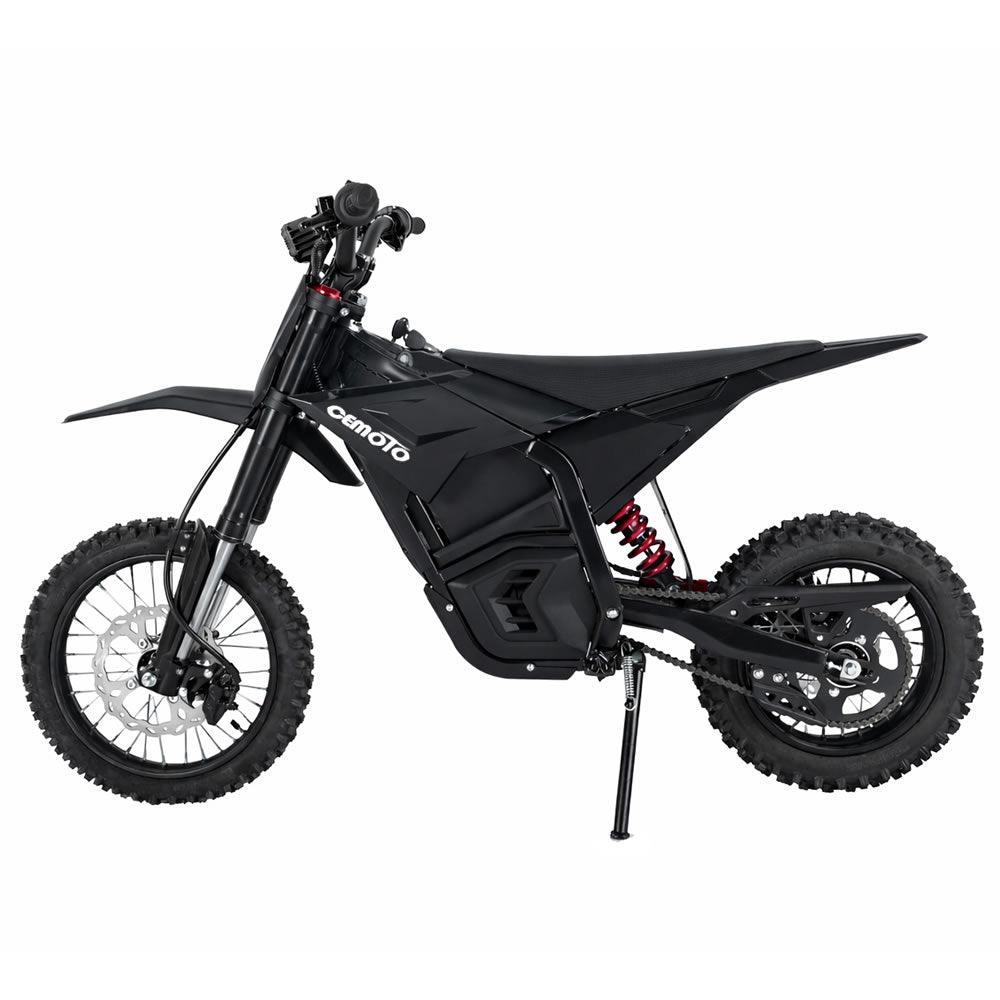
- Use only compatible charging. Confirm the charger matches the specific battery system. Do not use the supplied CEMOTO D03 charging station for an EB40 or B69 commute plan unless separate compatibility evidence confirms that fit; its supplied documentation identifies D03 electric dirt-bike battery systems.
- Switch when conditions change. If weather, cargo, route, assist, or charging access falls outside the validated scenario, use the tested alternative rather than spending the reserve to preserve the original plan.
- Write next week’s trigger. Record the required legs, selected scenario, protected reserve, confirmed charging point, and the condition that would trigger a route change or retest. Keep the reserve and a confirmed charging option in the plan rather than relying on an unverified outlet or a changing display estimate.
This turns an e-bike commute charging plan into an operating habit. The goal is not to prove that one ride was possible. It is to keep the same workweek decision clear when the route, load, temperature, assist, or charging access changes.
FAQs
How Far Can an E-Bike Go on One Charge for Commuting?
There is no single dependable distance for every commuter. Usable one-charge range changes with the bike, route, load, weather, temperature, terrain, and assist. Compare the planned legs plus your protected reserve, then verify the result on representative trips before relying on it for work.
How Much Range Do I Need for an E-Bike Commute?
Without dependable workplace charging, plan for the complete round trip, regular detours, and protected reserve. With confirmed compatible charging, evaluate the morning leg, charging window, evening leg, and reserve together. Use the scenario that matches your actual workweek, not a hoped-for outlet.
For an illustrative calculation only, enter your own values: 8 miles outbound + 8 miles return + 2 miles of regular detours + 3 miles of protected reserve = 21 miles of planned coverage. This result is not a typical commute figure. Replace every input with your measured route and selected reserve, then compare the total with a conservative usable-range basis.
How Much Reserve Should I Leave on an E-Bike Commute?
Choose a protected reserve based on route variability, charging reliability, fallback options, and the consequences of arriving short. Do not use a universal percentage as the answer. If ordinary trips consume the reserve, revise the plan and retest before treating the commute as dependable.
