

A Commuter E-Bike for Hills: Match Motor, Gearing, Brakes, and Range


Use the best electric bike for commuting framework to match a hilly route with motor behavior, gearing, brakes, tires, and enough battery reserve.
The best electric bike for commuting on hills is the one matched to your route—not the one with the biggest wattage label. Before comparing bikes, record your one-way and round-trip distance, steepest and longest climb, rider-plus-cargo weight, number of stops, surface and weather, and the reserve you need to get home. That profile determines which motor behavior, gearing, brakes, tires, and battery claims deserve attention.

Build a route specification before comparing e-bikes
Start by writing down the route details below. This is a practical comparison method, not a universal formula or required regulatory worksheet. A complete route and component comparison keeps the bike, rider, load, terrain, and controls in the same decision instead of reducing hill performance to motor wattage.
| Route input | What to record | Why it changes the bike requirement |
|---|---|---|
| Distance | One-way and round-trip miles | Determines total assistance and battery demand, especially when charging is unavailable at work. |
| Climb pattern | Steepest and longest climb; note whether hills are sustained, repeated, or short | Changes the importance of motor behavior, rider contribution, usable low gearing, and reserve. |
| Rider-plus-cargo load | Rider, backpack, work gear, groceries, or other routine cargo | Must stay within the manufacturer's stated limit and affects climbing effort, braking checks, and energy use. |
| Stops | Traffic lights, intersections, and other frequent starts | Makes low-speed assistance, pickup, shifting access, and repeated brake control more important. |
| Surface and weather | Paved, rough-paved, mixed, wet, or soft surfaces; typical wind and temperature | Guides tire and pressure checks and may increase the route's energy or control demands. |
| Return-trip reserve | The battery capacity you want remaining after the commute | Creates a route-specific selection condition instead of treating a maximum-mileage claim as a guarantee. |

Measure the route with your normal backpack, groceries, or work gear, and note both the climb and descent. Mark estimates that need a route test instead of treating them as exact specifications. This worksheet is the foundation for choosing an electric bike for commuting because wattage alone cannot account for load, stops, gearing, braking, traction, and energy demand.
Choose the best electric bike for commuting by climb pattern
Consider hub-drive commuter candidates when straightforward assistance on a primarily paved route is the priority. Consider mid-drive candidates when sustained or changing grades make the bicycle's gearing central. This is a conditional starting point, not a universal ranking: compare actual low-speed behavior, rider input, load, and the longest climb instead of choosing by printed wattage.
A hub-drive may suit a paved city commute with frequent starts when the rider values straightforward assistance and predictable controls. A mid-drive may suit a route with sustained or changing grades when the rider needs to work through the bicycle's gearing as the climb changes. Neither format is automatically the best electric bike for commuting on every hill.
On a test ride, compare assistance from a stop, at your typical route speeds, and through the longest climb. Notice whether you can contribute comfortably, maintain control at low speed, and receive usable assistance for the entire section. Controller limits, heat behavior, and torque details remain product-specific, so confirm them for each bike. If the stated load limit or motor behavior under your combined rider-and-cargo weight is unclear, treat the candidate as unconfirmed instead of using wattage as a substitute.
For initial category research, compare commuter e-bike options for primarily paved daily travel and mountain e-bike options when mixed surfaces or additional control demands make that relevant. These destinations help you find candidates; they do not establish that every bike in a category fits your route.
Match gearing to a controllable climbing cadence
Require a genuinely usable low gear, then test it with your normal cargo. Gear count alone does not show whether the lowest ratio lets you pedal smoothly on the steepest section, so compare the usable range, shift timing, and behavior under assistance.
Shift into a lower gear before the steepest section when practical. During the test, verify that you can shift without losing control and continue pedaling smoothly while the motor assists. A low gear may be central to a sustained climb and less important on a short rise, so let the route determine how much weight to give this check.
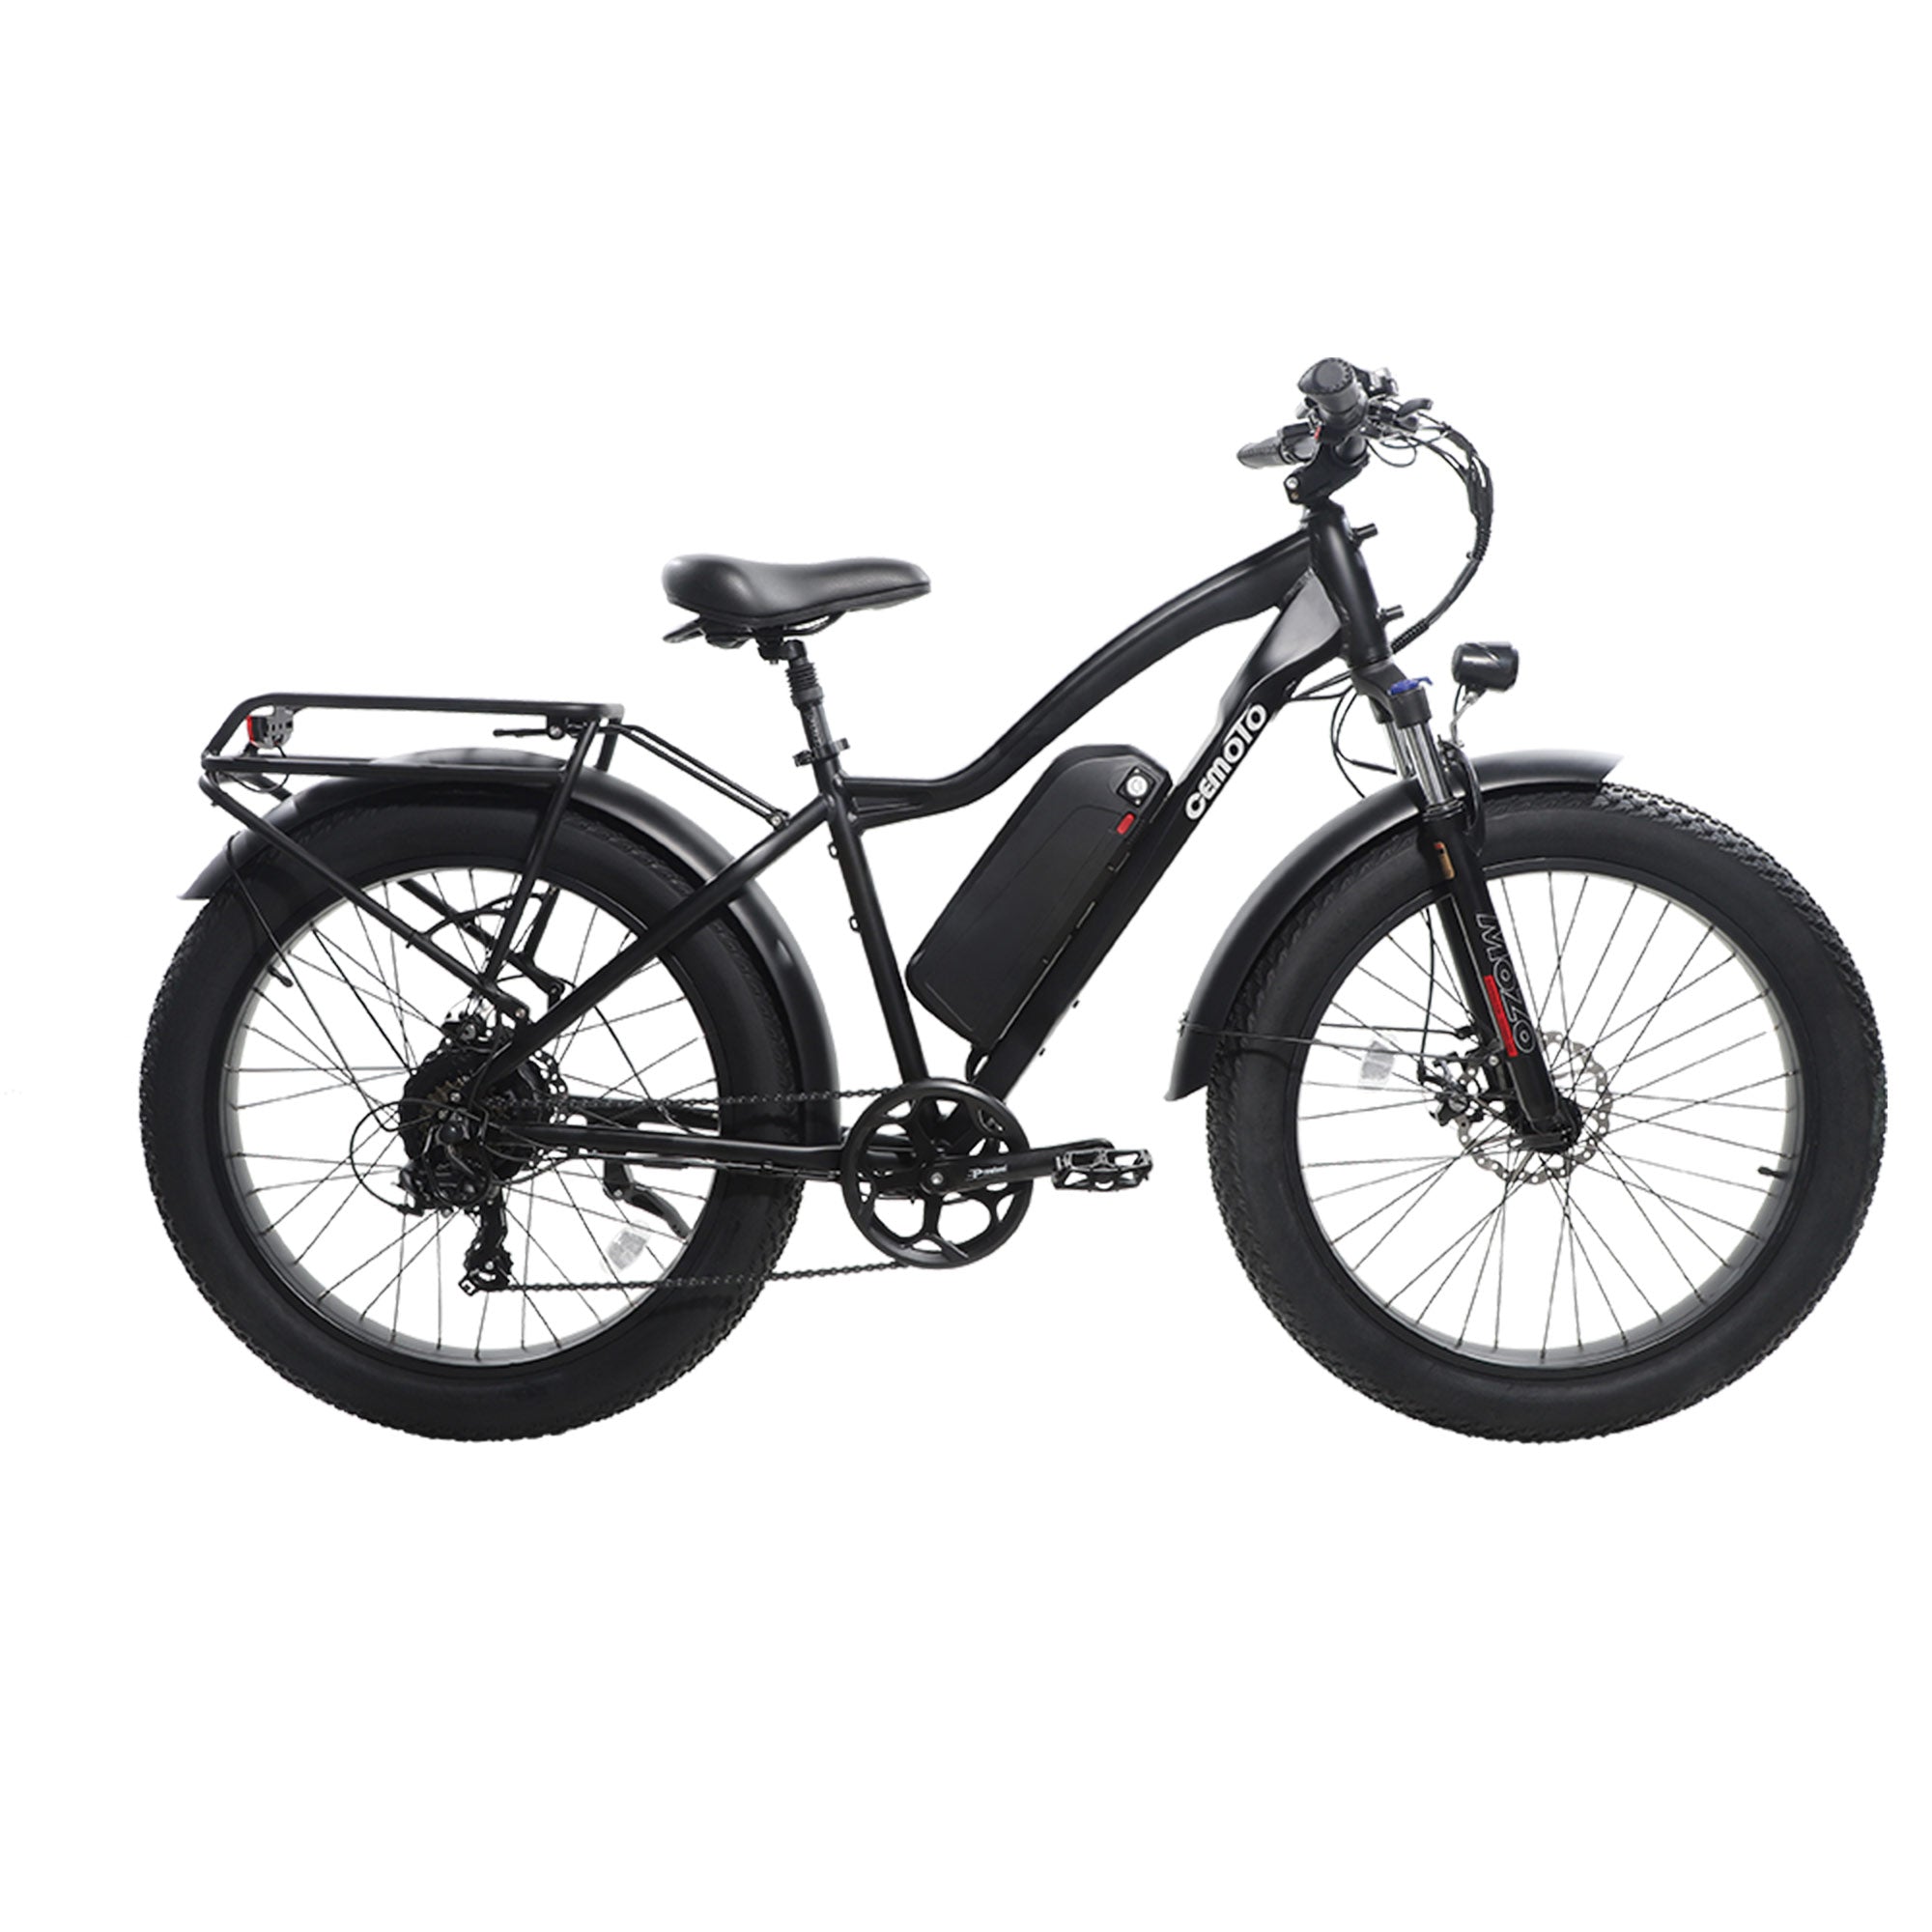
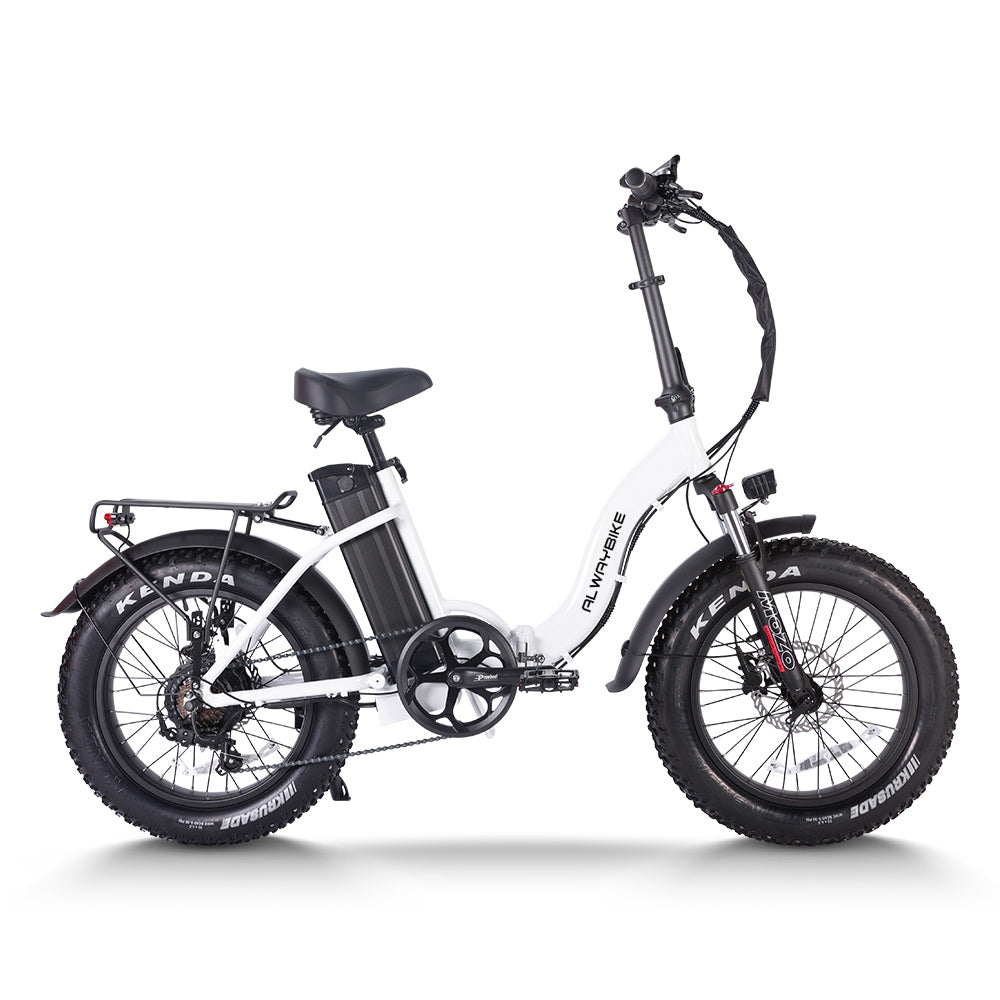
The supplied EB40 7-speed commuter specification identifies a Shimano 7-speed drivetrain. That is a product detail to compare with your route, not proof that seven speeds or any stated gear count is sufficient for every hill. The supplied EB40 information contains conflicting motor, battery, and brake descriptions, so confirm the current product specification before using those fields in a purchase comparison.
Specify brakes and tires for loaded stops and descents
Check the complete brake equipment, lever control, tire contact, and stated load limit under the conditions you actually ride. A brake or tire label does not establish stopping distance, wet-road performance, or universal hill handling.
Check brake control on repeated stops and descents
Verify the stated brake system and evaluate lever feel, modulation, and controllability with the normal load. Use a cautious, representative descent and a stop-heavy section rather than relying on a product label. US bicycle requirements address brake-system performance and integrity, but they do not prove that a particular setup feels right on your route, so review the brake-system requirements and control checks alongside an appropriate test.
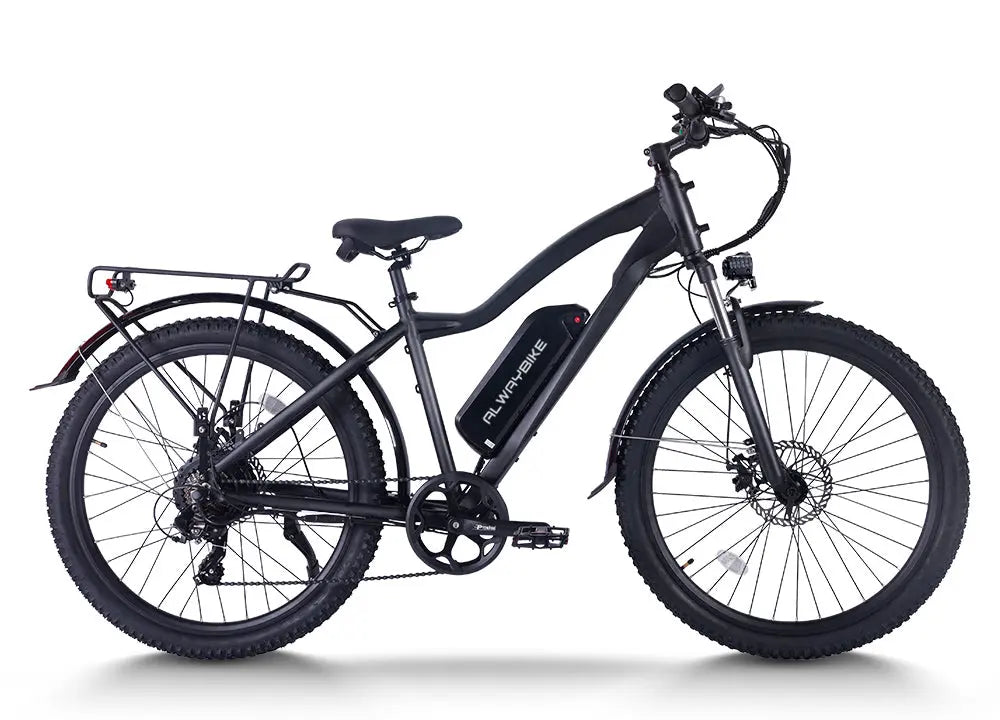
The supplied B28A facts identify hydraulic disc XOD brakes. The EB40 facts describe its brakes inconsistently, so do not use the EB40 as a precise brake comparison until the current page reconciles those details. A B28A brake specification can identify equipment for inspection, but it does not guarantee braking performance on a loaded or wet descent.
Match tire contact to surface and weather
Compare tire size, tread, pressure guidance, and surface fit for your actual paved, rough-paved, mixed, wet, or soft route. The goal is appropriate contact and controllable handling for the conditions, not a promised wet-traction result based on a tire label.
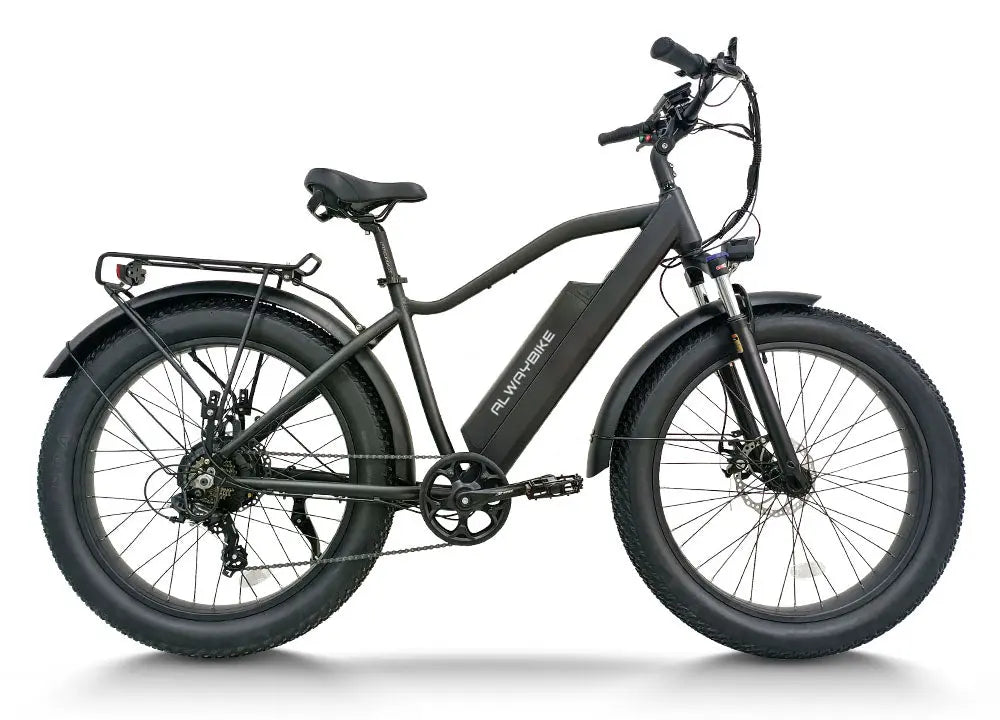
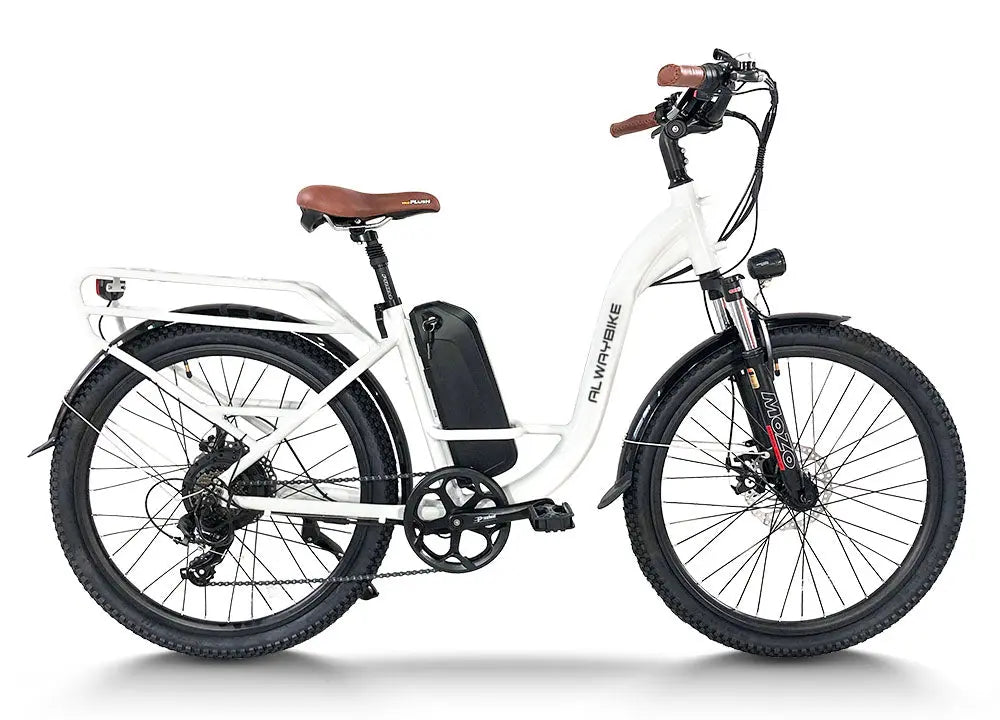
The supplied B28 facts identify 27.5-inch wheels and 27 x 2.35 all-terrain tires, while the B28A facts identify 26 x 4.0 CST fat tires. Use the B28 all-terrain tires page and the B28A page to inspect the stated equipment, then compare fit, load, pressure guidance, and actual route behavior. Do not buy for a steep or wet route when the stated load limit, braking equipment, or rider fit is unclear. An advertised wattage or range figure is not enough to establish suitability.
Estimate battery range with a reserve for the full commute
Estimate the full round trip first, then account for conditions that can increase energy use: hills, rider-plus-cargo load, frequent stops, assist level, wind, cold temperatures, and rough or soft surfaces. Set your desired reserve before comparing batteries, and increase it when the return trip has no convenient charging option.
A useful process is:
- Write down the round-trip distance in miles.
- Describe the demanding conditions, including climb pattern, load, stops, assist needs, temperature, wind, and surface.
- Compare a product's range claim only when its test conditions resemble those conditions.
- Decide whether the remaining capacity at the end of the route is adequate for normal variation and for the consequences of arriving short.
There is no supported universal reserve percentage or mileage threshold for every commuter. Independent testing notes that range changes with hills, assist settings, rider input, terrain, and load, so treat range as variable with test conditions and terrain, not as a fixed promise. The supplied EB40, B28A, and B28 figures are page or manufacturer claims, not route-specific guarantees. Our e-bike range simulator can help organize speed, weight, and terrain assumptions, but it is a planning aid rather than independent proof.
Shortlist the right category, then verify it on your route
Use the finished route specification to choose where to look, then retain only candidates that pass current specification checks and a normal-load route test. A commuter format is a logical place to start for primarily paved daily travel; a mountain format deserves comparison when mixed surfaces, tire contact, wheel setup, or control demands make it relevant.
Before buying, verify the current motor and battery details, drivetrain and lowest usable gear, brake and tire equipment, stated load limit, rider fit, battery and charger compatibility, included equipment, and range test conditions. For US access, the commonly used framework defines Class 1 as pedal assist up to 20 mph, Class 2 as throttle operation up to 20 mph, and Class 3 as pedal assist up to 28 mph. Local road, path, and trail rules can differ, so review the Class 1, Class 2, and Class 3 definitions and verify the rules where you ride.
Confirm the manufacturer's weight limit for the actual rider-plus-cargo load and inspect the brakes, tires, frame, throttle, and controls before riding. These checks align with the manufacturer weight limit and pre-ride inspection. Use only the manufacturer-approved charger and compatible replacement battery, and follow the charging instructions; do not infer a specific certification from a product label.
Bring your normal backpack or cargo to the test ride. Test the steepest climb, a representative descent, and a stop-start section. Keep a candidate on the shortlist only when its assistance, usable gearing, braking control, tire contact, fit, load limit, access requirements, and planned reserve match the worksheet. If one of those conditions fails or remains unclear, compare another format or candidate rather than forcing the purchase.
FAQ: choosing an e-bike for a hilly commute
What is the best e-bike for a hilly commute?
There is no universal best model. The best candidate is the one whose verified assistance, usable low gear, brakes, tires, fit, load limit, and reserve match your measured route. Route-test the finalists with your normal cargo before choosing.
How much power does an e-bike need for hills?
No single wattage threshold establishes hill suitability. Grade duration, rider-plus-cargo load, gearing, motor behavior, rider input, and control all matter. Compare the complete system through the longest climb instead of selecting by the printed motor number.
Does battery range drop on hills?
It can. Hills, heavier loads, frequent stops, higher assist, wind, cold temperatures, and rough or soft surfaces can increase energy use. Compare range claims with similar test conditions and plan enough reserve for the return trip.
Should I choose a hub-drive or mid-drive e-bike for hills?
Consider hub-drive commuter candidates when straightforward paved assistance is the priority. Consider mid-drive candidates when sustained or changing grades make bicycle gearing central. Confirm the current specifications and route-test both formats when possible.
