

Electric Bike Seat and Handlebar Fit: A Home Measurement Guide


Build an e-bike fit record at home with inseam, saddle height, reach, and bar position, then match missing geometry with support before checkout.
Gather a tape measure, a wall, a level, a book, and your usual riding shoes before comparing e-bikes online. Measure your inseam, then record saddle height, handlebar position, and reach on a comfortable bike if you have one. Keep the shoes, stance, posture, endpoints, and repeated readings consistent, and note them beside each measurement. This e-bike fit screen can narrow your options, but missing geometry or adjustment limits still require confirmation from the seller.

Measure Your Starting Points for an E-Bike Fit Check
Start with a four-row record that connects each body measurement to the product-page detail it should answer. If a matching detail is missing, leave it unresolved and turn it into a support question instead of judging fit from the photo.
| Measurement | Repeatable at-home method and endpoints | Product-page detail or support question |
|---|---|---|
| Inseam | Stand against a wall with your feet comfortably apart. Hold a level book firmly upward and measure from the floor to the top of the book. Record whether you wore shoes, and repeat the reading. Value: ____ | Frame-access or standover guidance and any stated sizing context. If absent: “What frame-access measurement and reference points apply?” |
| Current saddle height | On a comfortable bike, measure from the bottom-bracket area to the top of the saddle along the seat-tube direction. Record the saddle position and your shoes. Value: ____ | Minimum and maximum saddle height, seatpost details, and the seller’s measurement endpoints. |
| Handlebar position | Record bar height and the reference point used. Note saddle position, posture, and any cockpit adjustment. Value: ____ | Handlebar height, stem or spacer adjustment, and the reference method used on the product page. |
| Reach | Record the horizontal saddle-to-handlebar distance between named reference points on a comfortable bike. Value: ____ | Published reach or cockpit dimensions and available adjustment. If absent: “Which points define reach, and what adjustments are available?” |
Repeat each reading with the same stance, shoes, clothing, and reference points. A consistent record gives you comparable inputs for an online e-bike fit check; it does not create a universal target or guarantee comfort. When you are ready to compare formats, browse electric bike formats, using the worksheet to identify the product details you still need.

Measure Inseam and Screen Frame Access
Measure your inseam at home by standing against a wall with your feet comfortably apart. Use bare feet or your usual riding shoes, then keep that choice consistent. Hold a level book or similar object firmly upward between your legs and measure from the floor to the top of the book.
Repeat the reading and write down the setup conditions. Inseam is one input for an electric bike size screen. It can show that frame access and saddle-position questions need closer attention, but it does not determine complete fit. Do not apply a universal inseam-to-size formula or clearance number. Instead, compare your measurement with the seller’s frame-access or standover information, if those details use defined reference points.
If the product page does not explain frame access, ask support for the relevant measurement and its endpoints. Leave the choice unresolved when access could affect your decision and the seller cannot confirm the geometry. That is more useful than treating a nominal frame label or product photo as a sizing answer.
Compare Saddle Height With the Bike’s Adjustment Range
A comfortable current bike can provide a useful saddle-height comparison, but only when you define the endpoints. Measure from the center of the bottom-bracket area to the top of the saddle along the seat-tube direction. Record the saddle’s fore-aft position, your shoes, and the posture used for the measurement.
Compare that number with the new bike’s stated minimum and maximum saddle height only when the seller confirms that the endpoints match. Treat seatpost travel as a separate adjustment-limit detail unless the seller provides a directly convertible reference. Ask, “Is this saddle-height range measured from the bottom-bracket area to the top of the saddle, and what seatpost or other adjustment limits apply?”
If you do not have a current bike, send support your inseam, intended posture, and riding context instead of inventing a saddle-height target. Saddle height screens a leg-position question only. It does not establish frame access, pedal relationship, handlebar reach, or real-world comfort.
Measure Handlebar Reach and Position for the Intended Ride
Record handlebar height separately from reach, then set the bar height before judging reach in your home screen. On a comfortable bike, note saddle fore-aft position, bar height, horizontal saddle-to-handlebar distance, and any stem, spacer, or other cockpit adjustment. Use named reference points and the same setup for every reading.
For a repeatable home reference, British Cycling’s saddle and handlebar setup method describes setting handlebar height before reach and using a level from the saddle midpoint toward the handlebars. Use it as a general bicycle method, not as an e-bike-specific target or comfort guarantee.
Your reach record becomes useful when the product page provides matching reach or frame-geometry points and lists handlebar, stem, spacer, or cockpit adjustments. If you do not have a current bike, describe your intended posture instead: upright commuting, neutral recreation, or a more forward position for off-road riding. Ask support for the model’s reach, bar height, reference points, and adjustment limits. Reach depends on posture and use, so neither a product photo nor a nominal frame label can confirm it.
Change the Fit Questions by E-Bike Format
The right e-bike fit questions change with access, posture, transport, terrain, and load use. Treat each format as a different set of screening questions, not as proof that it fits a particular rider.
Commuter and Standard Frames
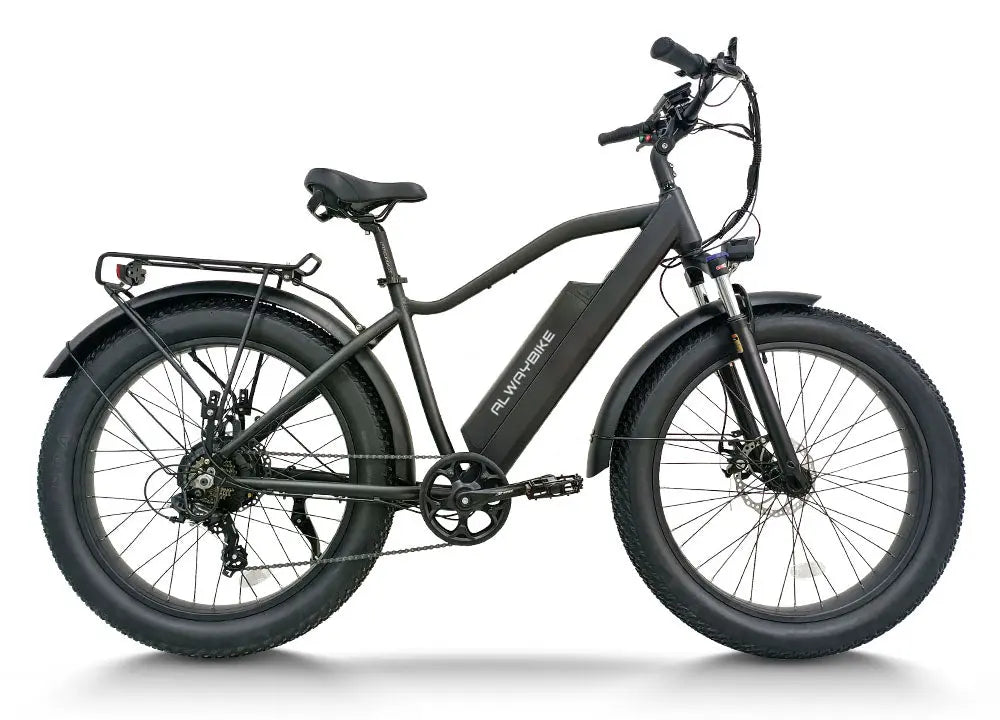
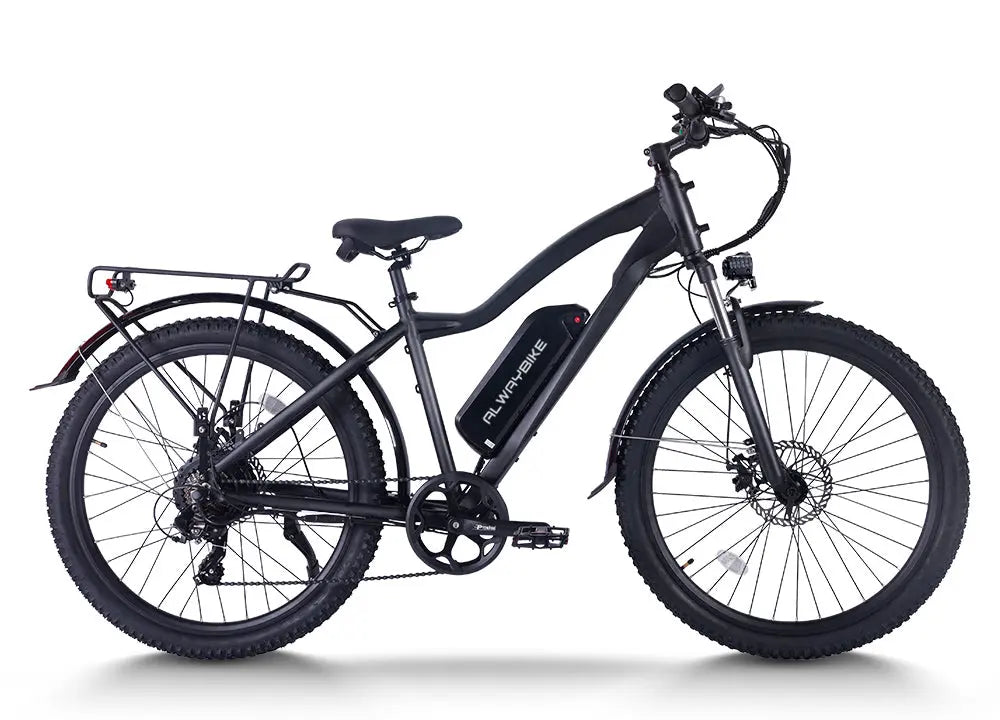
Compare inseam and saddle-height range first, then check frame-access context and reach against the published geometry. Match the contact points to your regular commuting posture rather than assuming the photo shows the needed relationship. An upright commuter position may raise different handlebar questions than a more forward recreational position.
Step-Through Frames
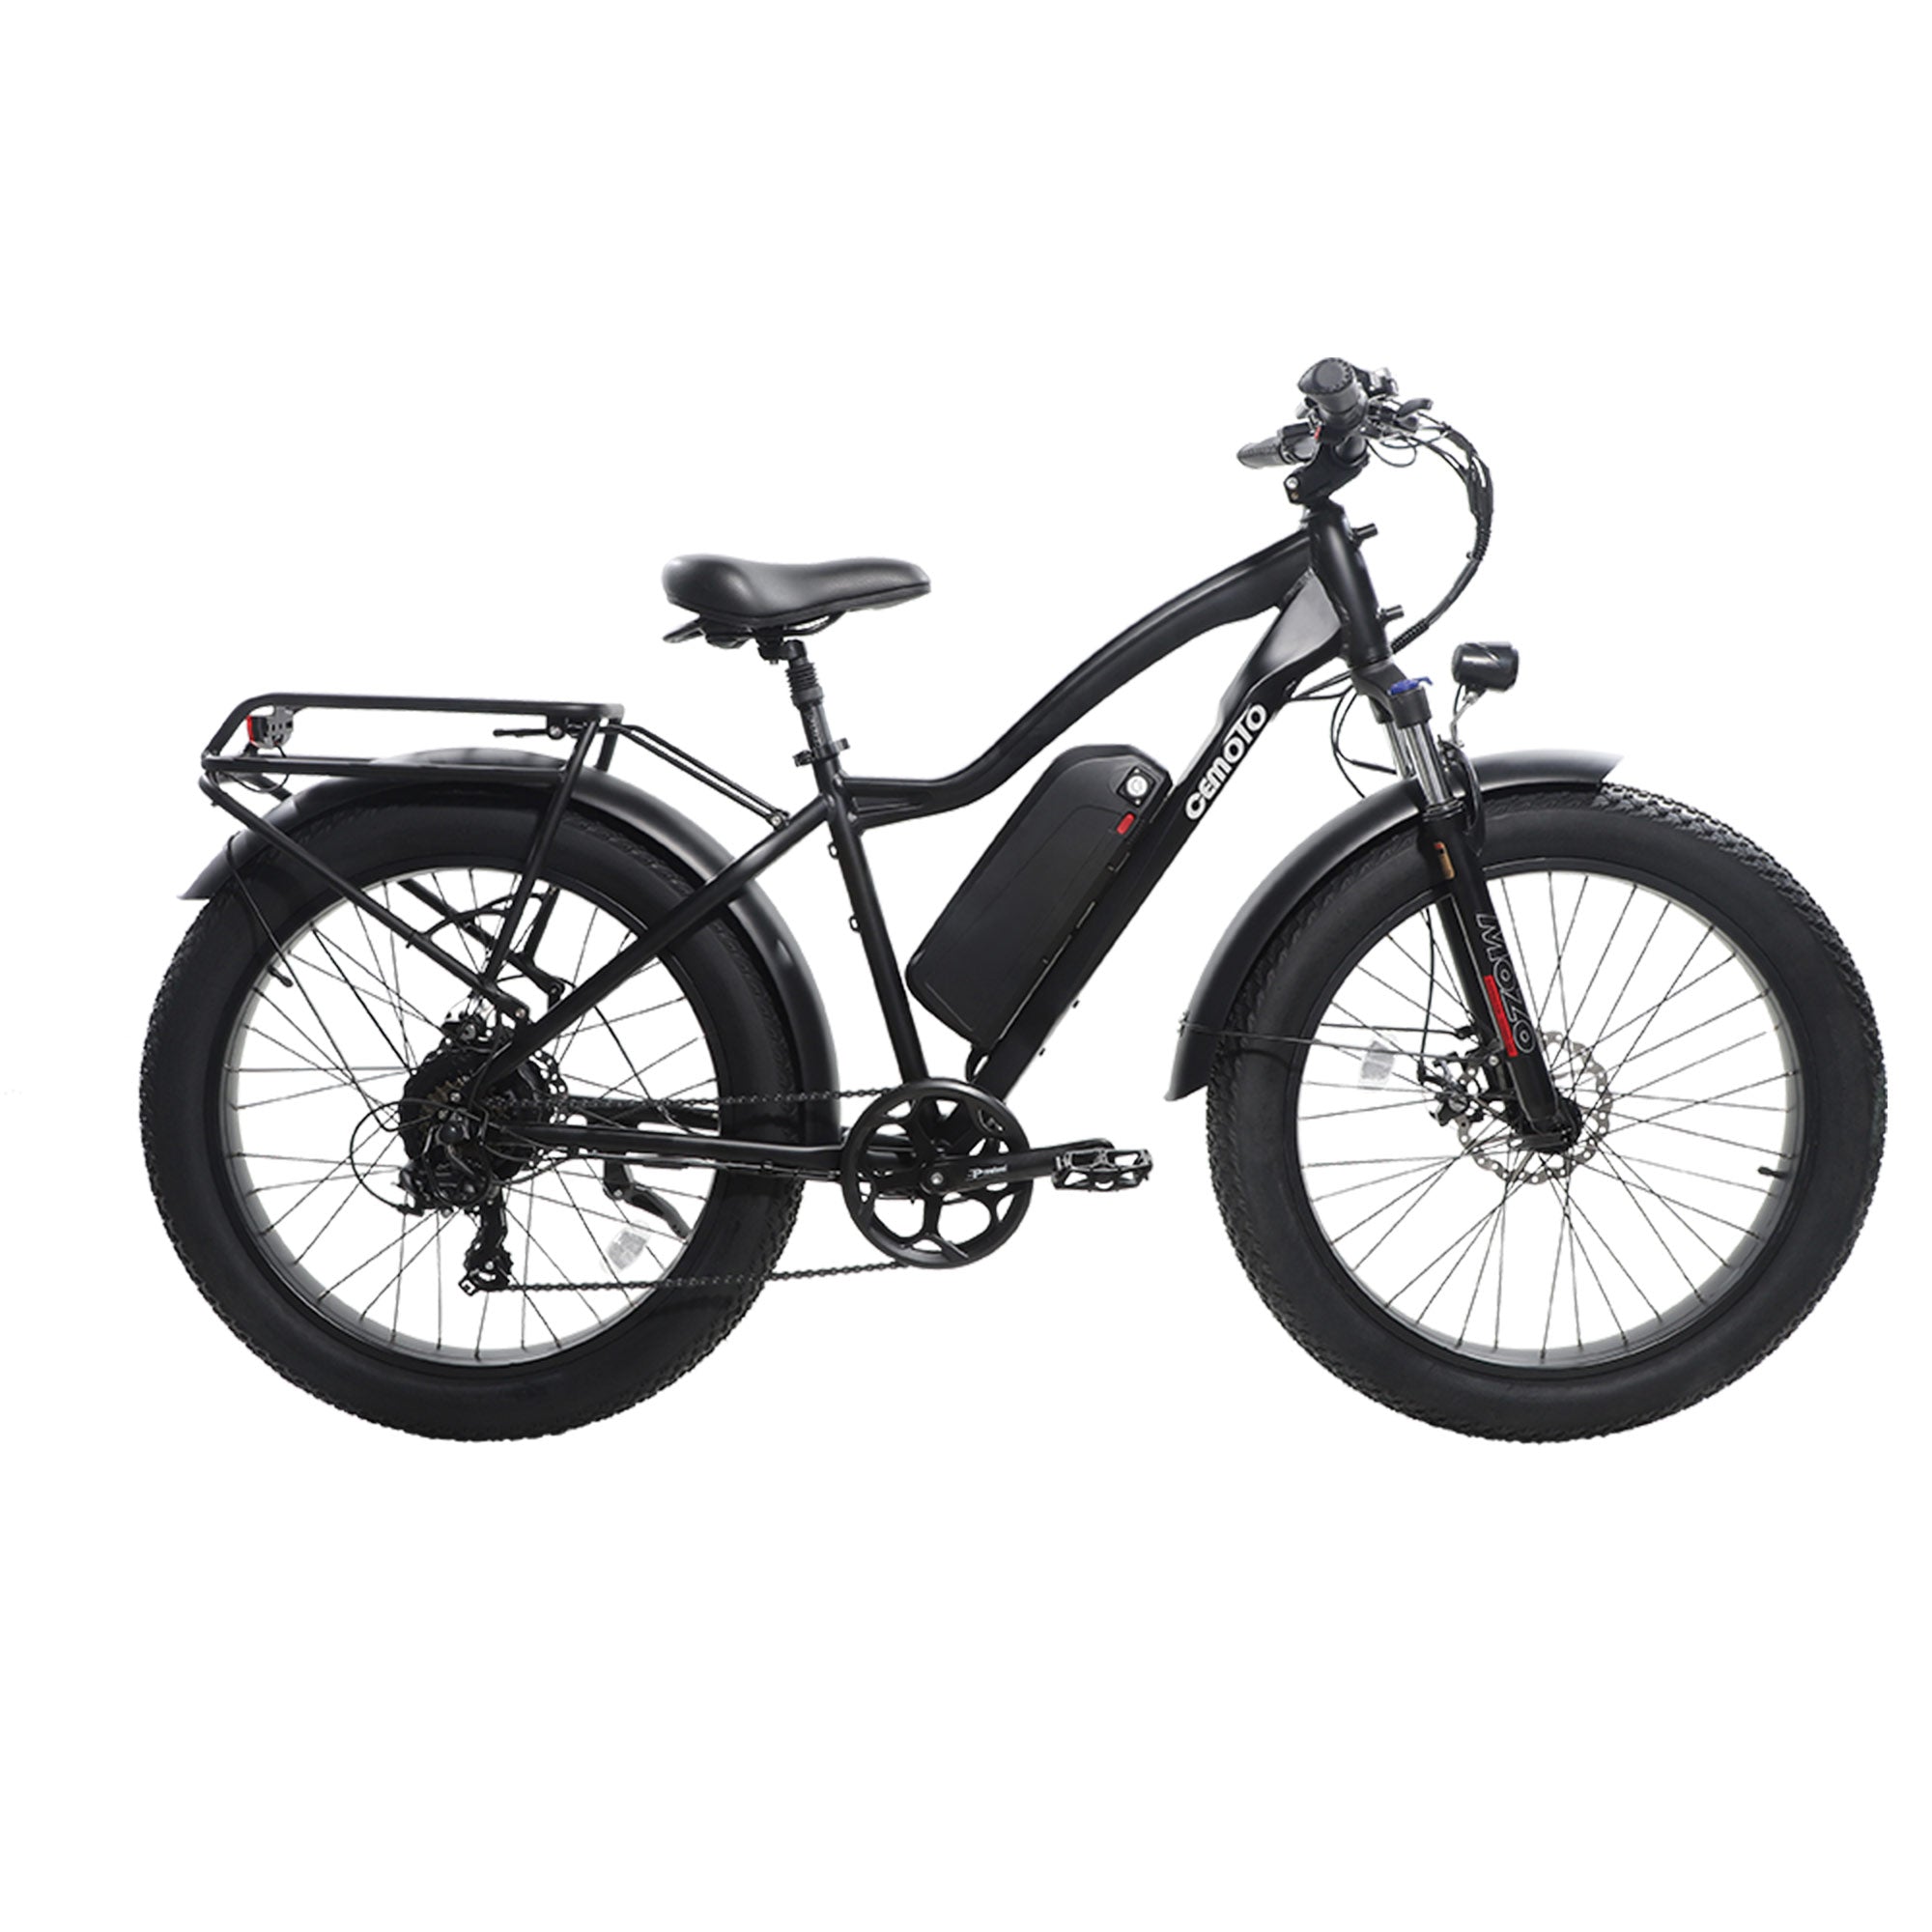
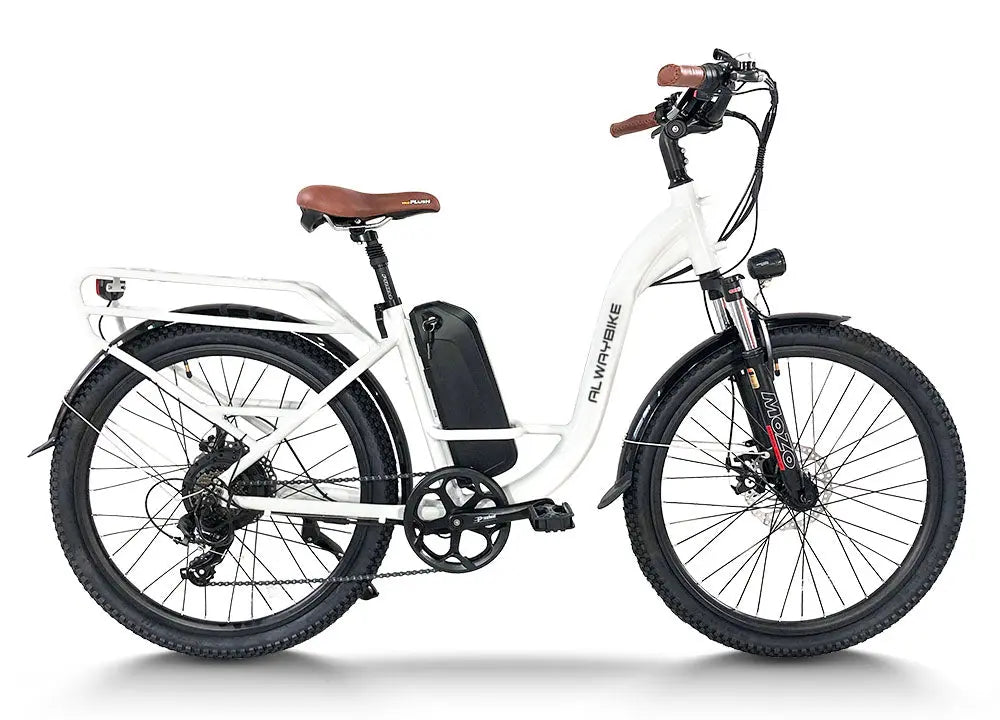
Treat mounting and dismounting access as a separate fit check from saddle height and handlebar reach. A step-through frame does not by itself confirm usable saddle range or cockpit position. The exact product title CEMOTO EBIKE AEB31A | City Commuter e-bikes identifies a city commuter format; use the AEB31A product details to start the comparison, then ask support for model-specific access, saddle, and cockpit details before making a fit decision.
Folding E-Bikes
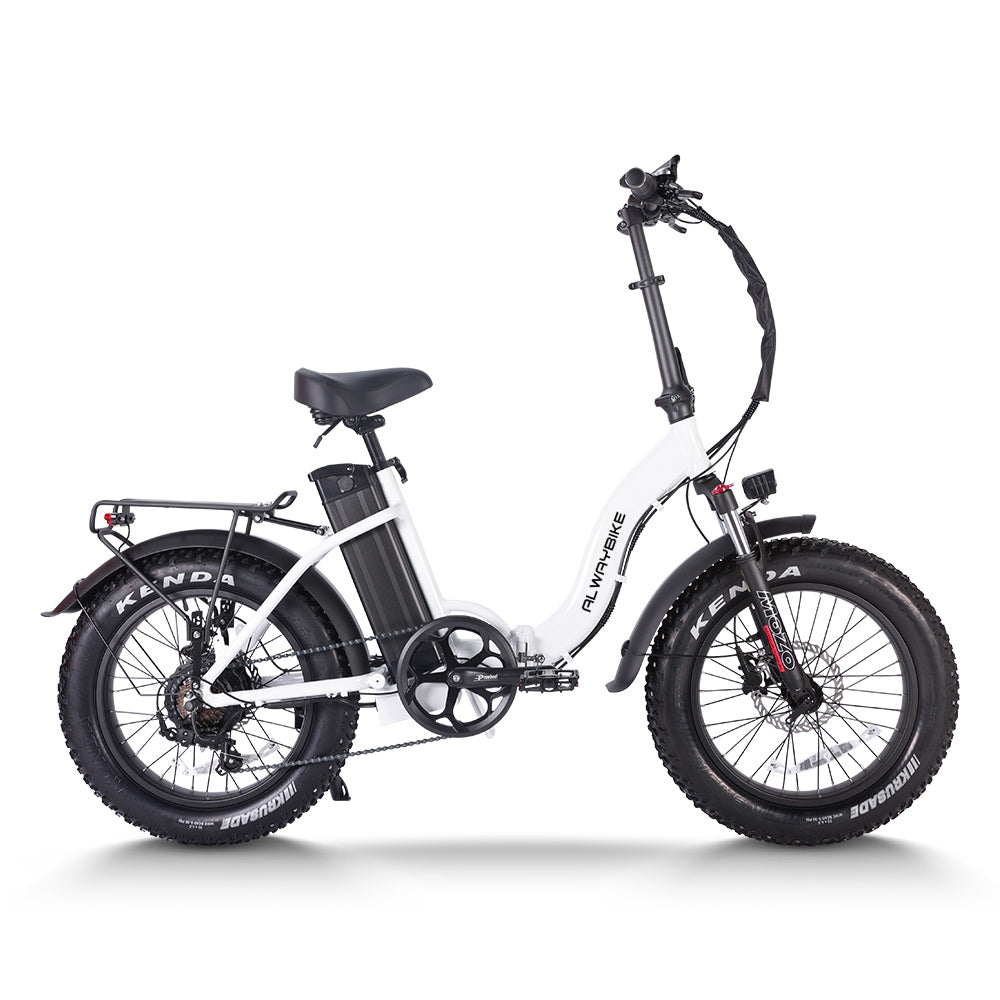
Check compact geometry and seat and handlebar adjustment ranges instead of applying standard-frame expectations alone. Also confirm that the folded size and transport method suit your storage and commuting routine. That transport check is separate from contact-point fit, so use compare folding e-bikes for format navigation, not as evidence that a particular model fits.
Mountain E-Bikes
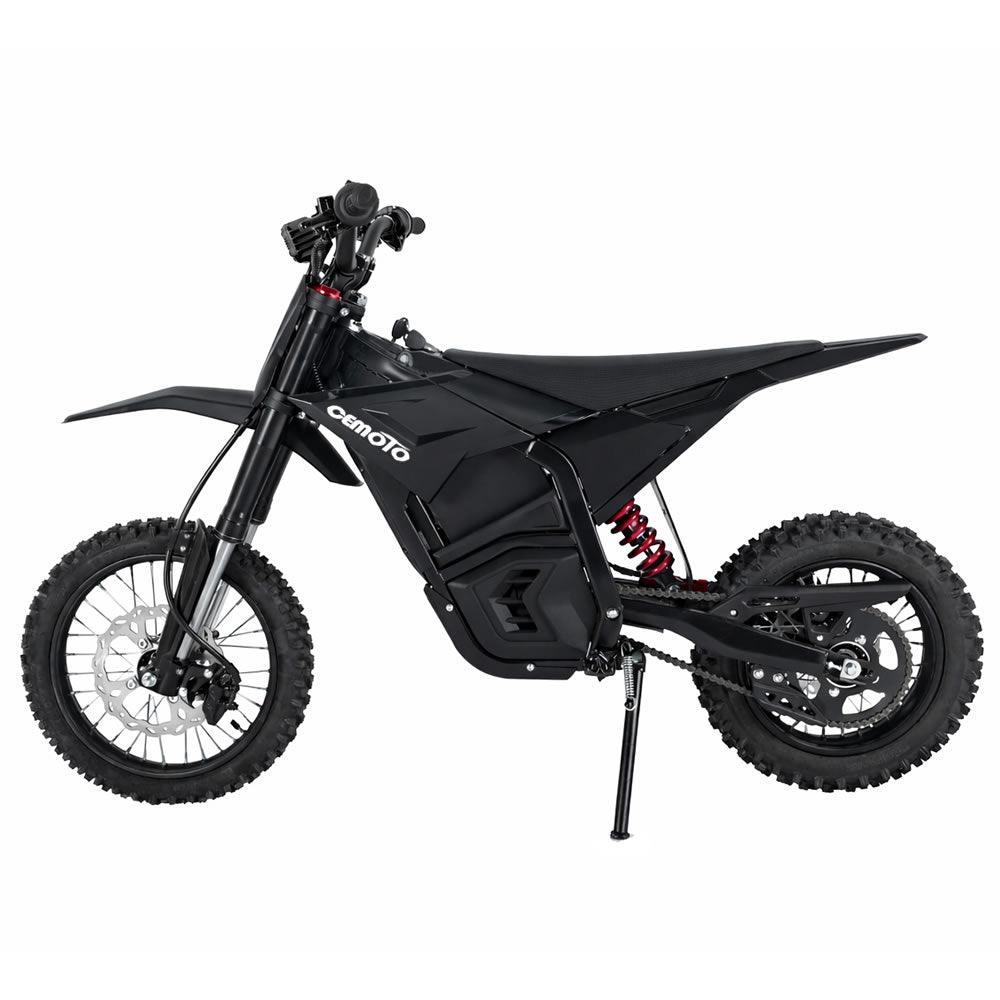
Compare reach and handlebar position with your intended terrain and riding posture instead of copying a city-bike setup. Ask for the geometry and adjustment details that affect your measured reach, because an image cannot confirm control position on rough terrain. You can compare mountain e-bikes as a starting point, then verify the selected model’s fit details.
Cargo E-Bikes
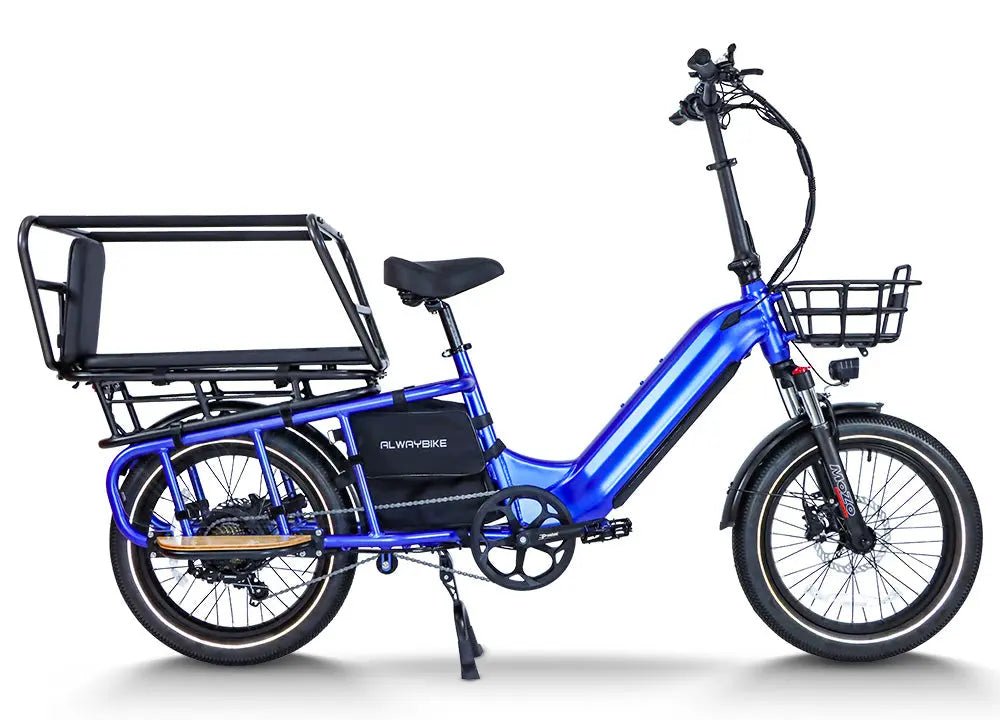
Check mounting access, saddle position, and control reach in the intended rider-and-load context. Ask which geometry and adjustment details apply to the rider position and configuration you are considering. The exact product title Cargo Electric Bike |CEMOTO B69 750W Heavy Duty E-Bike 150kg Capacity identifies a cargo model; use the B69 product details for navigation, not as geometry evidence or proof of rider fit.
Verify Geometry and Send Focused Support Questions
Use the product page to match each worksheet row with a specific detail, then contact support about anything missing. Verify frame dimensions or access guidance, minimum and maximum saddle height, reach or handlebar height, cockpit adjustments, and the endpoints used for each measurement. A photo offers a broad visual check, not exact geometry, adjustment range, or comfort confirmation.
Send support a short message containing your inseam, current saddle height and reach if available, shoes, measurement endpoints, intended posture, riding context, and preferred format. Ask:
- Which points define the listed saddle height, reach, frame access, and handlebar measurements?
- What are the minimum and maximum saddle-height adjustments for the selected configuration?
- What handlebar, stem, spacer, or other cockpit adjustments are available?
- Which frame-access or standover detail should I compare with my inseam?
For CEMOTO options, compare the available bike formats, review the model details, and contact CEMOTO e-bike support with those recorded inputs. Support can clarify missing product information, but a response should not be treated as a guarantee of comfort.
Pause checkout when a material frame-access or contact-point question remains unanswered and the seller cannot confirm the relevant geometry or adjustment range. Home measurements improve the e-bike fit screen; structured product details, focused support, or a test ride where available are what move an unresolved choice forward.
Frequently Asked Questions
These answers apply the same measurement-and-verification boundary to common online sizing questions.
How Do I Know What E-Bike Size I Need?
Screen an electric bike size by combining inseam, frame access, saddle-height range, reach, handlebar position, and intended posture. A single size label or photo is not enough. If one of those details is missing or uses unclear endpoints, ask the seller for the model-specific geometry before choosing.
How Do I Measure My Inseam for an E-Bike at Home?
Use the floor-to-book method with consistent shoes or no shoes, a comfortable stance, and repeated readings. Record those setup details beside the inseam, then send the result to the seller and ask which frame-access endpoints apply. That makes the number a useful support input rather than a complete sizing formula.
Can You Fit an E-Bike Without a Test Ride?
You can perform a useful home screen when the seller provides structured geometry and adjustment limits that match your measurement endpoints. Send support any unresolved saddle, reach, handlebar, or frame-access questions. If a material detail remains unconfirmed, pause before checkout rather than treating the product image as proof of fit.
