

E-Bike Rear Rack Fit: Mounting, Load Limits, and Handling


An e-bike rear rack is suitable only when its mounting points, clearances, accessory layout, rack rating, and bike payload limit all work together. Use this guide to check fit before buying, calculate the complete loaded-bike limit, pack cargo for more predictable handling, and decide when to verify or choose another cargo system.
A suitable ebike rear rack must pass two separate tests: it has to fit the bike's mounting points and clearances, and its loaded cargo must stay within both the rack's rating and the bike's total payload limit. Before ordering, match the rack to the bike's frame, wheel, brake, motor, battery, and fender layout. Then check bag and light compatibility, pack the weight low and centered, and perform a controlled test before riding regularly. If a required specification is missing or a test fails, verify the setup instead of assuming a universal-fit label is enough.

Start With the Cargo and Mounting Points
The best way to choose an ebike rear rack is to start with the job you need it to do and the layout of your bike. A rack is a viable option only when the exact rack hardware, mounting points, geometry, and clearances match. Wheel size or a "universal" label alone does not establish fit. The District of Columbia E-Bike Guide likewise recommends matching the bike to intended uses such as commuting, errands, cargo, racks, and fenders.
Factory Mounts Versus Adapter-Dependent Installation
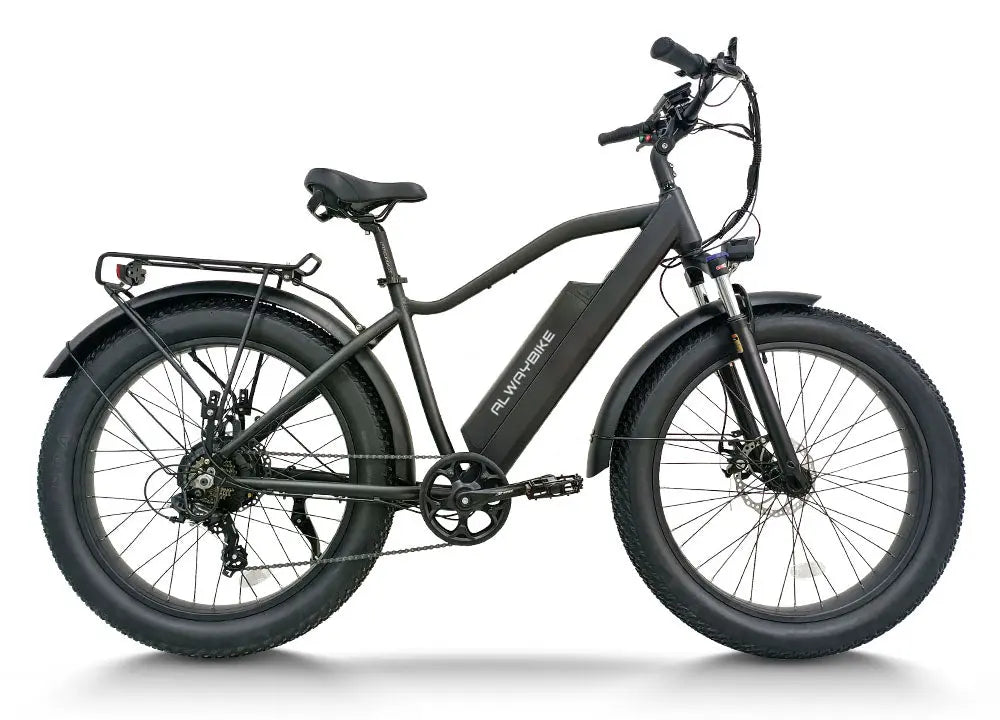
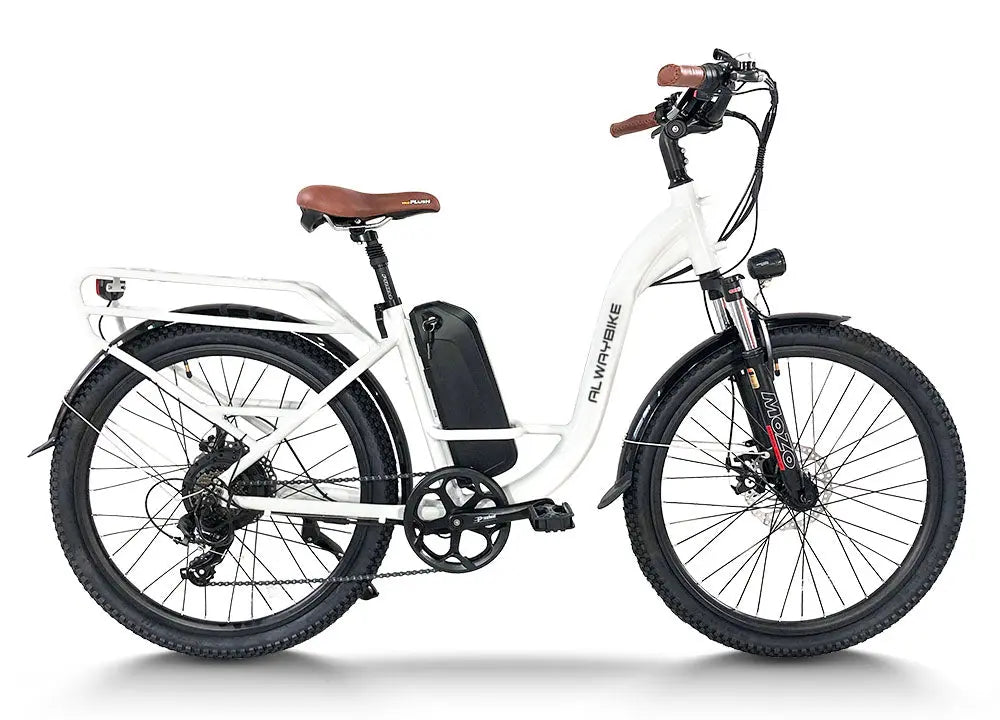
Factory eyelets usually make fit easier to verify, but they do not automatically approve every rack. Compare the number, location, thread type, and usable spacing of the bike's mounting points with the rack's stays, bolts, and hardware. A step-through frame may have different attachment geometry from a diamond frame, while a rear hub motor, axle, or brake arrangement can limit where hardware can sit.
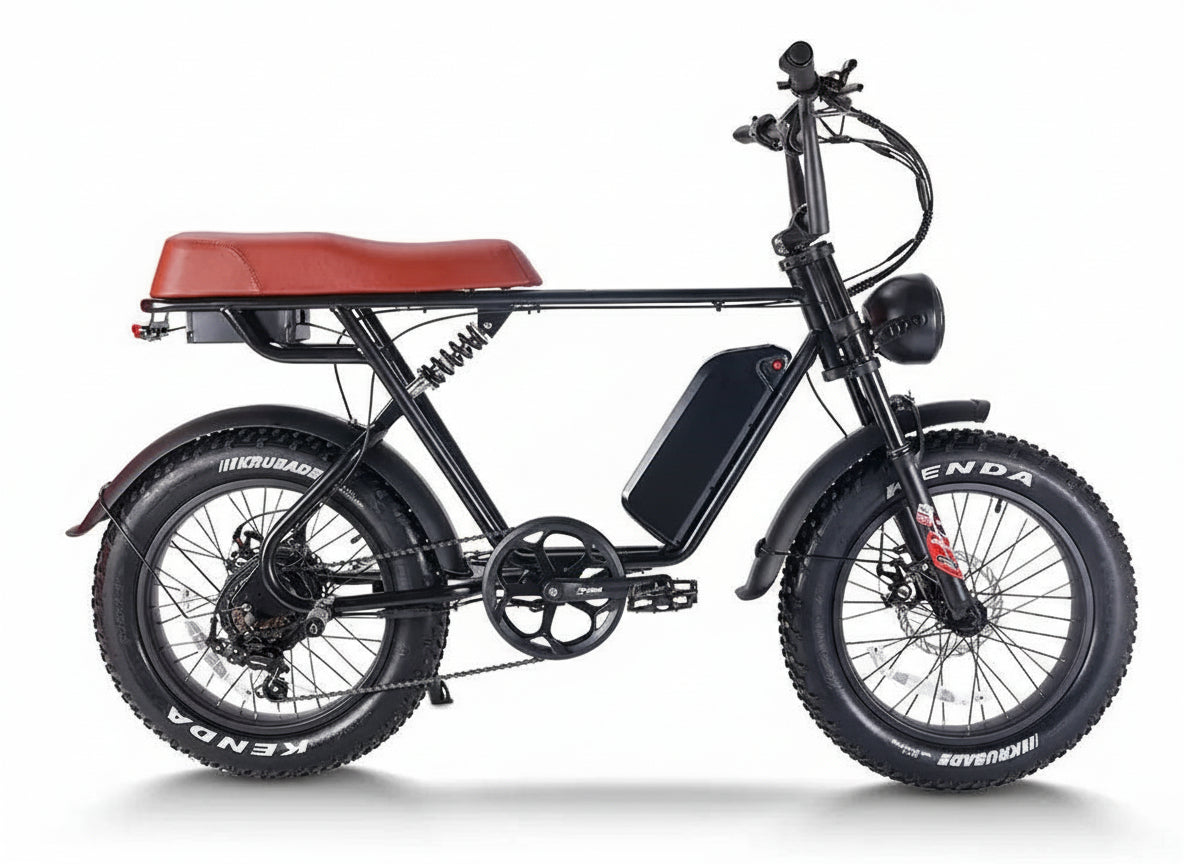
If the bike lacks rack eyelets, treat an axle adapter, seatpost clamp, or other adapter as a model-specific installation—not proof that the rack fits. The adapter must clear the brake, motor, axle, frame, and wheel, and it must be approved for the intended rack and load. If the listing does not show the mounting pattern and hardware requirements for your exact bike, mark the fit Verify First.

Frame, Wheel, Motor, and Battery Clearance
Measure the bike in its normal riding configuration, including its tires, fenders, battery, and existing accessories. Use this pre-purchase checklist:
- Measure mounting-hole spacing and note each hole's position relative to the axle, brake, and frame tubes.
- Check tire width, wheel size, fender coverage, and the open space above and behind the tire.
- Confirm that the rack stays clear of the brake caliper, rear hub or motor, chain, derailleur, and other moving parts.
- Open and remove the battery as intended; the rack must not block battery access or its release path.
- Compare the rack deck, stays, and rail requirements with the frame geometry and intended cargo.
- Check whether the fender uses the same mounting area or reduces the available clearance.
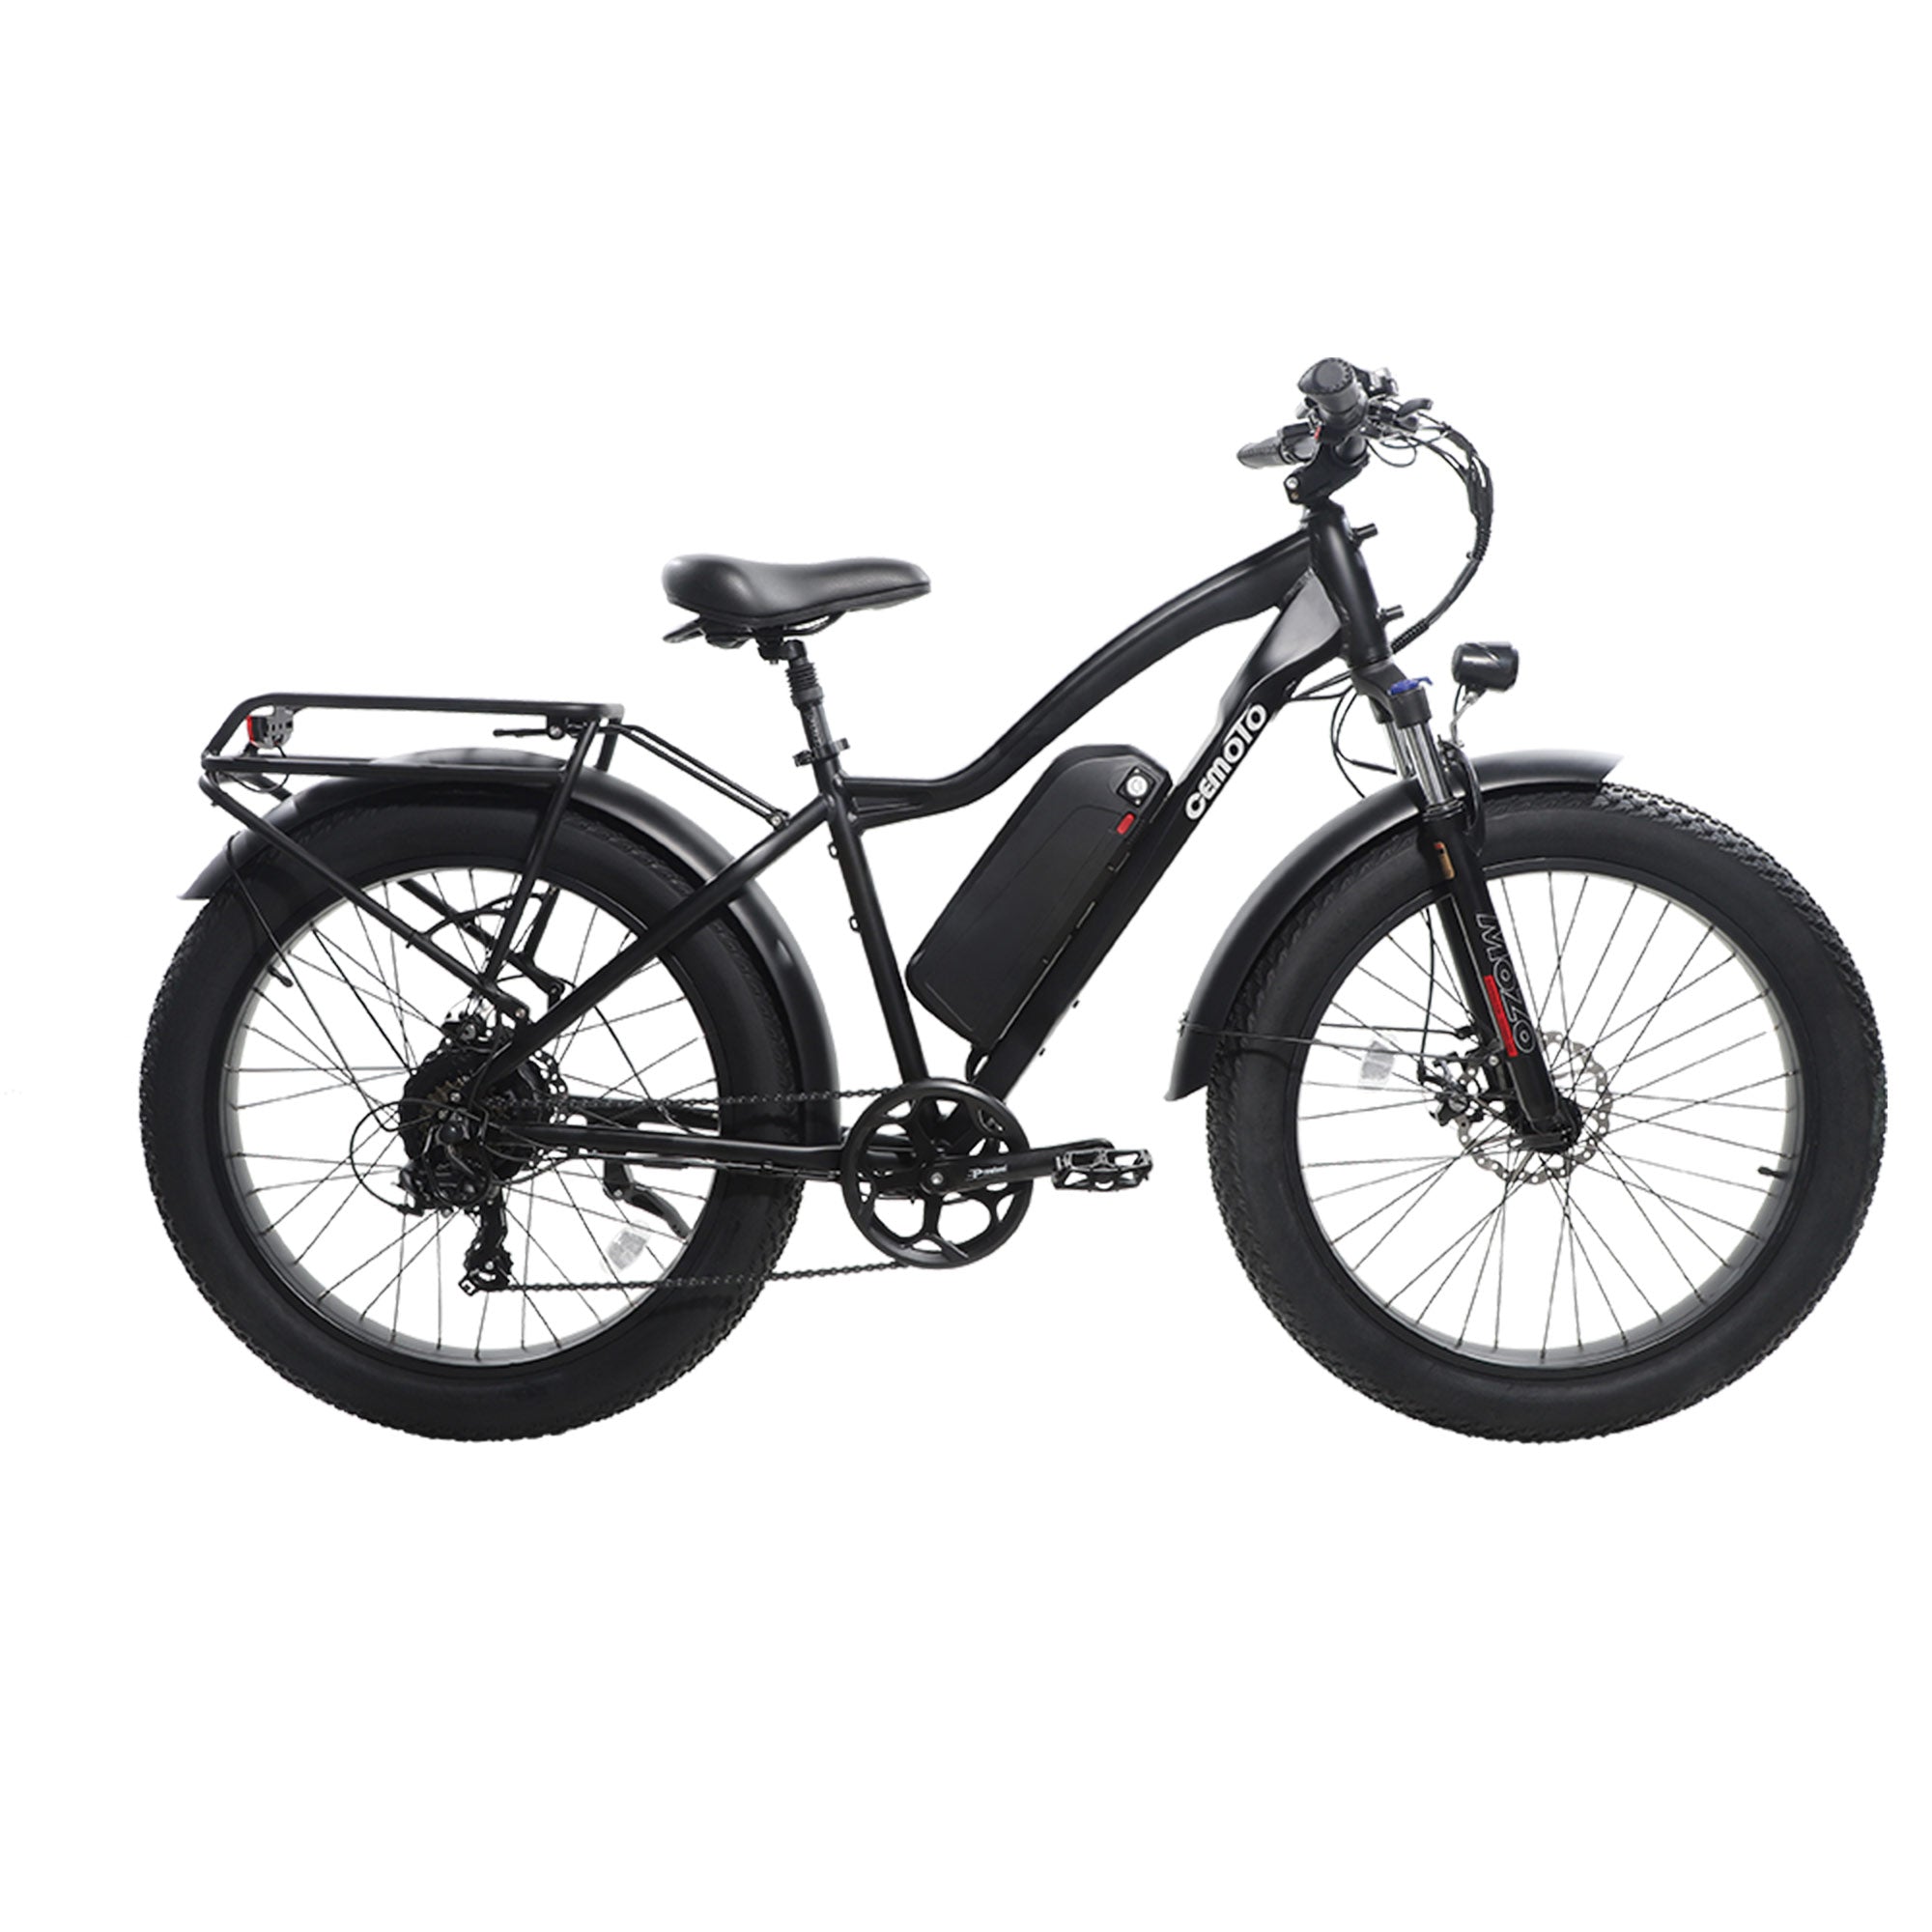
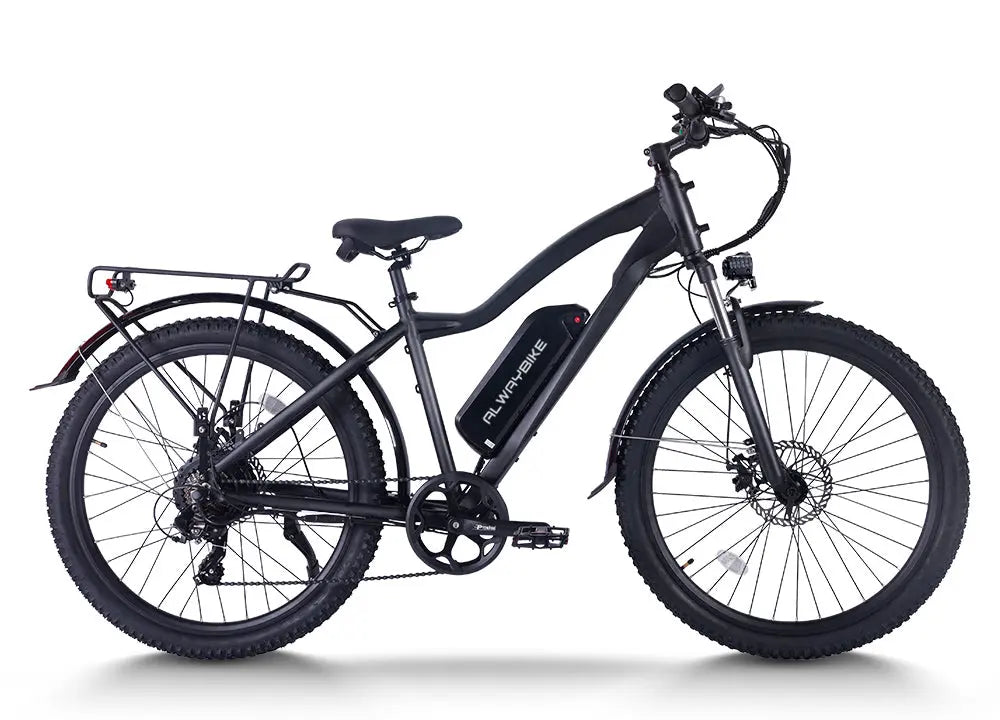
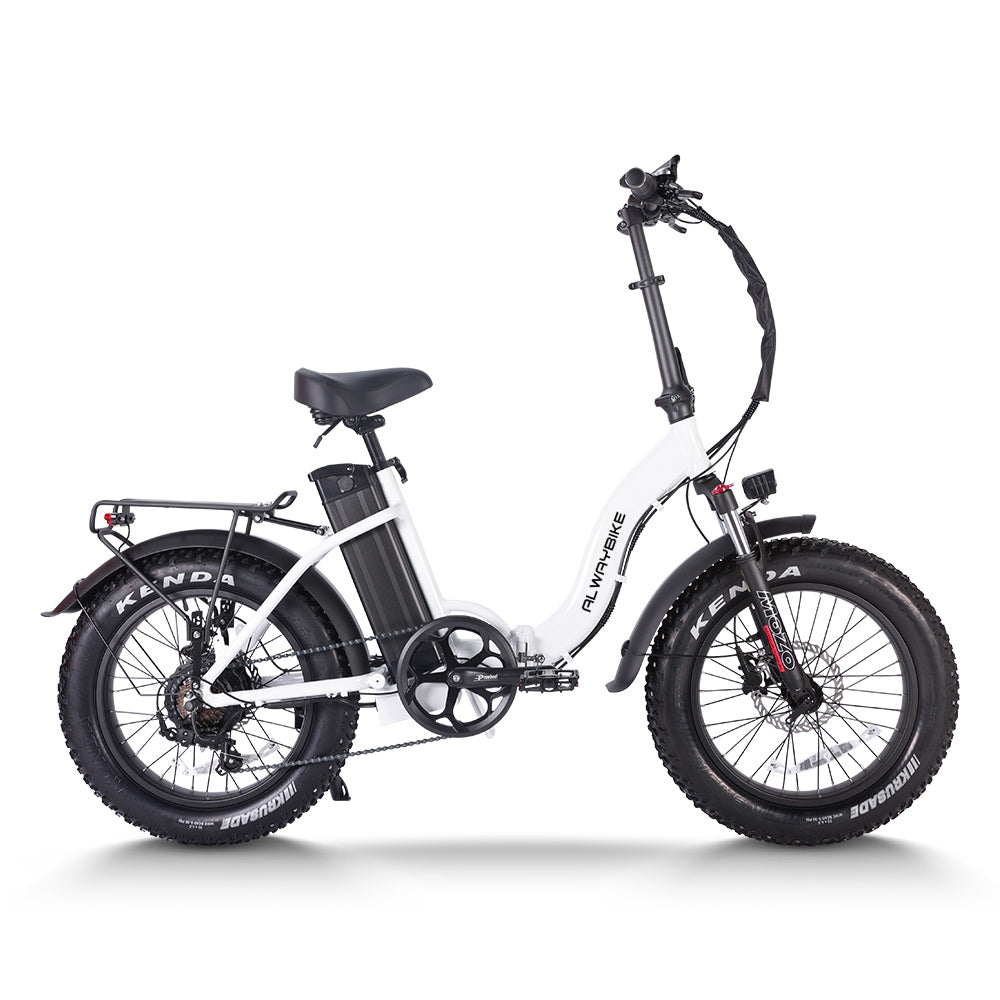
For comparison, an electric bike rear rack should be treated as a product to verify against these measurements, not as a confirmed fit for every bike in the catalog. Our product page can be the next stop for current specifications or installation details; do not purchase based on the product name alone.
Separate Rack Capacity From Total Bike Payload
A rack's cargo rating and the e-bike's total payload are separate limits. Both checks must pass before the loaded bike is ready to use. The same public-agency guide emphasizes following the manufacturer's stated cargo and passenger limits.
Read the Rack Rating as a Rack-Only Limit
Do not treat a rack rating as permission for the entire bike to carry that amount. The frame, mounting hardware, axle, wheels, tires, brakes, and any accessory may have separate restrictions. Check the exact rack model, mounting method, and manufacturer's definition before using a number in your calculation.
| Check | What It Controls |
|---|---|
| Rack cargo rating | Cargo supported by the rack, including the way it is mounted |
| Hardware limit | The bolts, stays, adapters, or other attachment components |
| Bike total payload | The complete rider-and-bike load covered by the bike maker's definition |
| Accessory limit | A bag, child seat, or other attachment with its own approved-use limit |
The practical rear rack weight capacity for an e-bike is therefore not a single number copied from a product category. It is the rack-side limit after the exact rack, hardware, bike, and accessory instructions are reconciled.
Calculate the Complete Loaded-Bike Limit
Use three separate checks before loading:
- Identify the weight supported by the rack, including the bag, its contents, straps, and anything else resting on or attached to the rack. Compare that amount with the exact rack rating.
- Calculate the complete load covered by the bike maker's payload definition. Include the rider, rack cargo, bags, accessories, and any other included weight. Compare it with the bike's total payload limit.
- Check for a lower hardware or accessory limit, and stop if the manufacturers define the limits differently or leave a required number unspecified.
The lower applicable constraint controls only after you know what each limit includes. If you are researching rear rack compatibility for an electric bike alongside payload, keep those questions separate: a rack can fit mechanically yet remain unsuitable for the intended load.
For broader planning, our guide to cargo e-bike payload basics is a useful starting point, but it does not replace the exact rack and bike manuals.
Clear the Accessory Conflicts Before Ordering
A rack-and-accessory combination works only when its rails, deck, mounting areas, clearances, and visibility functions remain usable together. Fenders, panniers, trunk bags, lights, and child-seat hardware can change the answer even after the empty rack appears to fit.
Panniers and Rack Bags Need Usable Rail and Deck Space
Match each bag's attachment method and dimensions to the rack's actual rail and deck layout. A hook may not reach the rail, a wide bag may contact the wheel or brake, or a strap may pass through a moving part. Check the rider's heel path in the normal riding position, not just the bag's advertised volume. Practical bike-carrying guidance also supports checking attachment and clearance before riding.
For an ebike rack for commuting bags, compare bag width and length, hook locations, rail height, deck length, strap routing, and the space beside the tire. You can browse a commuter rack bag or EVA storage bag as a starting point, but the supplied product information does not establish fit with a particular rack. Confirm dimensions and attachment details first.
Fenders, Lights, and Child-Seat Hardware Change the Fit
Before ordering, check these three conflict areas:
- Mounting interference: Determine whether the fender, rack, light, or seat uses the same eyelet, stay, axle, or deck space.
- Movement clearance: Confirm that tires, brakes, chains, motors, suspension parts, straps, and rider contact points remain clear while the bike moves.
- Visibility and secure attachment: Make sure the rear light remains visible and firmly mounted after the rack and bag are installed. Require explicit approval and limits for a child seat or concentrated load; do not classify it as ordinary cargo.
A final stationary check with the bags installed can reveal rubbing or blocked light coverage that an empty-rack inspection misses. If an accessory has no approved attachment method or interferes with a required function, reconfigure the setup before riding.
Pack the Rack for Predictable Handling
A rack can fit the frame and still change how the bike feels when loaded. Cargo weight, position, and bike design affect rideability and safety; there is no universal speed or weight threshold for handling.
Keep Weight Low, Centered, and Restrained
Use this packing checklist before moving the bike:
- Place the heaviest items as low as the rack and bag allow, close to the bike's centerline.
- Balance side loads rather than placing nearly all the weight in one pannier.
- Secure contents so they cannot shift, bounce, or slide during starts, stops, and turns.
- Keep straps, bags, and loose cargo away from the tire, brake, chain, motor, lights, and rider contact points.
A high, uneven, loose, or far-rearward load deserves extra caution even when its total weight is within the documented limits. The goal is not to promise unchanged handling; it is to reduce avoidable movement and then observe how the specific bike responds. Research on cargo-bike rideability also links load placement and bike design with how a bicycle performs and responds, according to this cargo-bike handling study.
Use a Short Controlled Test Before Regular Riding
Perform the checks in this order:
- Inspect the stationary bike. Confirm that bolts, adapters, bags, straps, lights, and fenders are secure and that nothing rubs or blocks a moving part.
- Move slowly in a controlled area. Check starts, stops, gentle turns, and changes in surface while keeping the load restrained.
- Apply braking and turning gradually. If the bike feels difficult to control, sways, rubs, or shifts, stop and redistribute or remove cargo.
- Inspect the rack, hardware, bags, and straps again before regular riding. A successful empty-bike installation is not enough.
Skip the Rack When the Setup Cannot Be Verified
The correct decision is simple: use the rack only when fit, clearance, accessories, limits, and controlled handling all pass. Missing information means Verify First, while failed limits, interference, or unstable handling means Stop rather than "try it carefully."
Use a Clear Go, Verify, or Stop Decision
| Result | Meaning | Next Action |
|---|---|---|
| Suitable | Mounts, clearances, accessories, limits, and the controlled test all pass | Use the setup within the documented conditions and recheck attachments regularly |
| Verify First | A mounting detail, limit, dimension, or approved-use condition is missing | Obtain the exact manual or specification and measure the bike before loading |
| Stop | A limit, interference, securement, or handling check fails | Remove the cargo, reconfigure, or choose another approved carrying method |
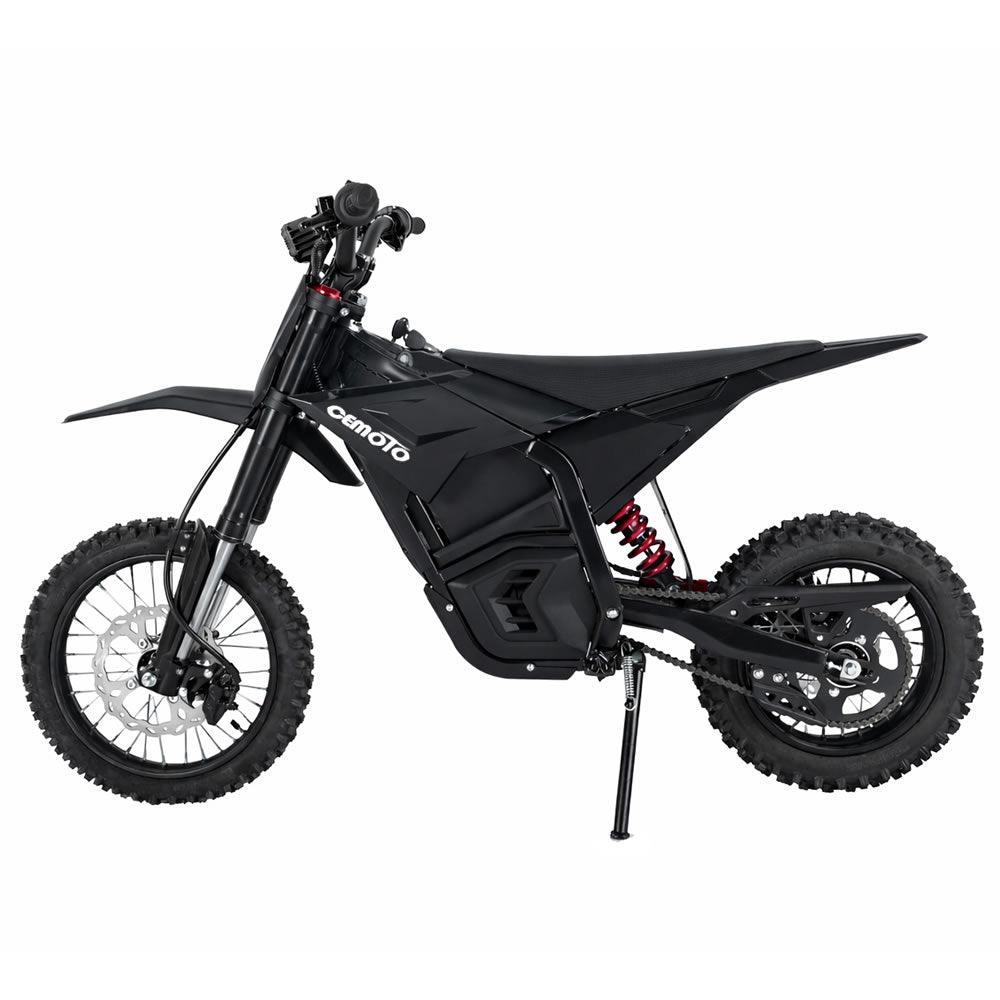
This decision path prevents incomplete product information from becoming an accidental safety conclusion. If the selected CEMOTO rack still lacks a confirmed load rating, mounting specification, or bike-specific clearance, we recommend verifying those details in the current product documentation before adding it to your cart.
Match Heavier or Unusual Cargo to a Purpose-Built Option
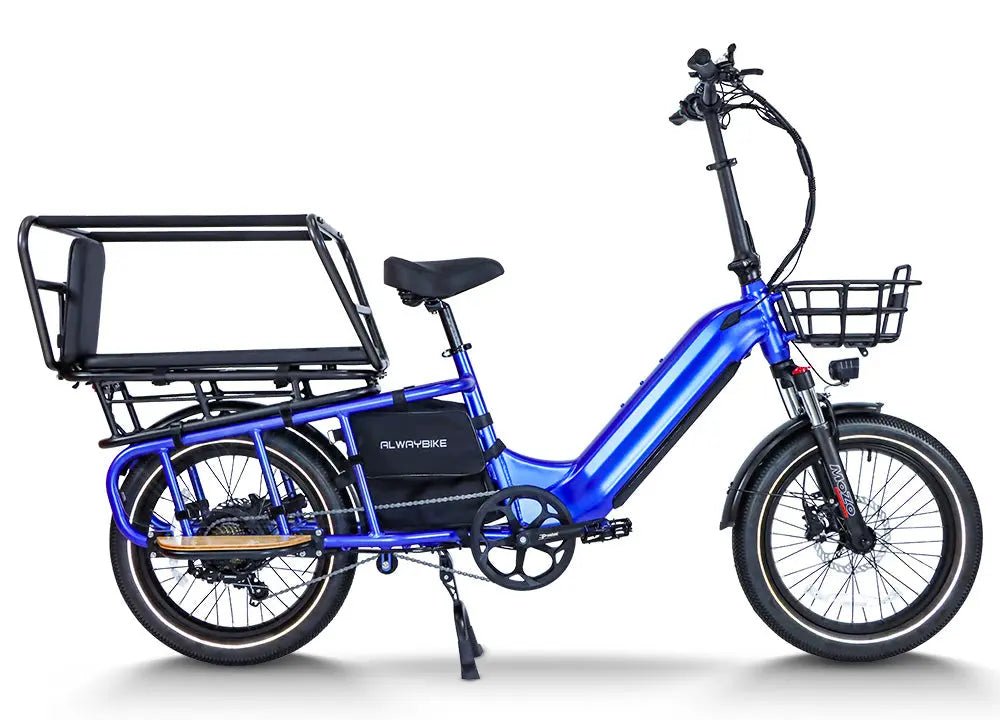
A standard rear rack is a poor default for passengers, child seats, very heavy utility loads, tall cargo, or concentrated loads unless the rack, bike, hardware, and cargo system explicitly approve that use. For those scenarios, compare a purpose-built cargo-bike configuration or another manufacturer-approved carrying method. You can browse cargo e-bike options for planning, but no alternative is automatically suitable without its own specifications.
FAQs
These edge cases can change the buying decision even when the general rack workflow looks straightforward.
Can I Install an E-Bike Rear Rack If My Frame Has No Rack Eyelets?
Possibly, but only with an adapter approved for the exact frame, rack, and intended load. Check axle, brake, motor, tire, fender, and battery clearances. If the instructions do not define the combination, treat it as Verify First.
What Measurements Should I Take Before Ordering an Electric Bike Rear Rack?
Record mounting-hole spacing and position, wheel and tire size, tire-to-rack and fender clearance, brake and motor clearance, battery access, and deck or stay dimensions. A wheel-size match alone is not enough.
Can a Rear Rack Carry a Child Seat or Heavy Grocery Load?
Only when the rack, bike, hardware, and cargo system explicitly approve that use and define the limits. If approval or attachment details are missing, stop and choose a manufacturer-approved method.
How Do I Check a Rack Bag's Heel and Wheel Clearance?
Compare the bag's width, length, hooks, rails, and straps with the rack and seated foot position. With the bike stationary, turn the cranks by hand and check that the bag cannot reach your heel, tire, brake, or another moving part.
