

Before You Buy an Electric Dirt Bike for a Teen: A Parent Readiness Check


A parent-led go-or-no-go checklist for matching a teen, electric dirt bike, riding site, supervision plan, gear, and local requirements before purchase.
Before buying an electric dirt bike for teens, a parent should approve the purchase only after the teen fits and controls the specific bike, the model matches the intended terrain and supervision plan, the riding location is suitable and permitted, and the required gear and first-ride process are ready. Use the gates below to reach one of four outcomes: proceed, conditional-go, shortlist-change, or pause.

Check the Teen's Fit, Control, and Readiness
Proceed only when the teen fits the candidate bike, operates its controls comfortably, and repeatedly demonstrates smooth low-speed control, braking, and rule-following. Age is one piece of context—not a universal approval threshold. The MSF readiness guidance likewise presents readiness as an individual assessment rather than a guaranteed age rule.
Confirm Physical Fit at a Stop and at Low Speed
A useful teen dirt bike fit and control check is observational: watch what the rider can do with the actual, loaded bike rather than relying on a size label or a universal measurement.
- Sit comfortably without bracing awkwardly or straining.
- Reach the handlebars and brake levers naturally and operate them without stretching.
- Mount and dismount in a controlled way.
- Walk or maneuver the bike without losing balance or appearing unable to manage its weight.
- Maintain balance during slow movement and make controlled turns in the available space.
If the teen cannot reach a control easily, struggles to maneuver the bike, or compensates with unstable body position, pause before comparing price or advertised output. These are practical fit signals, not a substitute for the manufacturer's current rider and load requirements.

Test Acceleration and Braking Control
Test control in a quiet, permitted area with the supervisor close enough to intervene. Keep the first sequence simple and repeatable:
- With the bike secured and switched off, identify the throttle, brakes, power control, and stop signal.
- Practice a gentle start, then release the throttle smoothly instead of treating it like an on/off switch.
- Ride straight at a controlled pace and stop where intended using progressive braking.
- Add slow turns only after starts and stops remain consistent.
- Take a break, then repeat the basic sequence to check whether control holds after a short reset.
Pause if the teen panics, accelerates abruptly, cannot release the throttle smoothly, grabs the brakes unpredictably, or repeatedly misses the intended stopping point. Progressive throttle practice is supported by MSF's guidance for young off-highway riders, but it does not establish a universal speed, stopping distance, or training duration.
Use Experience and Maturity as Separate Checks
Prior bicycle, dirt-bike, or e-moto experience can help, but it does not replace a supervised demonstration on the candidate bike. A parent should also observe whether the teen accepts coaching, follows boundaries, wears required gear without arguing, responds to a stop signal, and agrees to end the ride when weather, fatigue, equipment, or site conditions change.
A teen who fits the bike but ignores boundaries has not passed the readiness gate. Treat inconsistent control, refusal to follow instructions, or poor judgment as a pause signal rather than a problem that a limiter or more practice will automatically solve.
Match an Electric Dirt Bike for Teens to the Rider
When choosing an electric dirt bike for a teenager, compare documented bike fields with the teen's demonstrated abilities and the planned site. A youth label, wattage number, advertised top speed, or low price cannot prove compatibility; the current product page and manual must answer the model-specific questions.
Map the Candidate Bike to the Teen's Conditions
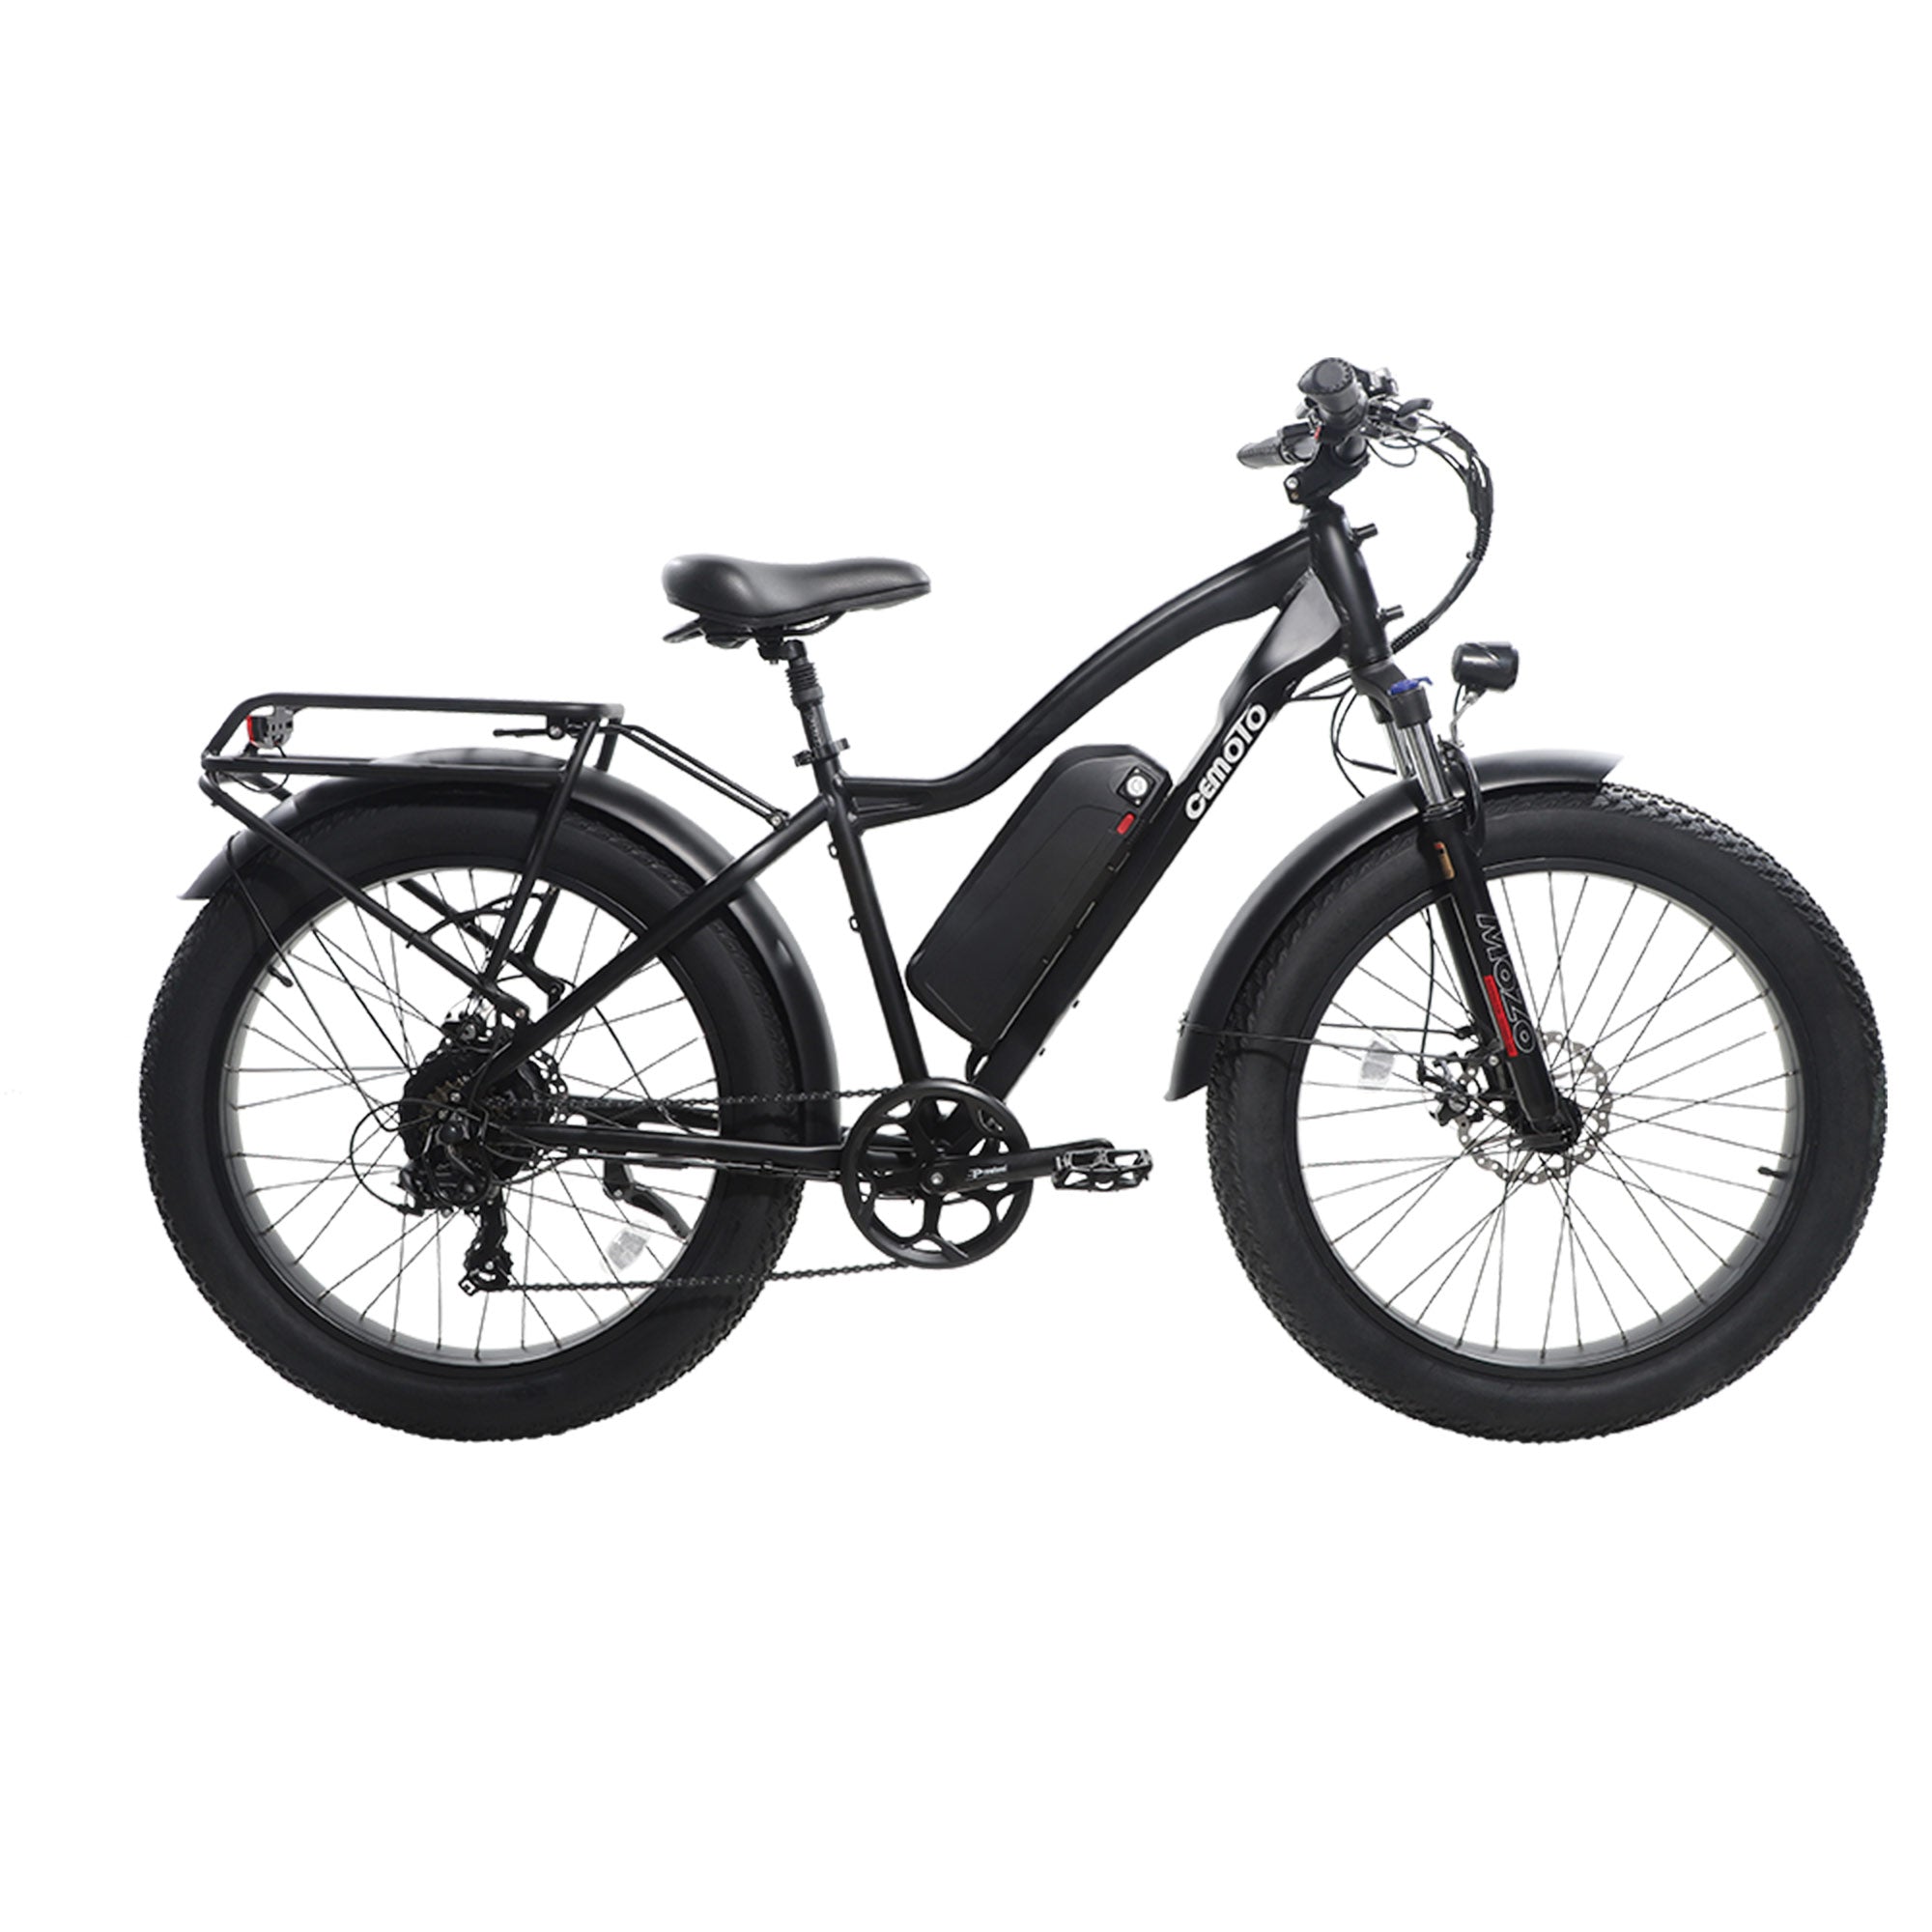
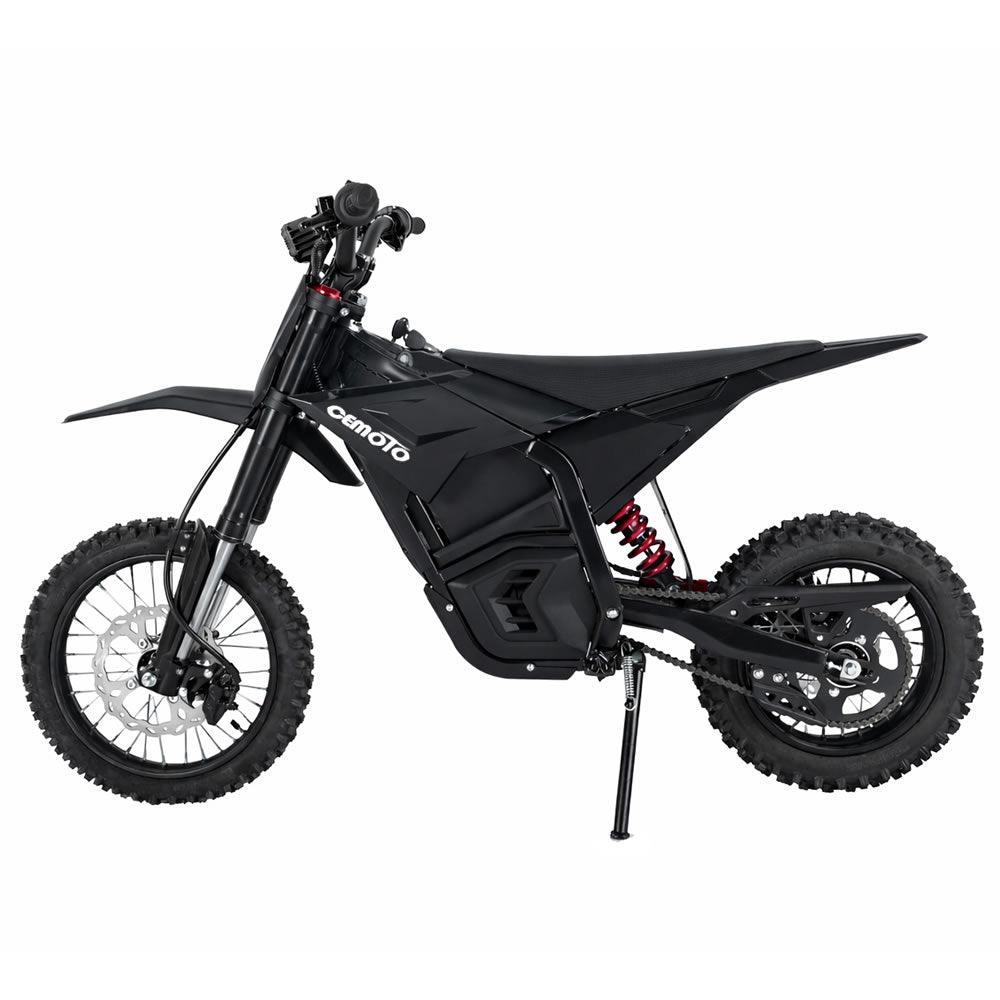
Copy the relevant specifications into a worksheet before adding the bike to a cart. If a field is missing or conflicts with the rider's observed ability, mark the choice conditional or pause rather than filling the gap with assumptions. For broader navigation, you can review CEMOTO D-Series bike details, but the page does not by itself establish a match for a particular teen.
| Parent Check | Candidate-Bike Field | Pause or Proceed Signal |
|---|---|---|
| Fit and reach | Dimensions, seating position, control reach, rider guidance | Proceed only if the teen can reach and operate controls comfortably. |
| Weight and maneuverability | Vehicle weight, loaded weight, and stated load limit | Pause if the teen cannot stabilize or maneuver the loaded bike. |
| Throttle and brakes | Throttle behavior, brake arrangement, and control access | Pause if the setup is undocumented or the teen cannot use it predictably. |
| Adjustability | Modes, limiter, adjustment method, and whether settings stay selected | Treat as unresolved until the specific feature and setup are verified. |
| Terrain | Intended use, operating limits, and site conditions | Change the shortlist if the bike and terrain do not match. |
| Supervision | Manufacturer requirements and the parent's planned oversight | Do not use a model that requires a level of independence the teen has not demonstrated. |
| Setup requirements | Assembly, controls, charging, inspection, and manual instructions | Pause until the required setup can be completed and understood. |
Official OHV guidance supports matching a rider to an age-appropriate model, but that adjacent guidance is not a universal electric dirt bike age rule. The CPSC model-matching guidance should therefore be used as a conservative principle, while the selected manufacturer's documentation supplies the actual model requirements.
Treat Power and Speed Controls as Verification Points
A limiter or adjustable mode can be useful only if the specific bike has the feature and the parent can configure and test it predictably. Before relying on one, verify:
- Whether the model actually includes a limiter or selectable power mode.
- How the setting is activated, locked, and checked before each ride.
- Whether throttle response remains smooth at the selected setting.
- How braking behaves at low speed and during a stop.
- The manufacturer's rider-size, load, terrain, and setup guidance.
Do not infer that a limiter makes a bike beginner-ready or that a lower advertised speed resolves a fit or maturity problem. If you need a setup reference, setting a teen bike speed limiter can serve as general reading, but the selected model's manual controls the actual procedure.
Verify the Riding Area, Supervision, and Local Rules
The purchase is not ready until the exact site is suitable, the supervision boundary is defined, and the parent confirms current requirements for that location and vehicle classification. Private property may be easier to control for a first session, but it is not automatically exempt from every access, equipment, insurance, or local requirement.
Match the Bike to the Intended Terrain
Walk the site before buying and check:
- Surface, slopes, loose material, obstacles, drop-offs, and stopping space.
- Visibility for both rider and supervisor.
- Controlled access and separation from traffic, pedestrians, animals, and other riders.
- Weather exposure, drainage, and whether conditions can change quickly.
- Emergency access, a communication method, and a way to end the session safely.
Compare those observations with the candidate bike's documented intended use and operating limits. General CPSC OHV safety guidance supports hands-on training, protective equipment, and avoiding paved-road use, but it does not classify every electric dirt bike or decide whether your site is approved.
Verify Local Riding and Vehicle Requirements
Use this sequence before transporting the bike to a trail or public riding area:
- Record the exact property, trail, park, or OHV area.
- Identify how the responsible authority classifies the vehicle—not merely how a product page markets it.
- Contact the land manager, state OHV program, or local authority that controls access.
- Ask about access, registration or permits, required equipment, age, supervision, training, and any vehicle restrictions.
- Save the current rule or written answer with the purchase records.
- Repeat the check if the riding location or vehicle changes.
Rules can vary by state, locality, land manager, and vehicle class. Background reporting can explain why electric riding rules differ, but the exact-location verification step must lead back to the responsible authority. Do not transfer bicycle, e-bike, or ATV rules automatically to an electric dirt bike.
Set a Supervision Boundary
Name the supervisor, position them where they can observe the relevant area, and agree on a communication method and unmistakable stop signal. Set conditions that end the session immediately: fatigue, panic, equipment concerns, changing weather, lost supervision, entering a prohibited area, or any rule violation.
Independent riding is a later, site-specific decision. One successful session shows what happened that day; it does not prove ongoing readiness in a new location, on a different bike, or without the same supervision.
Set the Gear and Household Rules Before Delivery
Do not release the bike until properly fitted protective equipment, a checked bike, clear stop rules, communication, and an emergency plan are ready. Gear is a preparation condition; it cannot repair a bike mismatch, an unsuitable site, or poor control.
Prepare a Complete Off-Road Gear Setup
Prepare equipment that fits the teen and matches the activity and location:
- A properly selected dirt-bike or motorcycle helmet.
- Eye protection.
- Gloves.
- Long pants and a long-sleeved shirt or jacket.
- Over-the-ankle boots.
- Additional impact protection suited to the terrain and conditions.
Check fit, fastening, movement, and visible damage before each session. For helmet fit, CPSC guidance says the helmet should be comfortable and snug, sit level, and have a securely fastened chin strap so it does not move or fall off. Verify any activity-specific standard or local equipment requirement separately; no helmet or protective item eliminates injury risk.
Write Rules the Teen Can Follow Under Pressure
Before delivery, rehearse the household rules in this order:
- Define the riding boundary and prohibited behaviors, including passengers or unauthorized areas.
- Set the approved mode or limiter setting only after verifying the model's actual controls.
- Agree on stop signals, supervision, weather limits, and mechanical conditions that end a ride.
- Practice the pre-ride inspection and communication method.
- Write the emergency plan and decide what happens if a rule is ignored.
A written rule that the teen cannot repeat under pressure is not ready for the first ride. For a broader preparation reference, use this off-road safety gear checklist as a planning aid, while relying on current official guidance and local requirements for authoritative decisions.
Plan the First Ride as a Controlled Skills Session
Make the first ride a short, supervised control session—not a test of maximum performance. Start with inspection and familiarization, add skills only while control remains consistent, and stop before fatigue or excitement changes the outcome.
- Inspect and adjust. Check the bike, controls, fasteners, tires, protective equipment, selected mode, and communication plan according to the manual and site requirements.
- Review controls. With the bike secured or switched off, identify the throttle, brakes, power control, and stop signal. Have the teen explain what each does.
- Practice starts and stops. Use gentle starts, smooth throttle release, straight-line stops, and slow turns in the simplest suitable area.
- Add terrain gradually. Introduce turns, small changes in surface, or other site features only after the basic controls remain consistent. Do not introduce a new hazard merely to make the session more exciting.
- Take a break. Recheck gear, weather, fatigue, and the teen's willingness to continue following instructions.
- Debrief. Record what was controlled, what failed, and the next supervised skill. A successful first session is not proof of independent-readiness.
Stop for panic, abrupt acceleration, inconsistent braking, fatigue, equipment concerns, changing weather, loss of supervision, or rule violations. MSF guidance on smooth throttle practice supports progressive control work, but there is no universal speed, braking distance, number of drills, or session length that guarantees readiness.
Make the Go-or-No-Go Purchase Decision
Use the four gates together: rider readiness, bike match, site and rules, and preparation. If any high-consequence gate is unresolved, the responsible choice is to change the shortlist or pause rather than infer suitability from marketing, wattage, price, or a single successful ride.
| Outcome | What It Means | Next Action |
|---|---|---|
| Proceed | The teen demonstrates control and maturity; model fields, site access, supervision, gear, and setup are verified. | Complete the purchase and follow the supervised first-ride plan. |
| Conditional-Go | One specific, solvable item remains open, such as a manual detail or authority answer. | Keep the purchase contingent; assign an owner and resolve the item before riding. |
| Shortlist-Change | The current bike conflicts with fit, control, terrain, supervision, or documented requirements. | Compare another category or model using the same worksheet. |
| Pause | Rider control, maturity, site suitability, rules, supervision, or preparation is not ready. | Do not buy yet; address the failed gate and reassess with new evidence. |
Create a final decision record with the observed rider evidence, verified model fields, exact site and authority response, open questions, next supervised action, and reassessment date. Once the gates pass, you can browse electric dirt bike options as a category—but the collection itself is not proof that any listed model matches your teen.
FAQs
These answers cover the remaining checks before buying an electric dirt bike for teens. If a condition is unresolved, pause rather than assume the bike is suitable.
What Age Is Appropriate?
Age alone is not a readiness test. Check the model, rider control, maturity, site rules, and supervision.
Can a Beginner Use a Speed Limiter?
Only if the model has one and you can configure and test it. A limiter does not prove fit or readiness.
What Gear Does a Teen Need?
Plan for a fitted activity-appropriate helmet, eye protection, gloves, long clothing, boots, and additional protection suited to the conditions. Verify local requirements.
Can a Teen Ride on Public Trails?
Confirm the exact trail's access, vehicle classification, permits, equipment, age, supervision, and training rules with the responsible authority.
