

Electric Dirt Bike Transport: Choose a Carrier by Weight and Tie-Down Points


Compare a hitch carrier, pickup bed, and trailer for electric dirt bike transport using the bike's travel load, ratings, tie-down points, and clearance.
Choose a hitch-mounted carrier, pickup bed, or trailer only after two gates pass: the complete loaded setup must stay within every applicable rating, and the bike must have a workable loading, restraint, and clearance layout. Start with the bike in its exact travel configuration, including attached equipment and any battery preparation required by its instructions. If a rating, structural tie-down point, or battery condition is unknown, pause the choice before loading.

Choose the Transport Method by Load Margin
The best electric dirt bike transport method is the one with a confirmed capacity margin and a practical loading path. A carrier is not automatically suitable just because its headline rating exceeds the bike's estimated weight. A trailer is not automatically safer without its own tow and connection checks.
| Method | Choose it when | Condition that changes the choice |
|---|---|---|
| Hitch-mounted carrier | The bike, carrier, ramp, chock, straps, and other equipment fit within the carrier, receiver, tongue-weight, and vehicle-payload limits. The ramp, wheel support, tie-down access, lights, plate, and ground clearance also work. | Choose another method if rear loading is too high, the receiver or payload limit is uncertain, or the secured bike cannot remain clear and visible. |
| Pickup-bed transport | The truck's available payload and GVWR cover the bike, passengers, ramp, chock, straps, and other cargo. The bed provides stable wheel support and structural tie-down points. | A carrier or trailer may be better if the bed lacks a workable ramp path, anchor layout, or clearance around the cab, rails, tailgate, and cargo. |
| Trailer | The loaded trailer, tow vehicle, hitch, ball or coupler, and available payload are all rated for the actual combination. The deck, wheel support, anchors, connection hardware, and clearance work together. | Treat the trailer as a new rated combination, not as an escape from unknown vehicle or restraint limits. |
For trailer planning, the loaded trailer GVWR and the tow vehicle, hitch, and ball or coupler ratings must be checked together. Do not load or drive until the bike's actual travel weight, the chosen equipment's ratings, the vehicle and hitch limits, and the planned structural tie-down points are confirmed.

Measure the Bike in Its Travel Configuration
Record the bike's ready-to-transport weight and dimensions before comparing an electric dirt bike carrier with a pickup bed or trailer. Motor power, battery voltage, rider-load capacity, and visual size do not provide the travel weight needed for a capacity check.
Measure or obtain these inputs for the exact model:
- Ready-to-transport weight, including attached equipment or cargo that will travel with the bike.
- Overall length and width.
- Wheelbase.
- Tire and wheel dimensions.
- Ground-to-highest-point height.
- The carrier, ramp, chock, straps, and other equipment weights and dimensions.
- Manufacturer-approved structural areas for wheel support or restraint.
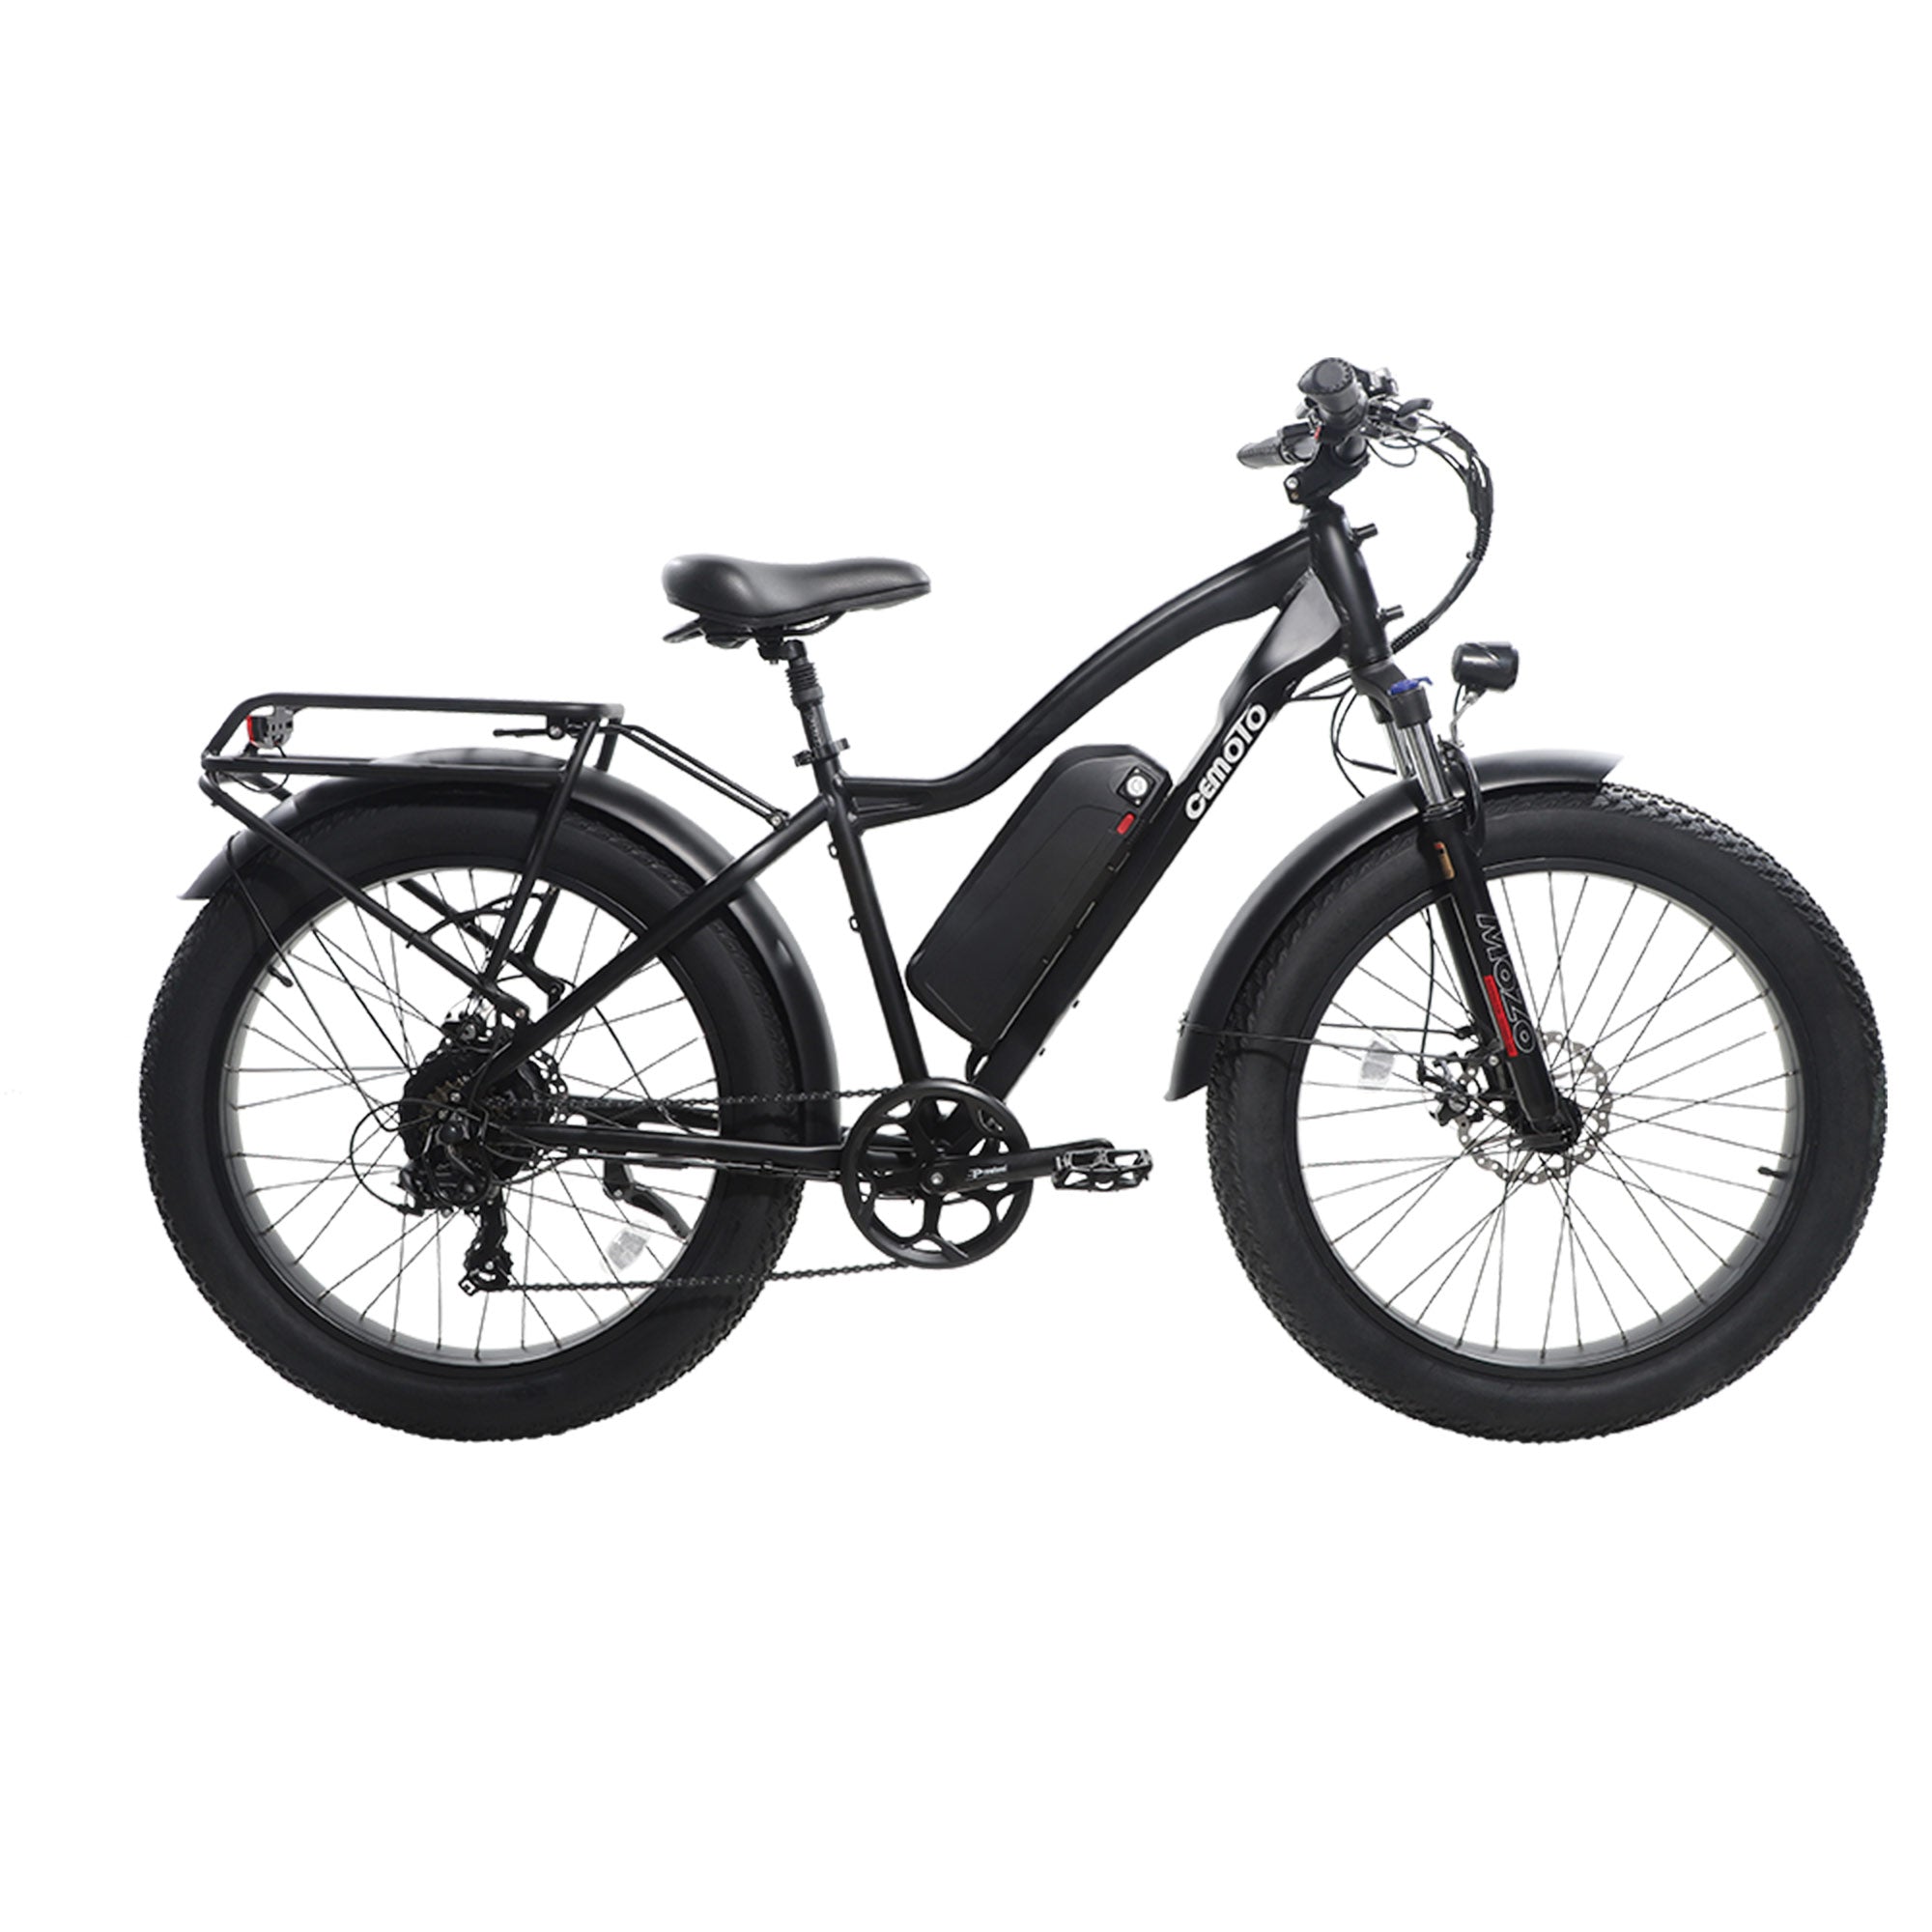
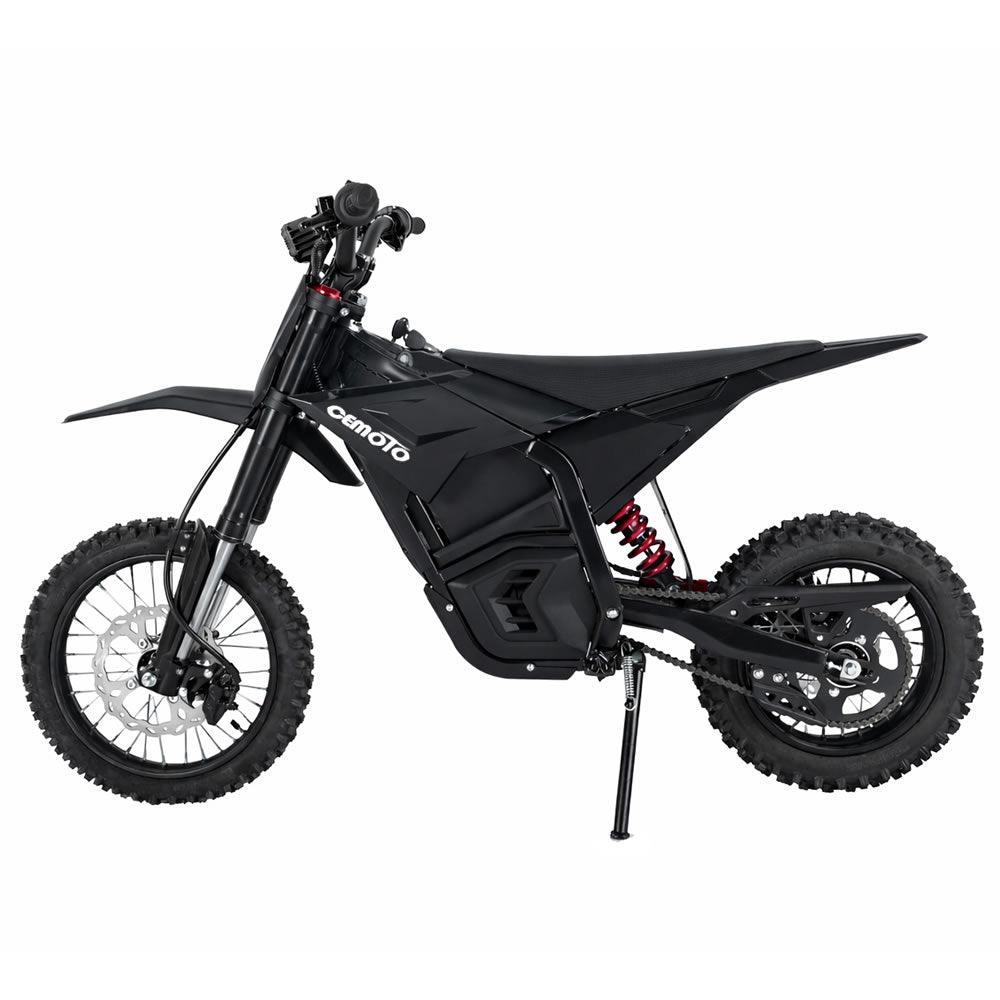
Do not use plastics, controls, cables, brake lines, or the battery housing as assumed tie-down points. If you are checking a CEMOTO model, check the listed model specifications, then obtain any missing travel weight, overall dimensions, approved restraint areas, and battery instructions from the exact model documentation. The listed model specifications do not, by themselves, confirm carrier or vehicle compatibility.
Compare the Carrier, Hitch, and Vehicle Ratings as One Calculation
Use the smallest applicable documented limit as the governing boundary. The basic load is the bike plus the carrier or trailer equipment, but the complete vehicle calculation may also include the ramp, chock, tie-down equipment, passengers, cargo, and other carried items.
For a hitch carrier, compare the combined load with the carrier rating, the carrier's own weight requirements, the receiver rating, the applicable tongue-weight limit, and the vehicle's available payload. For a pickup bed, compare the entire load with the truck's available payload and GVWR. NHTSA's GVWR guidance says to use the vehicle's documented GVWR and available cargo capacity rather than assuming physical bed or receiver space is enough.
For a trailer, compare the loaded trailer with its GVWR and other applicable limits, then confirm the tow vehicle, hitch, ball or coupler, and available payload for that combination. A trailer changes where the bike's weight is carried; it does not remove the need to verify the tow setup. If the combination is close to any rating, or a payload or tongue-weight limit is uncertain, change the equipment choice or confirm the limit before loading.
Plan Loading Height, Ramp Access, and Wheel-Chock Position
A capacity check is useful only when the bike can reach the platform or bed, remain stable while restraints are attached, and sit on compatible wheel support. Before loading, clear the approach and confirm that the ramp, platform or bed, and wheel chock are installed and supported as their manufacturers specify.
Plan the Loading Path
Match the carrier or bed height to the available ramp length, approach space, and surface conditions. Use the bike's measured wheelbase, width, and highest point to check whether the approach and platform leave room for controlled loading.
Plan where the bike will stop and how it will remain stable while you attach the restraints. Also confirm that the ramp can be removed or stowed without disturbing the loaded bike. If the loading path requires an uncertain support method or leaves the restraint points inaccessible, the geometry gate has not passed.
Position the Wheel Chock and Wheel Support
Place the chock so the wheel is centered and the manufacturer-approved restraint areas remain accessible. Confirm that the platform, bed, chock, ramp, and support surfaces fit the tire and wheel dimensions without contacting vulnerable components.
A chock helps align the wheel and limit movement, but it does not replace correctly placed tie-downs. Check the measured wheelbase as well as the tire and wheel dimensions so both wheels and the support arrangement remain stable in the intended traveling position.
Route Tie-Downs Through Approved Points and Check Clearance
Use opposing restraints only at structurally suitable points identified by the bike or equipment manufacturer. Before tightening, protect contact points as directed by those manufacturers and route each strap so it cannot abrade, loosen, or contact controls and wiring.
Keep straps and hardware away from brake lines, cables, controls, moving suspension or steering parts, sharp edges, and unprotected painted surfaces. Do not substitute a convenient plastic panel or control for an approved structural attachment point. For a pickup bed, check the cab, bed rails, tailgate, bed anchors, and wheel support. For a rear carrier, check the receiver area, carrier structure, and rear overhang.
Inspect the secured bike's ground clearance and its distance from bodywork, lights, license plate, mirrors, heat sources, carrier parts, and nearby cargo. The NHTSA cargo guidance supports securing cargo against shifting or escaping and checking the complete load before driving. It does not provide a universal strap count, angle, or anchor location for every electric dirt bike.
Verify Battery Handling From the Specific Bike Instructions
Verify the exact bike and battery instructions before deciding whether the battery remains installed or requires an approved preparation step. Check only the conditions those instructions document, such as charge, temperature, moisture, connector, orientation, or storage requirements.
Do not infer battery handling from another model or from the battery's appearance. If an approved battery preparation changes the traveling configuration, update the ready-to-transport weight before applying the capacity calculation. If the bike or battery instructions do not clearly cover the intended configuration, stop and obtain model-specific guidance before loading.
Complete One Pre-Departure Load Check
Complete this sequence immediately before the vehicle moves:
- Confirm the actual traveling configuration, including any approved battery preparation, and verify that the bike, equipment, vehicle, carrier, receiver, hitch, payload, GVWR, or trailer ratings still cover it.
- Confirm that both wheels are seated as planned, the chock and support surfaces are stable, and the bike is upright in the intended position.
- Attach and tension restraints only at approved structural points. Check strap protection, tension, and contact with the bike and equipment.
- Inspect every strap and component for abrasion or interference. Confirm clearance from controls, wiring, moving parts, bodywork, lights, the plate, cargo, and the ground.
- Walk around the vehicle or trailer to check visibility, lights, plate access, bodywork, connection hardware, ramp stowage, and unwanted contact.
- Stop if any rating, anchor, strap, wheel-support, visibility, or clearance check fails. Correct the problem or choose a different transport method before driving.
A final load check before driving matters because the bike must remain secure as a complete loaded setup, not merely sit on a carrier, in a bed, or on a trailer.
FAQs
How Do You Transport an Electric Dirt Bike?
Start by documenting the exact traveling weight and dimensions. Choose the method whose complete ratings and loading geometry pass, then verify approved restraint points and model-specific battery instructions. If a required fact is unknown, the trip is not ready.
Can a Hitch Carrier Hold an Electric Dirt Bike?
It can only when the bike, equipment, carrier, receiver, vehicle payload, and applicable tongue-weight limits cover the same loaded setup. The ramp path, wheel support, tie-down layout, lighting, plate access, and clearance must also pass. Carrier capacity alone is not enough.
How Do You Secure an Electric Dirt Bike on a Truck?
Use supported wheel placement and the bike or equipment manufacturer's approved structural tie-down areas. Protect straps from abrasion and interference, then check the cab, rails, tailgate, cargo, ground, visibility, and final load condition before driving.
When Is a Trailer Better Than an Electric Dirt Bike Carrier?
A trailer is the better path when the carrier or bed lacks confirmed capacity, manageable loading access, suitable restraint geometry, or adequate clearance. Verify the trailer, tow vehicle, hitch, ball or coupler, available payload, deck, anchors, and connection hardware for the actual loaded combination.
