
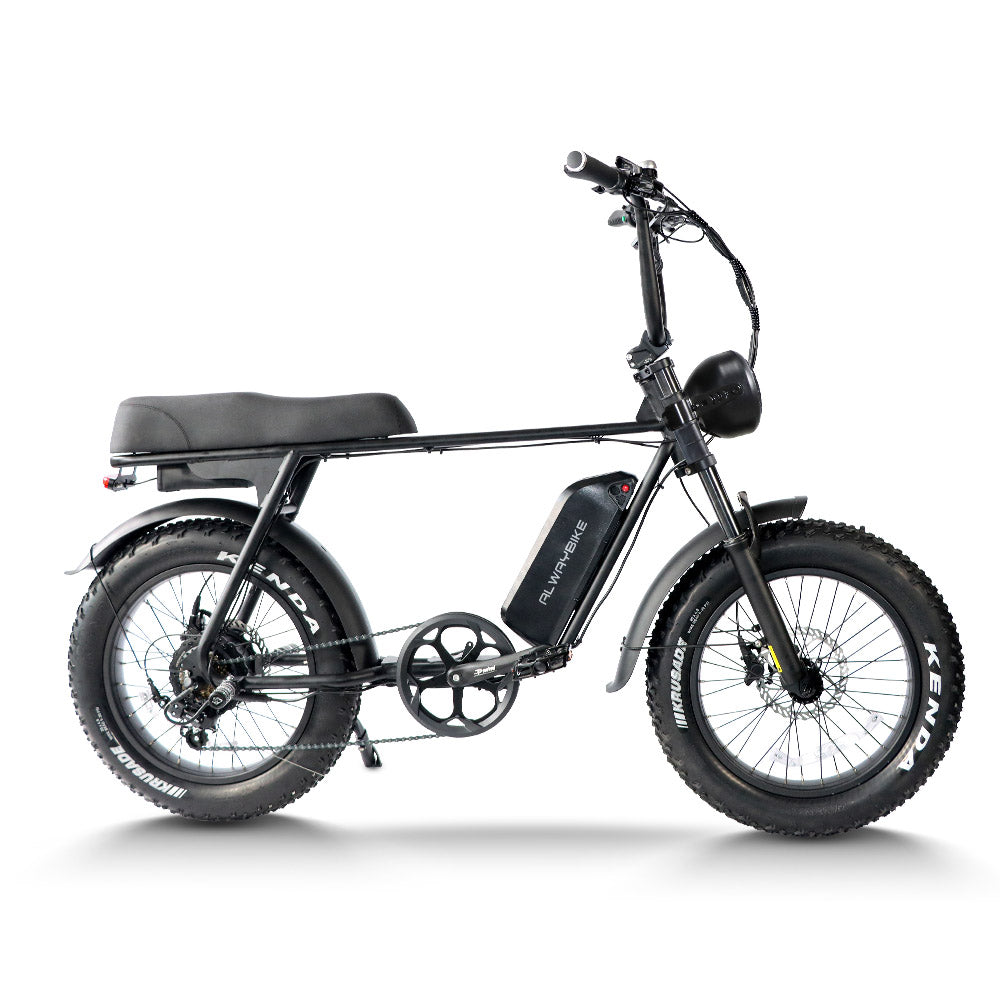
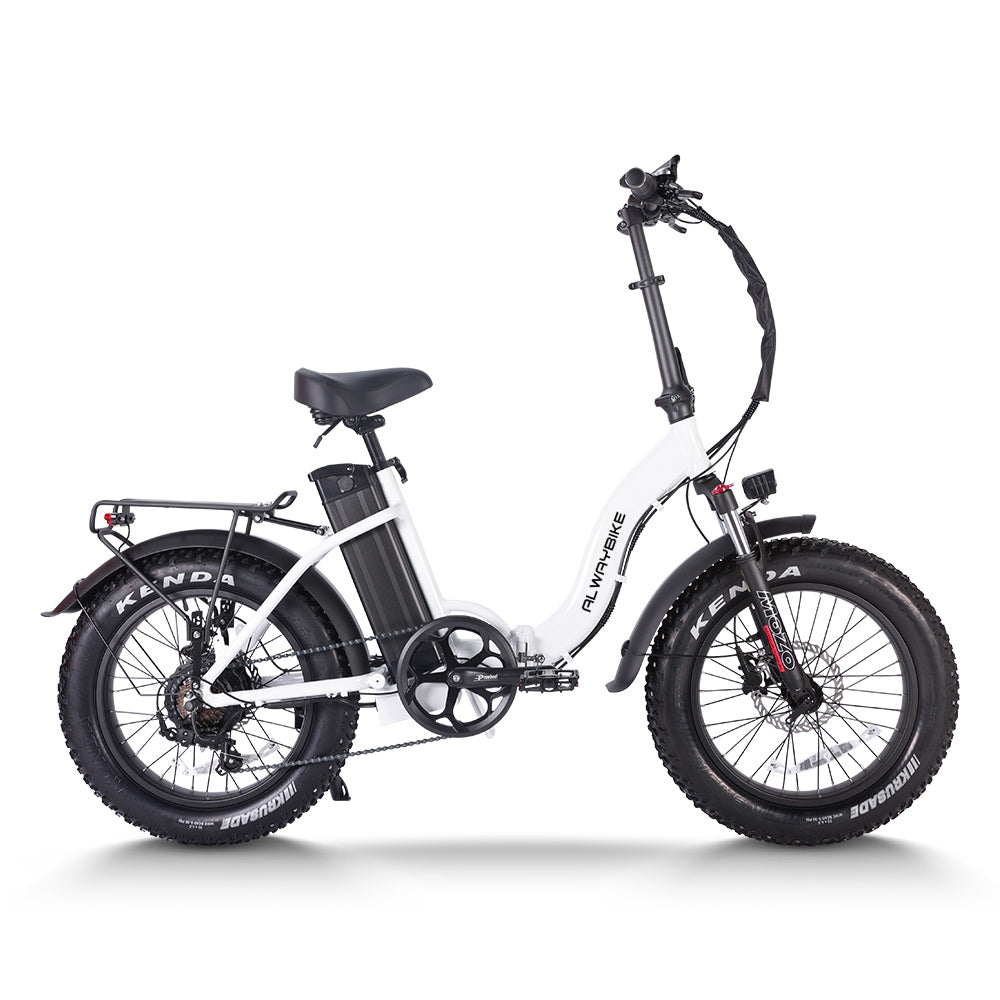
Electric Dirt Bike Service Parts: Build a Trailside Recovery Kit


Choose electric dirt bike replacement parts by route, skill, and fault risk, then pair each spare with a tool, dry run, fit check, and recovery plan.
The best electric dirt bike replacement parts kit is route-specific, not a miniature parts department. Carry compact supplies for an identifiable, non-control-critical problem only when the part fits the exact bike, the matching tool is packed, and you have practiced the repair. Keep bulky or uncertain items in the garage, and treat battery, motor, controller, charger, and wiring faults as professional-service or recovery decisions by default. Confirm the exact D-Series model before buying or packing anything.

Choose Electric Dirt Bike Replacement Parts for Your Trailside Recovery Kit
Start with the route, the likely interruption, and your ability to complete the repair. A short local ride may justify a compact kit, while a remote or longer ride calls for more preparation only when each added item fits the bike and you have practiced using it. General bike-repair guidance ties kit contents to distance from help, repair difficulty, and rider skill rather than one universal list. REI's bike-repair guidance recommends carrying a replacement only when you know the procedure, have the matching tools, and can verify the result.
A useful baseline includes inflation or tire-repair supplies, a bike-matched multi-tool, chain-repair capability, and lightweight securing supplies. Liv Cycling's trailside repair guidance supports that starting point, but it is bicycle-oriented guidance, not a D-Series parts specification. Do not infer tire, tube, axle, connector, or fastener sizes from it.

| Candidate item or interruption | Default choice | Preparation and field-use boundary |
|---|---|---|
| Inflation or tire-repair supplies, bike-matched multi-tool, tape, and zip ties | Carry for local or remote rides | Match every tool to the bike and tire setup. Carry only supplies you can use and check without guessing at model-specific hardware. |
| Chain tool and compatible replacement link | Carry only when practiced and matched to the bike | The link must fit the chain, the tool must remove damaged sections, and you must complete a dry run before relying on it. |
| Small model-verified running-gear or removable-component spare | Carry selectively on remote rides; otherwise keep it in the garage | Use the bike's model record to confirm fit, have the required fasteners, and rehearse the installation and post-repair check. A catalog listing alone does not make a spare field-ready. |
| Brake, steering, or wheel-retention component | Garage or recovery by default | Carrying a part does not make a control-critical repair safe. Continue only after a secure correction and an appropriate check. |
| Battery, charger, motor, controller, or wiring component | Garage or professional service | Do not improvise electrical diagnosis or installation on the trail. Exact-device fit and qualified handling must come first. |
For a route-specific electric dirt bike replacement parts kit, favor compact items that solve a realistic interruption over bulky parts that create false confidence. A longer route does not justify an unverified spare. If a required fit, tool, procedure, or check is missing, leave the item in the garage or arrange service. You can review Cemoto accessories for category navigation after identifying the exact bike, but the collection is not a compatibility matrix.
Use this categorical route-exposure guide alongside the table. It sets a default action; it does not authorize an unprepared repair or riding with a fault.
| Fault and readiness | Short local route | Remote or long route |
|---|---|---|
| Non-control-critical, practiced fix | Carry a compact kit; repair only if the result can be checked | Carry only with route-support planning and a practiced repair |
| Control-critical or uncertain fault | Stop riding and arrange recovery or professional service | Stop riding and arrange recovery or professional service |
Match a Likely Trail Interruption to a Practiced Field Fix
A trailside repair is reasonable only when the fault is identifiable, the part and tools match, the procedure has been practiced, and the result can be checked. If any one of those conditions fails, stop treating the spare as a field solution and plan a shorter route, garage repair, or service.
Use this sequence for each candidate item:
- Identify the interruption. A vague symptom cannot tell you which replacement part to use, especially for an electrical fault.
- Match the part and tool. For a broken chain, you need a compatible replacement link and chain tool to remove the damaged sections. Chain-repair guidance also makes practice part of the preparation, not an optional extra.
- Practice at home. Complete a dry run with the actual part, tool, hardware, and protective supplies you intend to carry. A link left in its package is not a repair plan.
- Check the result. Define what secure, normal operation looks like for that component before leaving. If you cannot make that check, do not resume the ride.
This boundary is especially important when packing electric dirt bike replacement parts. Electrical symptoms are not a trailside diagnosis. Keep motor, battery, controller, charger, and wiring work in the garage or with professional service unless the bike's instructions describe the work and a qualified repair path is available. You may review the home troubleshooting guide for general follow-up, but a general troubleshooting article does not establish that a particular trail repair is safe or compatible.
Verify the Exact D-Series Model Before Buying or Packing Parts
The go/no-go rule is simple: write down the exact D-Series model, compare the candidate part with the bike documentation and product page, and leave the item out when a required detail is missing. Similar appearance, a shared product-family name, or a similar connector is not enough.
Before purchasing or packing D-Series dirt bike replacement parts, confirm:
- The exact bike model and, where provided, the relevant component configuration.
- The product page's stated model fit, including mounting, connection, fastener, and installation requirements.
- The required tool, hardware, procedure, and post-repair check.
- A confirmation source, such as the model documentation, Cemoto support, or qualified service, when the product page leaves a material detail unclear.
Cemoto's D03 pages identify only the models and components named on each listing; use them as product references, not cross-model fit guidance. For a D03 owner, the D03 chain listing states compatibility with the D03 drivetrain and a standard master link. That does not establish fit for another D-Series model or prove that the chain is a suitable trailside repair. Likewise, you can check the D03 motor details or check the D03 charger details as model-specific product references, not as independent cross-model validation.
Battery and charger selection requires an exact-device check. The CPSC micromobility guidance advises using replacement or secondary batteries confirmed suitable for the exact device. Apply that conservatively: keep an electrical spare out of the ordinary trail kit when its fit, connection, or safe installation is unclear. Use the Cemoto User Manual for model-specific documentation, without assuming that the page supplies a universal D-Series compatibility chart.
Pack, Inspect, and Test the Kit Before the Ride
A recovery kit is complete only when each part has its matching tool, hardware, protection, instructions, and post-repair check. Pack the actual carry kit separately from garage inventory so you can inspect it before departure and reach it without unpacking unrelated gear.
Use this pre-ride order:
- Pair every spare with its tool, fasteners or consumables, and any needed protective wrap.
- Perform the dry run for each intended field fix, then confirm the repaired or adjusted component can be checked.
- Store the kit securely and accessibly. Cemoto lists the ASBR-S10 bag at 30 × 15.5 × 13 cm with internal net layers and a hard-shell EVA construction. Those dimensions are a measurement input, not proof that your complete kit fits. If you use it, review the EVA storage bag against the selected load before riding.
- Inspect the bike using the exact procedure in the manual. At minimum, check the controls, brakes, throttle, lights, tires, cables, and frame before a remote ride, consistent with CPSC pre-ride inspection guidance.
- Set a turnaround point, communication or pickup option, and a clear recovery threshold before leaving. A kit cannot replace route-support planning when help is distant.
Decide Whether to Continue, Shorten the Route, or Arrange Recovery
Continue only after an identifiable problem has been corrected securely, the affected component is retained as intended, the bike responds normally, and you complete an appropriate check. If the outcome is temporary, uncertain, unsupported, or based on an unverified part, shorten the route or return to support instead of extending the exposure.
- Continue: The part and procedure match the exact bike, the repair was practiced, the component is secure, and the result passes the relevant check.
- Shorten or return: The repair is temporary, the symptom is still uncertain, exact fit is unresolved, or you lack the required tool, skill, or confidence to verify the result.
- Arrange recovery or professional service: A brake, steering, wheel-retention, or other control-critical fault remains unresolved. Do not ride through it. Also stop and escalate an unclear battery, motor, controller, charger, or wiring fault rather than repeatedly cycling power or improvising.
Damaged traction batteries and high-voltage systems are not ordinary trail repairs. NHTSA guidance on high-voltage service supports qualified service and specialized equipment for this work. After the ride, record the failure, identify the exact replacement part, and revise the practiced kit before the next remote outing.
FAQ: Electric Dirt Bike Replacement Parts for Trail Recovery
What spare parts should I carry on an electric dirt-bike ride?
Carry compact spares for realistic, non-control-critical interruptions. On a remote route, include an item only after practicing its use and pairing it with the required tools and a recovery plan.
What electric dirt-bike failures can be fixed trailside?
A prepared rider may address an identifiable, non-control-critical problem when the part, tool, procedure, and post-repair check are all ready. If the symptom is ambiguous or the repair result cannot be confirmed, end the repair attempt and shorten the route or arrange help.
Which electric dirt-bike parts should stay in the garage?
Leave bulky, specialized, control-critical, and complex electrical components in the garage by default. Work on a damaged high-voltage battery belongs with qualified service, not an improvised trail repair.
How do I verify D-Series replacement-part compatibility before a ride?
Record the exact model, compare the product page with the bike documentation, and review mounting, connections, hardware, and installation requirements. If one material detail is absent, ask Cemoto support or qualified service and leave the part out until the match is confirmed.
